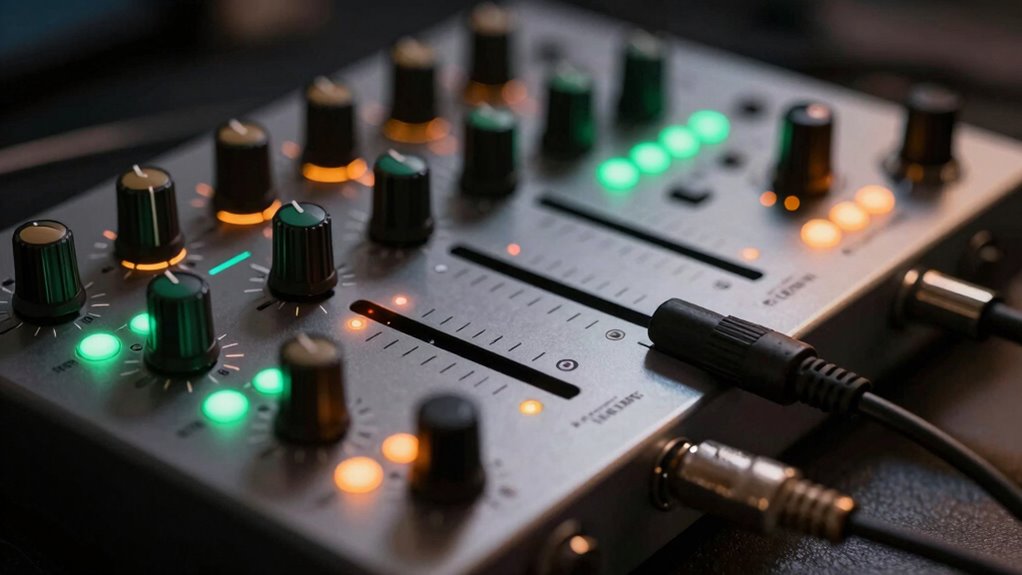

To avoid distortion on your audio interface, you need to properly set your input gain by monitoring levels with meters or LEDs. Aim for peak signals around -6 dB to -3 dB and avoid clipping by reducing gain if you see overloads. Always listen for harsh sounds or distortion, and troubleshoot connection issues or faulty cables if needed. Keeping gain levels consistent helps achieve clean, professional recordings. If you want to master these steps, you’ll find helpful tips as you continue.
Play games included with Prime
Start a Prime free trial and play with Amazon Luna on your devices.
As an affiliate, we earn on qualifying purchases.
Key Takeaways
- Monitor input levels using interface meters to prevent clipping and maintain optimal signal strength.
- Aim for input peaks around -6 dB to -3 dB for clear, distortion-free recordings.
- Gradually adjust gain while listening for distortion or harsh sounds, lowering gain if clipping occurs.
- Ensure proper impedance matching between source and interface to reduce noise and maintain clarity.
- Use visual cues like LED meters for immediate feedback and consistent gain staging accuracy.
As an affiliate, we earn on qualifying purchases.
What Is Gain Staging and Why Does It Matter?
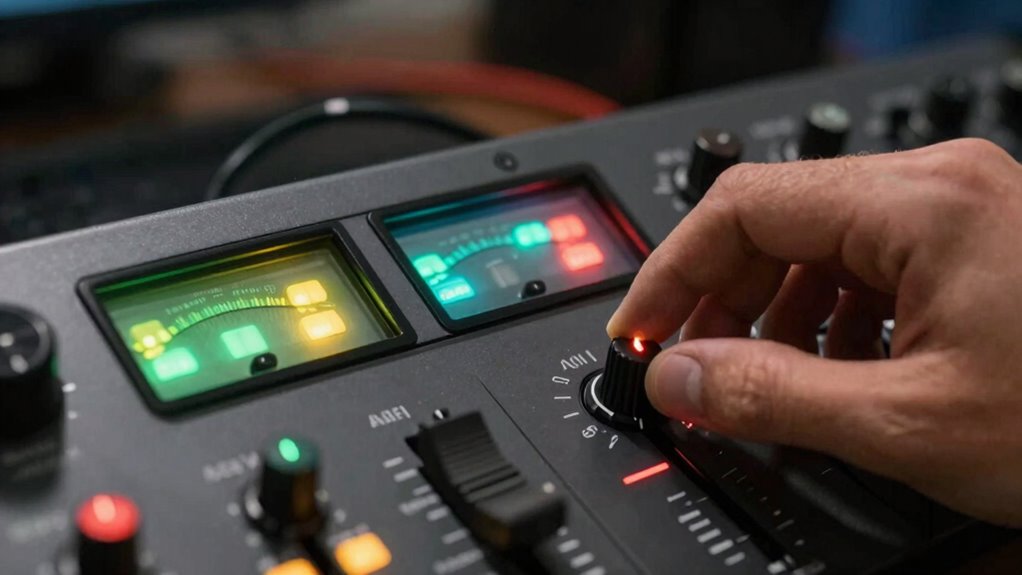
Ever wonder why proper gain staging is essential in audio recording? It’s because it directly impacts audio signal clarity. When you set your gain correctly, your recordings stay clean, free of distortion or noise. Proper gain staging ensures your equipment works together smoothly, maintaining compatibility between your microphone, audio interface, and other gear. If the gain is too high, you risk clipping and losing detail; too low, and your signal becomes weak or noisy. By managing gain levels at each stage, you preserve the integrity of your sound. Additionally, understanding signal flow can help prevent common issues like distortion or unintended noise. Recognizing the importance of dynamic range ensures your recordings capture the full spectrum of sound without unwanted compression. Proper gain structure is crucial for maximizing audio quality and avoiding common pitfalls, especially when considering how each component interacts within the overall audio chain. Implementing effective gain staging can also help optimize your setup for outdoor or live environments, where ambient noise and other factors might influence your levels.
As an affiliate, we earn on qualifying purchases.
How to Properly Set Your Audio Interface Input Gain
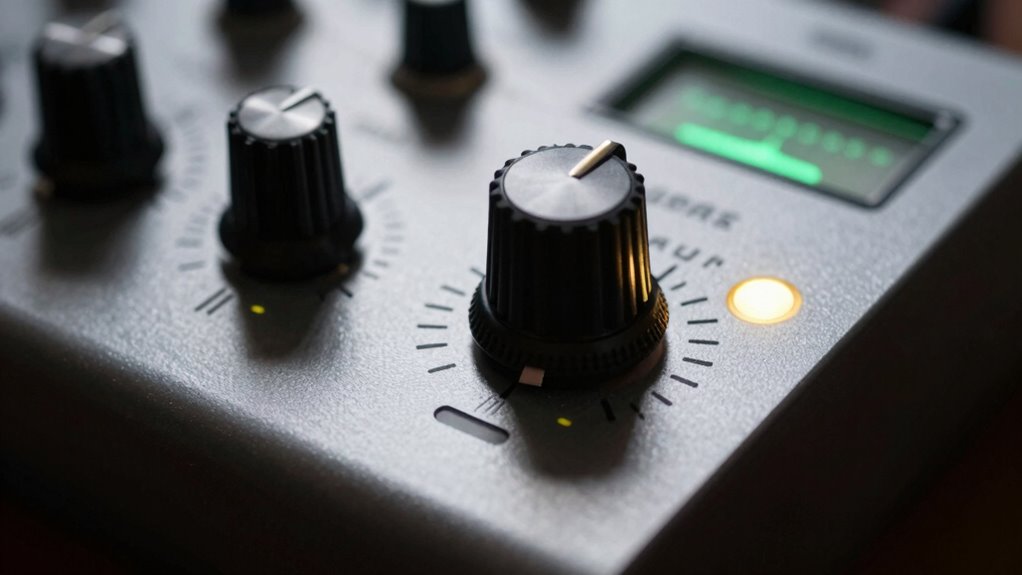
To get the best sound, you need to set your input gain correctly by monitoring your signal levels. This helps optimize signal quality and prevents unwanted noise or distortion. Keep an eye on the interface’s meters to avoid clipping artifacts that can ruin your recordings. Proper gain staging is also essential for maintaining clarity and preventing audio distortion during recording. Additionally, understanding signal integrity can help you achieve cleaner, more professional recordings by reducing potential interference and noise. Using the right gain structure ensures your audio remains clear and balanced throughout the recording process. Being mindful of your soundproofing environment can further minimize external noise and improve overall sound quality. Recognizing the importance of alignment with the life purpose can also guide your approach to achieving optimal audio performance.
Signal Level Optimization
Have you ever wondered how to get the best sound quality from your audio interface? Proper signal level optimization starts with understanding that microphone placement and room acoustics play vital roles. Position your microphone correctly to capture a clean, balanced signal, avoiding unnecessary noise or overly boomy sounds caused by poor placement. Adjust your input gain so the signal hits the ideal level—strong enough to avoid noise but not so high that it clips. Keep an eye on your interface’s level meters, aiming for peaks around 75-80% of full scale. Room acoustics can influence the perceived signal level, so controlling reflections and background noise will help you maintain consistent, clear recordings. Fine-tuning these aspects ensures your audio interface captures the best possible sound.
Avoiding Clipping Artifacts
Clipping occurs when the input signal exceeds the maximum level your audio interface can handle, causing distortion that degrades sound quality. To avoid clipping artifacts, you need to establish a proper gain structure, guaranteeing your input levels stay within safe limits. Start by gradually increasing your gain while monitoring the input meters; aim for levels that peak around -6 dB to -3 dB. This prevents overloads and preserves audio fidelity. Always listen for distortion or harsh sounds, which indicate clipping. If you notice any, lower your gain immediately. Maintaining a clear gain structure helps you capture clean, accurate sound without unwanted artifacts. Proper gain staging ensures your recordings are free from clipping artifacts, resulting in a more professional, polished audio output.
As an affiliate, we earn on qualifying purchases.
Using Meters and Visual Cues to Find the Right Levels
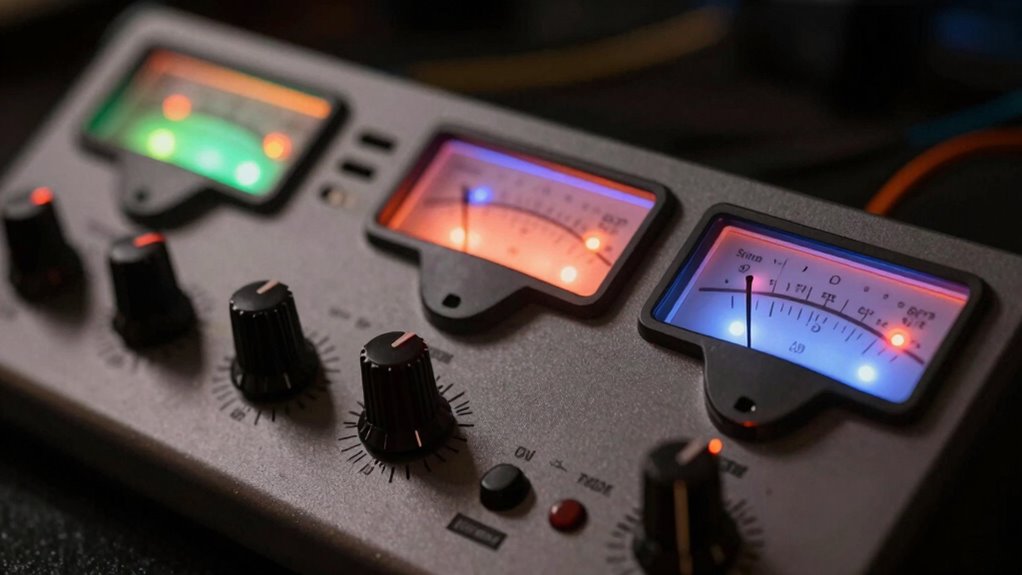
Using meters and visual cues is crucial for setting proper levels on your audio interface. Visual cues, like LED meters or software level indicators, provide immediate feedback on your signal strength. To guarantee meter accuracy, always check that the meters respond proportionally to your input levels without lag or distortion. Aim for peaks around -6 dB to -3 dB, avoiding signals that hit 0 dB, which can cause clipping. Use these visual cues to gauge your gain adjustments quickly, maintaining a healthy headroom for your recordings. Consistently monitoring levels with accurate meters helps prevent distortion and ensures your audio remains clear and balanced. Relying on precise visual cues gives you the confidence to set ideal levels without guesswork. Additionally, understanding gain staging is essential for achieving optimal audio quality, especially when working with solar panels and energy storage systems, where efficient power management is key.
As an affiliate, we earn on qualifying purchases.
Common Gain Staging Mistakes and How to Avoid Them
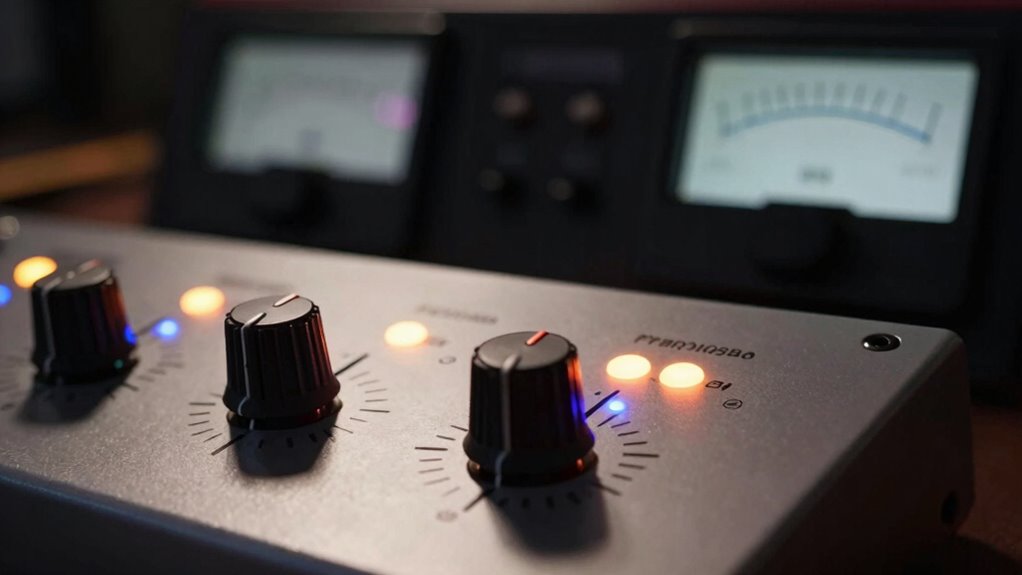
One common mistake in gain staging is setting your levels too high early on, which can lead to distortion and reduce your headroom for later processing. Poor microphone placement can cause you to increase gain unnecessarily, risking clipping. Also, neglecting proper headphone monitoring can make it harder to hear distortion or unwanted noise, leading to improper adjustments. To avoid these issues, always start with moderate levels and adjust carefully, keeping an eye on meters. Use the following tips:
| Tip | Explanation |
|---|---|
| Microphone placement | Position mics to capture the best sound at lower gain settings. |
| Monitor levels | Regularly check headphone volume to catch distortion early. |
| Use meters | Rely on visual cues for accurate gain control. |
| Avoid overcompensation | Don’t turn up gain to compensate for poor placement or monitoring. |
| Record at ideal levels | Aim for peaks around -6 dB to -12 dB to prevent distortion. |
| Be mindful of gain staging | Proper gain staging ensures clean recordings without distortion. Understanding the importance of proper audio levels helps maintain clarity and headroom throughout the recording process. |
Tips for Keeping Gain Consistent Across Multiple Tracks
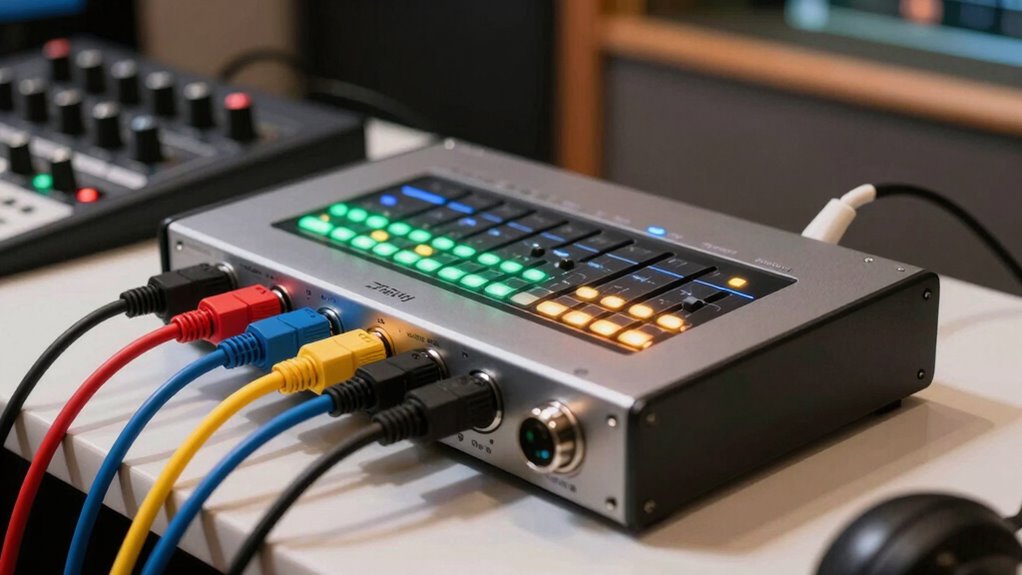
Maintaining consistent gain across multiple tracks is essential for a cohesive and balanced mix. To achieve level consistency, start by setting your gain levels at the source so each track’s signal is strong but not clipping. Use the same input levels for similar instruments or vocals to guarantee uniformity. Regularly compare tracks during playback to identify any discrepancies, and adjust their gain controls accordingly. Focus on track balancing by paying attention to how each element fits within the overall mix; if one track sounds too loud or soft, tweak its gain before moving on. Avoid sudden changes, and aim for smooth *progressions* in volume. *Guaranteeing* gain helps prevent muddiness or imbalance, creating a cleaner, more professional sound. Additionally, understanding the power output of your electric dirt bikes can inspire confidence in their performance, just as stable gain ensures a solid mix. Proper gain staging is crucial for maintaining audio signal integrity, which helps maintain clarity and prevents distortion throughout your recordings. This process is similar to maintaining consistent fidelity, ensuring each element remains clear and true to its source.
Troubleshooting Distortion and Noise From Gain Settings
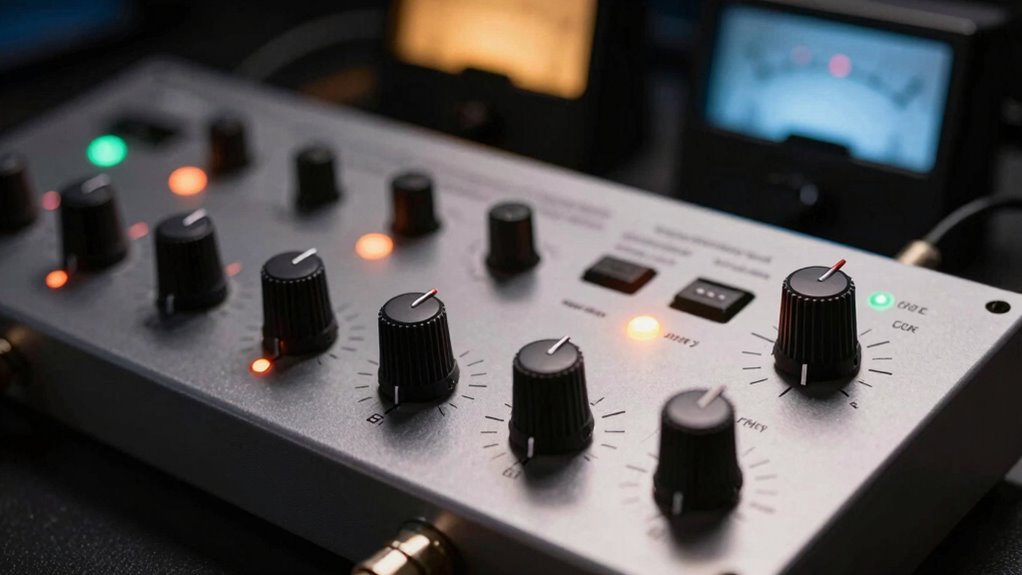
Distortion and noise often occur when gain levels are set too high, pushing your equipment beyond its clean signal threshold. To troubleshoot, start by checking your gain staging; lowering gain can often reduce unwanted distortion. Consider your equipment’s dynamic range—if your signal approaches the upper limit, it’s more prone to clipping and noise. Also, confirm proper impedance matching between your source and interface; mismatched impedance can introduce unwanted noise and reduce clarity. Use the gain knobs to find a balance where the signal is strong but not peaking. If noise persists, verify cables and connections for faults. Properly managing gain, respecting your device’s dynamic range, and matching impedance are key to minimizing distortion and noise, resulting in cleaner, more professional recordings. Additionally, understanding the dog breeds overview can help you select equipment tailored to different sound profiles and needs. Proper knowledge of audio signal flow can further enhance your troubleshooting effectiveness, ensuring a smoother signal chain setup. Being familiar with the audio equipment specifications can aid in choosing the correct components to prevent common issues.
Final Checks to Ensure Clean, Balanced Recordings
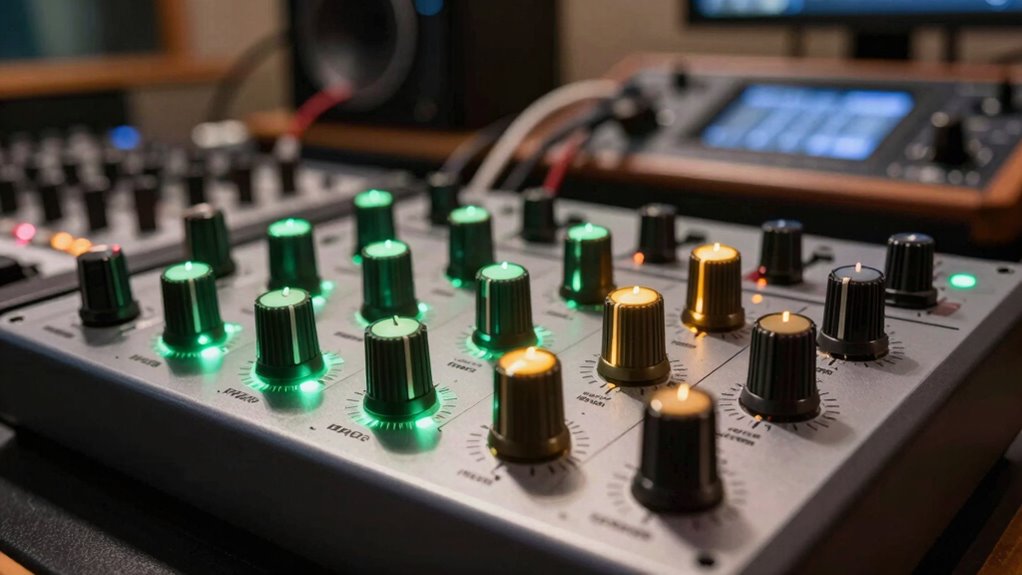
Before hitting record, it’s essential to perform final checks that guarantee your setup is optimized for clean, balanced recordings. Start by reviewing microphone placement—make certain your mic is positioned to minimize room reflections and background noise. Adjust your mic angle and distance to capture a clear, natural sound without distortion. Next, evaluate room acoustics; identify and reduce problematic echoes or standing waves with acoustic treatment or by repositioning equipment. Check your gain staging again to assure levels are neither too high nor too low. Confirm that your headphones or monitors accurately reflect the sound, allowing you to catch issues early. These final adjustments help you achieve balanced recordings free of unwanted noise or coloration, setting the stage for professional-quality results.
Frequently Asked Questions
How Do Different Microphones Impact Gain Staging?
Different microphones impact gain staging because their sensitivity varies, meaning some need more or less gain to achieve a proper level. For example, a condenser mic with high sensitivity may require less gain, while a dynamic mic needs more. Polar pattern effects also matter; cardioid mics focus sound in one direction, often requiring less gain, whereas omnidirectional mics pick up more ambient noise, needing careful gain adjustments to avoid distortion.
What Are the Best Practices for Live Versus Studio Recordings?
Think of live and studio recordings as different landscapes—one’s a bustling city, the other’s a peaceful garden. For live, you focus on soundproofing techniques to prevent bleed, while in the studio, acoustic treatment creates a controlled environment. Best practices include adjusting gain carefully, avoiding distortion, and using proper soundproofing techniques. In both, stay attentive to your levels to keep the audio clear and vibrant, like a well-tuned symphony.
How Does Gain Staging Affect Overall Mix Headroom?
Gain staging directly impacts your mix headroom by controlling the dynamic range and ensuring signal clarity. When you set proper gain levels, you prevent distortion and allow your audio to breathe, giving you more room to work with during mixing. This balance helps maintain clarity, avoids clipping, and preserves the integrity of each element, ultimately resulting in a cleaner, more professional sound that’s easier to shape and refine.
Can Software Plugins Help With Gain Management?
Did you know that over 80% of audio engineers use software plugins for gain management? Yes, software plugins, especially those with digital signal processing, can effectively help you control your gain levels. They enable precise adjustments and reduce distortion risks. Plugin automation allows you to dynamically manage gain throughout your track, ensuring consistent levels and cleaner mixes without manual tweaking. This technology simplifies gain staging, making your workflow more efficient.
How Do I Adjust Gain for Different Instrument Types?
You should adjust gain settings based on each instrument’s specific needs, using instrument-specific settings on your audio interface. For example, guitar and vocals may require different gain levels to prevent distortion and maximize dynamic range. Always start with lower gain, then gradually increase until you capture a clear, balanced signal. This approach helps optimize the dynamic range and guarantees your recordings stay clean without clipping or distortion.
Conclusion
Mastering gain staging is your key to clean, professional recordings. By setting your input levels carefully, watching your meters, and avoiding common pitfalls, you’ll prevent distortion and noise from sneaking in. Remember, consistency is your best friend across tracks. When in doubt, take a step back and double-check your settings—it’s better to be safe than sorry. Keep these tips in mind, and you’ll be well on your way to capturing crystal-clear sound every time.
Flea & tick season Picks
flea and tick prevention
As an affiliate, we earn on qualifying purchases.