
If your 4K HDR looks dull or lacks vibrancy, it’s likely due to your TV’s default settings or improper calibration. Many TVs come preset with settings that wash out highlights, crush shadows, or over-sharpen images, ruining the HDR effect. Adjusting contrast, brightness, and color properly can dramatically improve picture quality. If you want your HDR to look stunning and true to content, paying attention to calibration techniques is key—keep exploring for more tips.
Key Takeaways
- Default TV settings often aren’t optimized for HDR, causing dull images and reduced contrast, making HDR look worse.
- Overly high brightness and contrast settings can wash out details and clip highlights, degrading picture quality.
- Improper calibration, including color saturation and sharpness, can make HDR content appear unnatural or less vibrant.
- Outdated firmware or poor HDMI connections may prevent HDR from displaying correctly, impacting visual performance.
- Ignoring proper calibration and viewing conditions leads to suboptimal HDR visuals, making your content look worse than it should.

Calibrite Display Plus HL Monitor Calibration Colorimeter for Mini LED OLED and Super Bright Displays, Advanced HL Sensor Measures Up to 10000 Nits, PROFILER Software, USB C with Adapter
SPECIFICATIONS: Advanced HL high luminance sensor colorimeter measures up to 10000 nits, calibrates and profiles LCD mini LED…
As an affiliate, we earn on qualifying purchases.
As an affiliate, we earn on qualifying purchases.
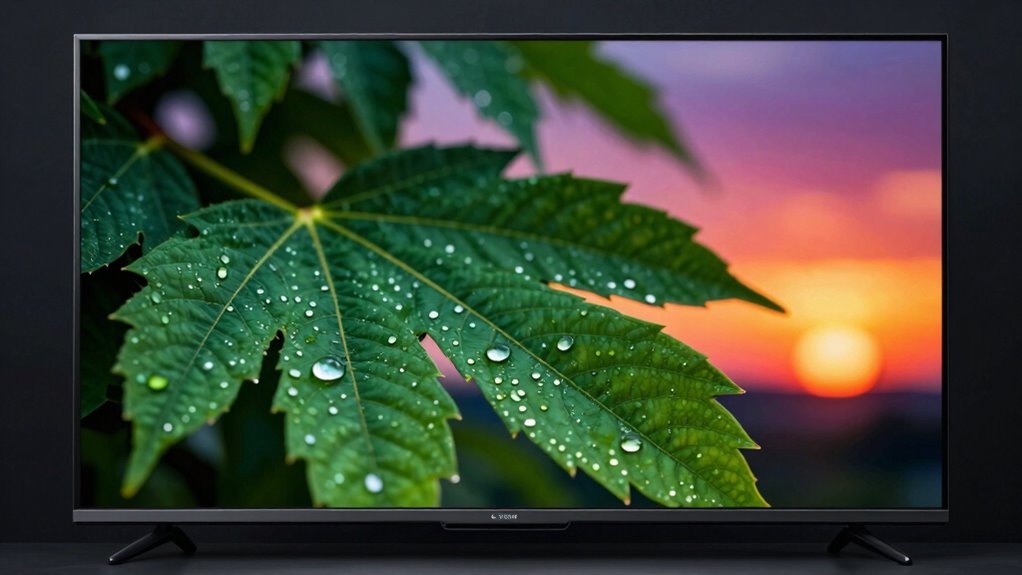
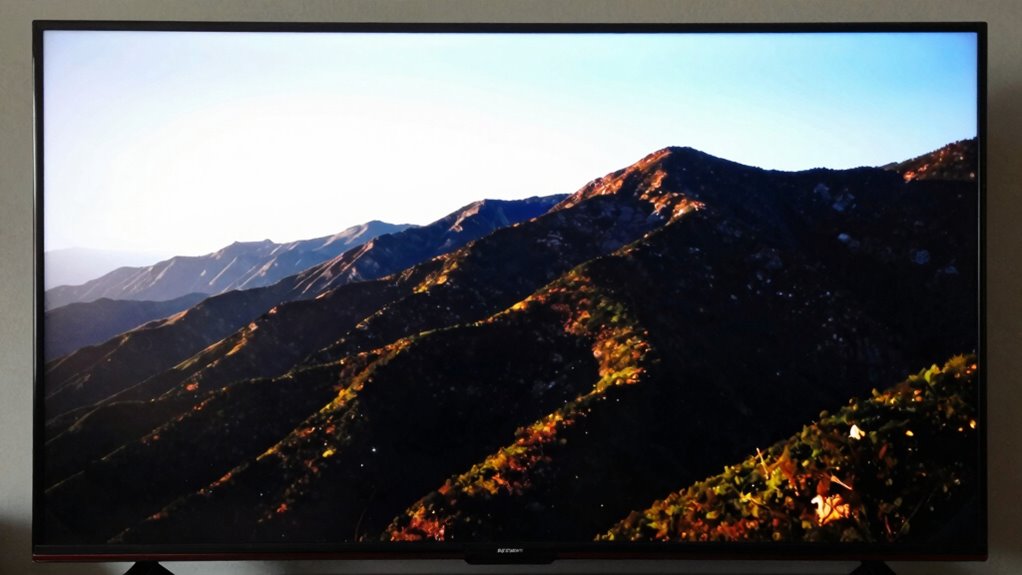
Why Default TV Settings Can Make Your HDR Look Dull
Many TVs come with default settings that aren’t optimized for HDR content, which can cause your HDR images to look dull and lifeless. When the display isn’t properly calibrated, the HDR color isn’t vivid or accurate, making scenes appear washed out. Without proper display calibration, your TV might oversimplify or understate contrast and brightness, dulling the overall picture quality. This misrepresentation can significantly reduce your viewing experience by diminishing the visual impact of HDR content. To fix this, you need to adjust the settings to enhance HDR color and guarantee the display is calibrated correctly. Proper calibration helps your TV reproduce the intended color vibrancy and contrast, making HDR images pop with life and realism. Additionally, understanding the importance of contrast ratio can help you set up your display for optimal image quality. Paying attention to HDR settings ensures that your TV delivers the full potential of HDR technology. For an even better experience, consider display calibration techniques that optimize your TV’s performance for HDR content.
![Silkland 54Gbps DisplayPort Cable 2.1 [VESA Certified], DP 2.1 Cable [16K@30Hz, 8K@120Hz, 4K@240Hz 165Hz 144Hz] HDR, HDCP DSC 1.2a, Compatible FreeSync G-Sync Gaming Monitor 5090 7900XTX, 6.6FT](https://m.media-amazon.com/images/I/41ATl-AEsVL._SL500_.jpg)
Silkland 54Gbps DisplayPort Cable 2.1 [VESA Certified], DP 2.1 Cable [16K@30Hz, 8K@120Hz, 4K@240Hz 165Hz 144Hz] HDR, HDCP DSC 1.2a, Compatible FreeSync G-Sync Gaming Monitor 5090 7900XTX, 6.6FT
【VESA Certified 16K DisplayPort Cable 2.1】Silkland 16K Displayport Cable 2.1/2.0 supports high resolutions 16K(15360*8640)@60Hz with DSC, 8K@120Hz, 4K@240Hz/165Hz/120Hz/144Hz,…
As an affiliate, we earn on qualifying purchases.
As an affiliate, we earn on qualifying purchases.
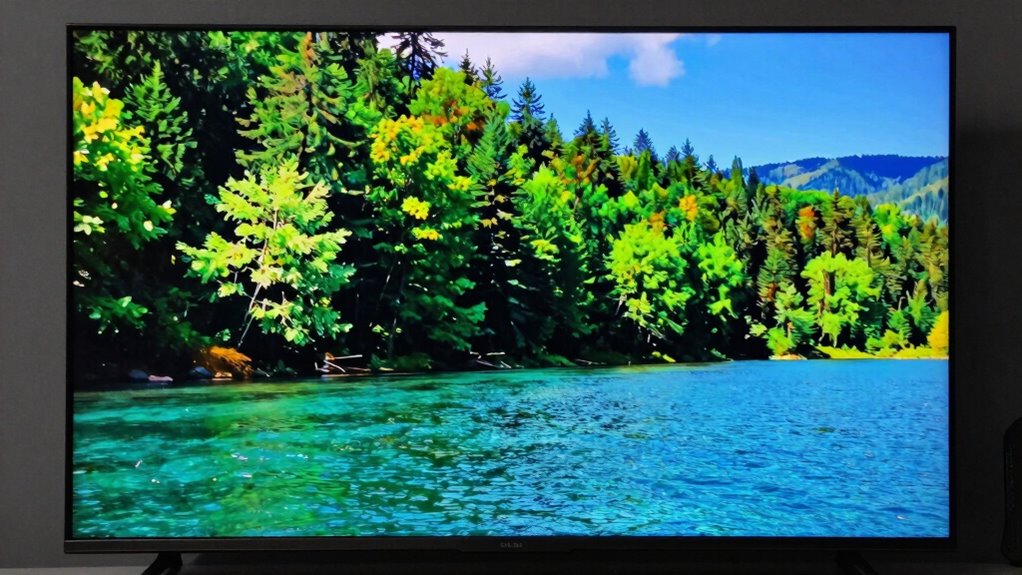
Common Settings That Ruin Your 4K HDR Picture
If you set your TV’s brightness too high, your picture can look washed out or overly harsh. Incorrect color calibration can make scenes appear unnatural, while excessive sharpness adds unwanted artifacts. These common settings can ruin your 4K HDR experience if you’re not careful. Additionally, improper color calibration can significantly diminish the visual quality, making your viewing experience less immersive. A proper understanding of display settings can help you optimize your picture quality and enjoy the full benefits of 4K HDR technology. Adjusting these settings without understanding their impact can lead to a degraded picture quality, which undermines the advantages of 4K HDR technology. To truly maximize your viewing experience, it’s essential to learn how calibration tools can help fine-tune your TV settings effectively. Being aware of image processing features can also prevent over-application, which can negatively affect picture clarity.
Overly Aggressive Brightness Settings
Brightness settings that are cranked up too high can instantly ruin the quality of your 4K HDR picture. Overly aggressive brightness can wash out details, especially in dark scenes, and distort dynamic contrast. When you set brightness too high, your TV overcompensates for ambient lighting, causing loss of shadow detail.
| Brightness Level | Effect on HDR | Best Practice |
|---|---|---|
| Too high | Blows out highlights | Keep it at a moderate level |
| Too low | Dims dark scenes | Adjust based on ambient lighting |
| Perfect | Preserves contrast | Use calibration tools |
| Excessive | Sacrifices detail | Avoid overly aggressive settings |
Focus on balancing brightness with ambient lighting to preserve dynamic contrast and prevent your TV from exaggerating or hiding details.
Incorrect Color Calibration
Even if you’ve set your brightness correctly, incorrect color calibration can still ruin your 4K HDR picture. Poor calibration affects color accuracy, making images look dull, oversaturated, or unnatural. Without proper calibration tools, you might rely on default settings that don’t reflect true colors, leading to a compromised viewing experience. To get it right, use calibration tools or professional settings to fine-tune your TV’s color output. Keep in mind that subtle adjustments can make a significant difference.
- Ensuring consistent color balance across different content sources
- Avoiding color shifts that distort the original image
- Achieving a natural, true-to-life picture that maximizes HDR potential
Excessive Sharpness Levels
Excessive sharpness settings are a common mistake that can severely degrade your 4K HDR picture. Many people fall for sharpness myths, believing higher settings improve image clarity, but it actually causes halos and unnatural edges. Proper calibration techniques emphasize setting sharpness to a minimal level—often just a few points or even zero—to preserve natural detail. Over-sharpening creates artificial outlines, reduces detail accuracy, and makes images look harsh and less realistic. Instead of relying on default or high sharpness levels, adjust your TV’s settings carefully, focusing on maintaining the original quality of the content. This simple change can make your HDR picture look more lifelike and less artificial, ensuring you enjoy true 4K HDR quality without the distortions caused by excessive sharpness.

Calibrite Display 123 Monitor Calibration Colorimeter for Photo Editing and Color Accurate Viewing, Easy 1 2 3 Software Workflow, USB C Connection, and Before and After Check, Supports 2 Displays
SPECIFICATIONS: Monitor calibration colorimeter with Easy 1 2 3 software workflow, USB C connection, compact body approx. 34mm…
As an affiliate, we earn on qualifying purchases.
As an affiliate, we earn on qualifying purchases.
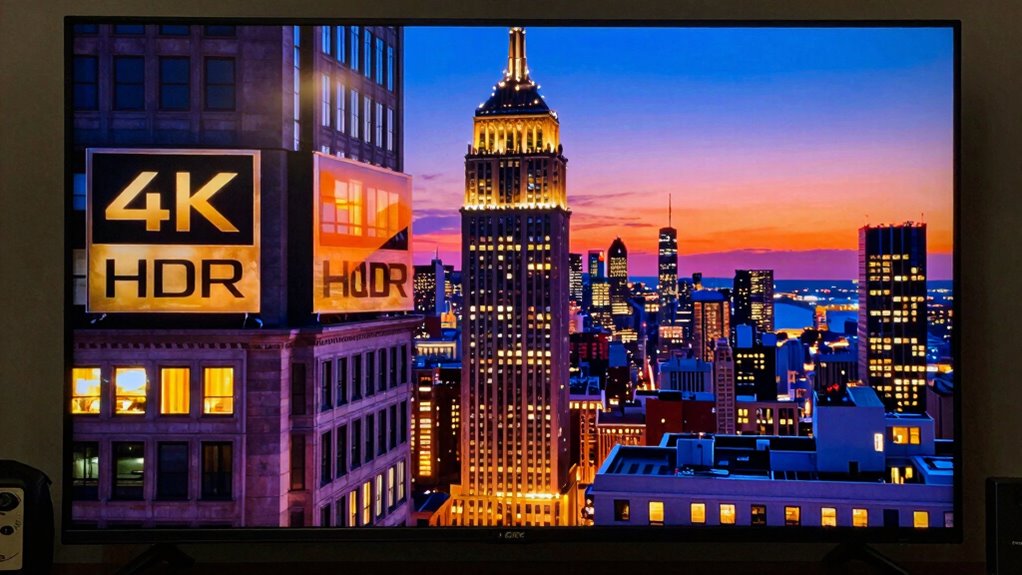
How to Properly Calibrate Your HDR Settings for Stunning Visuals
To get the best HDR visuals, you need to calibrate your settings carefully. Start by adjusting brightness and contrast to make details pop without losing shadow depth. Then, optimize color settings and guarantee HDR mode is enabled properly for stunning, true-to-life images.
Adjust Brightness and Contrast
Calibrating your HDR settings begins with adjusting brightness and contrast to guarantee your visuals are vibrant without appearing washed out or overly dark. Proper screen calibration ensures you maximize content compatibility, revealing true detail and depth. Start by lowering the brightness until black areas appear deep and shadow details are visible. Then, increase contrast until whites are bright but not blown out.
To refine your calibration:
- Use test patterns or calibration discs for precise adjustments
- Check for subtle details in dark and bright scenes
- Avoid over-boosting contrast, which can cause clipping
This process helps your TV display content accurately, ensuring HDR looks stunning without sacrificing image quality. Correct brightness and contrast settings are vital for a balanced, immersive viewing experience.
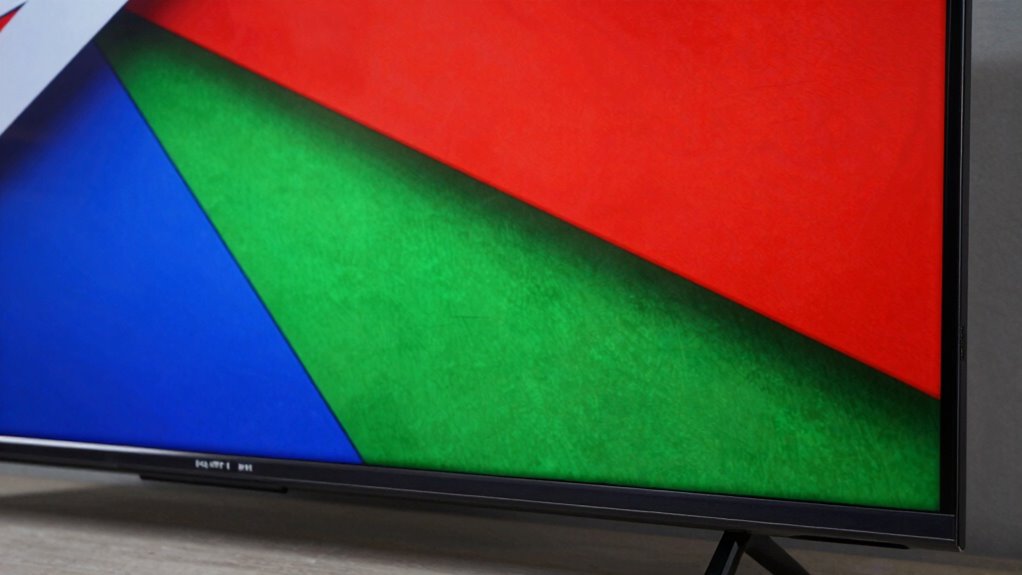
Optimize Color Settings
Once you’ve set the brightness and contrast, fine-tuning your color settings can make a significant difference in HDR picture quality. Start by adjusting the color saturation and hue to achieve accurate HDR color grading. Use TV calibration tools or built-in calibration modes to help you find the right balance, avoiding oversaturation or muted tones. Understanding calibration tools can help you achieve more precise and consistent results. Proper calibration also involves recognizing how color accuracy impacts overall picture quality, ensuring your display reproduces content as intended by the creators. Aim for natural, lifelike colors that enhance detail without appearing artificial. Remember, subtle adjustments often yield the best results, so make incremental changes and evaluate the picture after each tweak. Proper calibration ensures your HDR content looks vibrant and realistic, maximizing the benefits of 4K HDR. Investing time in this step guarantees visuals that are both stunning and true to the creator’s intent.
Enable Proper HDR Mode
Ensuring your TV is in the correct HDR mode is essential for achieving the best possible picture quality. When your television calibration is off, HDR content can look dull or overly bright. Start by accessing your TV settings and selecting the dedicated HDR mode, ensuring it’s optimized for HDR content. Properly enabling HDR mode guarantees your TV displays the full dynamic range and color spectrum intended by content creators.
To refine your calibration, consider:
- Verifying your TV’s firmware is up to date for optimal HDR support
- Adjusting brightness and contrast within the HDR settings for a balanced picture
- Using professional calibration tools or test patterns for precise tuning
Correct HDR mode ensures your display truly benefits from high dynamic range, delivering vibrant visuals and accurate color reproduction.

Highwings 8K 10K 4K HDMI Cable 48Gbps 6.6FT/2M, Certified Ultra High Speed HDMI Cable Braided Cord-4K@120Hz 8K@60Hz, DTS:X, HDCP 2.2 & 2.3, HDR 10 Compatible with Roku TV/PS5/HDTV/Blu-ray
Top Technology—-8K@60HZ: This 8K Ultra High Speed HDMI Cable uses the most cutting-edge technology, is compatible with 8K@60HZ…
As an affiliate, we earn on qualifying purchases.
As an affiliate, we earn on qualifying purchases.
Troubleshooting Brightness and Contrast Problems in HDR TVs
Brightness and contrast issues can make HDR content look dull or overly harsh, but many of these problems are fixable with some simple troubleshooting steps. First, check your TV’s picture settings—adjust the brightness and contrast sliders to find a natural balance. Confirm your HDR mode is properly enabled for accurate colors and luminance. Poor gaming performance can sometimes cause display issues, so update your firmware and check for any HDMI or HDMI cable problems. Also, sound calibration might seem unrelated, but it affects overall picture perception; correct calibration ensures you’re not compensating for audio-visual mismatches. If these steps don’t work, consider resetting your TV to factory settings and re-configuring. Proper calibration and settings can greatly improve HDR brightness and contrast, giving you a better viewing experience. Additionally, understanding how to care for your TV gear can help maintain optimal picture quality over time.
Maximize HDR Impact With Picture Modes and Color Adjustments
To truly maximize HDR impact, you need to leverage your TV’s picture modes and fine-tune color settings. Adjusting these settings allows you to enhance color grading and ensure better content adaptation to your viewing environment. Start by selecting a picture mode tailored for HDR content, like “Cinema” or “HDR Brightness.” Then, fine-tune color saturation and gamma for more accurate and vibrant images. Proper adjustment helps avoid oversaturated or washed-out visuals, making HDR details pop naturally. Consider these key points:
- Use custom picture modes for precise control over color grading.
- Adjust backlight and contrast to match your room’s lighting conditions.
- Fine-tune color temperature for natural skin tones and realistic hues.
These tweaks help your TV deliver a more authentic HDR experience, free from the distortions caused by default settings.
Tips to Maintain Your 4K HDR Picture Quality Over Time

Over time, your 4K HDR picture quality can degrade if you don’t take proper care of your TV. To maintain ideal HDR content, regularly update your TV’s firmware, ensuring it’s equipped to handle the latest HDR standards. Keep your TV’s refresh rate optimized for smooth motion, especially for fast-paced scenes. Avoid static images or prolonged display of HDR content, as this can cause screen burn-in or image retention. Use a gentle screen cleaning method to prevent dust and smudges that can diminish picture clarity. Additionally, adjust your picture settings periodically, as ambient lighting and content types can affect HDR performance. Properly caring for your TV’s hardware and settings helps preserve vibrant colors, contrast, and overall HDR quality over time. Being mindful of content quality and source can also impact your viewing experience and help maintain optimal picture fidelity. Regularly calibrating your display and understanding display calibration techniques can further enhance your HDR viewing experience. Incorporating proper viewing habits can also extend the lifespan of your TV’s picture quality. Paying attention to microplastics in dust and keeping your environment clean can also help prevent dust buildup that affects screen clarity over time.
Frequently Asked Questions
Can Factory Reset Improve My 4K HDR Picture Quality?
Yes, a factory reset can improve your 4K HDR picture quality by restoring default settings, which often corrects issues with color accuracy and brightness calibration. If your picture looks dull or overly saturated, resetting helps eliminate custom adjustments that may be misconfigured. After resetting, you can fine-tune these settings to suit your preferences, ensuring peak HDR performance and a more vibrant, accurate image.
Do Different Brands Have Varying HDR Calibration Settings?
Yes, different brands often have varying HDR calibration settings due to differences in brand consistency and calibration standards. You might notice that what looks good on one brand’s TV may not on another. It is crucial to fine-tune your settings for each brand, considering their unique calibration standards. Adjusting these settings ensures you get the best HDR experience, regardless of the brand, and prevents misinterpretation of picture quality.
How Often Should I Recalibrate My HDR TV?
You should recalibrate your HDR TV every six months to maintain ideal color accuracy and brightness uniformity. Regular recalibration helps ensure your display shows accurate colors and consistent brightness levels, preventing image degradation over time. If you notice color shifts or uneven brightness, recalibrate sooner. Keeping your settings updated guarantees you get the best picture quality, making your HDR content look vibrant and true to life.
Does Ambient Lighting Affect HDR Picture Quality?
Ambient lighting absolutely impacts HDR picture quality, and it’s like a sneaky villain sabotaging your viewing experience. Ambient effects and light interference can wash out vibrant colors and reduce contrast, making your HDR look dull and lifeless. To get the best picture, control your room’s lighting—dim or turn it off when watching HDR content. This way, your TV can deliver the stunning visuals it’s meant to show.
Are There Recommended Settings for Gaming Versus Movies?
For gaming, you should prioritize settings that enhance motion smoothing and reduce input lag, ensuring smooth gameplay. Adjust color accuracy to make visuals vibrant without oversaturation. For movies, turn off motion smoothing to preserve a natural look and improve cinematic quality. Fine-tune color accuracy for a more accurate picture. Switching between these profiles helps optimize your TV’s performance for each activity, giving you the best experience whether gaming or watching films.
Conclusion
Think of your TV as a garden; with the right care and adjustments, it blooms with vibrant, lifelike colors. When you tweak your settings carefully, HDR transforms your viewing experience from a dull landscape into a breathtaking vista. Don’t settle for a half-hearted garden—cultivate your TV’s potential. With patience and proper calibration, you’ll enjoy visuals that truly pop, making every scene feel like a vivid adventure waiting to unfold right in your living room.