
Performing a clean boot is a quick way to identify software conflicts that cause system errors or slowdowns. By disabling unnecessary programs and services, you create a minimal environment to test which software might be causing issues. This process helps you troubleshoot more effectively and pinpoint conflict sources without the interference of unnecessary background apps. Keep going to discover step-by-step instructions and tips to make this process easier and more successful.
Key Takeaways
- A clean boot starts Windows with only essential services and programs to isolate software conflicts.
- Disabling non-Microsoft services helps identify problematic software causing system issues.
- Re-enabling services one-by-one during a clean boot pinpoints the conflicting program.
- Performing a clean boot reduces background interference, making errors easier to diagnose.
- Regularly updating software and drivers prevents conflicts and maintains system stability.
Backup Pro 27 – Full system backup – restore – rescue – image – recover for Win 11, 10
KEEP YOUR SYSTEM SAFE – protect your computer from data loss in case of malware, system flaws or…
As an affiliate, we earn on qualifying purchases.
As an affiliate, we earn on qualifying purchases.
What Is a Clean Boot and Why Is It Useful for Troubleshooting Windows
Have you ever experienced a persistent error or system slowdown on your Windows PC? A clean boot helps identify software conflicts that cause these issues. By starting your PC with only essential services and startup programs, you can perform effective system optimization. This process disables unnecessary background apps, giving you a clearer view of what’s causing problems. It’s also useful for malware removal, as it prevents malicious programs from launching automatically. With a clean boot, you isolate problematic software, making troubleshooting faster and easier. Additionally, understanding content formats and digital concepts can help you better manage and customize your system environment. Once you find the culprit, you can disable or remove it without affecting your entire system. Overall, a clean boot streamlines diagnostics, improves performance, and enhances your ability to fix stubborn errors efficiently.

Infected Earth
As an affiliate, we earn on qualifying purchases.
As an affiliate, we earn on qualifying purchases.
Preparing Your PC for a Clean Boot: Backup and System Checks

Before starting a clean boot, you should back up your important files to prevent data loss. It’s also a good idea to create a system restore point, so you can easily revert if something goes wrong. Finally, check for any pending software updates to make sure your system is current and secure. Additionally, reviewing hardware compatibility can help ensure all components function properly after troubleshooting. Incorporating natural pool considerations into your planning can further enhance your system’s sustainability and performance.
Backup Important Files
Why is it essential to back up your important files before starting a clean boot? During the process, system changes could accidentally cause data loss or corruption. To protect yourself, back up critical files beforehand. Use file encryption to secure sensitive information, guaranteeing that even if files are compromised, they remain protected. Cloud backup offers a quick, reliable way to store copies of your documents off-site, reducing the risk of local hardware failure. By backing up your files, you create a safety net, so you won’t lose valuable data if something goes wrong. This step helps you focus on troubleshooting without worrying about losing irreplaceable files or personal information. Always verify your backup before proceeding to ensure your data is safe.
Create System Restore Point
Creating a system restore point is a essential step in preparing your PC for a clean boot. It allows you to revert your system to a previous state if anything goes wrong. To guarantee a smooth process, follow these steps:
- Access the System Restore feature through your control panel or search bar.
- Choose “Create a restore point” and select your main drive.
- Name the restore point clearly to identify it later.
- Click “Create” to generate the restore point, confirming the process with backup verification.
This assures you have a reliable backup of your current setup, making system restore easy if needed. It’s a critical safeguard that minimizes risks during troubleshooting or software conflicts.
Check for Software Updates
Have you checked that all your software is up to date before starting a clean boot? Confirming your programs are current improves software compatibility and reduces potential conflicts. Look out for update notifications, which often prompt you to install the latest versions. Updating your software can fix bugs, close security vulnerabilities, and enhance performance. Outdated apps may cause issues during a clean boot, so it’s best to update everything beforehand. Visit each application’s website or use built-in update features to keep your software current. By doing this, you minimize the risk of false conflicts caused by outdated versions and create a smoother troubleshooting process. Staying proactive with updates helps ensure that your clean boot accurately identifies genuine software conflicts.

FixMeStick Gold Computer Virus Removal Stick for Windows PCs – Unlimited Use on Up to 5 Laptops or Desktops for 2 Years – Works with Your Antivirus
WHAT YOU GET: FixMeStick Virus Removal Tool for Windows PCs (Windows XP, Vista, 7, 8, 8.1, 10, and…
As an affiliate, we earn on qualifying purchases.
As an affiliate, we earn on qualifying purchases.
How to Perform a Clean Boot in Windows Step-by-Step
To perform a clean boot, you first need to prepare your system by closing unnecessary programs and disabling startup items. Once your system is ready, you’ll execute the clean boot process through specific Windows settings. This step-by-step approach helps isolate issues and guarantees a smooth troubleshooting experience. Additionally, understanding cybersecurity tactics can help you recognize potential security risks that may interfere with system stability during troubleshooting. Knowing how to identify and prevent software conflicts can further improve your troubleshooting efficiency and system reliability. Being aware of system performance optimization techniques can also assist in maintaining a stable environment during the process, which is crucial for ensuring software quality assurance and compliance.
Preparing Your System
Are you ready to prepare your system for a clean boot? First, ensure you have the necessary user permissions—administrative rights are essential to make system changes. Next, back up your data, especially if planning hardware upgrades or significant updates. Then, close all running applications to prevent conflicts during the process. Finally, disable unnecessary startup programs to streamline your system. Here’s a quick overview:
- Confirm you have administrator privileges
- Back up important files and system data
- Close all open applications
- Disable non-essential startup programs
Before proceeding, review your system’s alert history to identify potential issues that might affect the clean boot process. Following these steps helps prevent issues related to hardware upgrades or permissions, ensuring a smooth clean boot process and accurate troubleshooting.
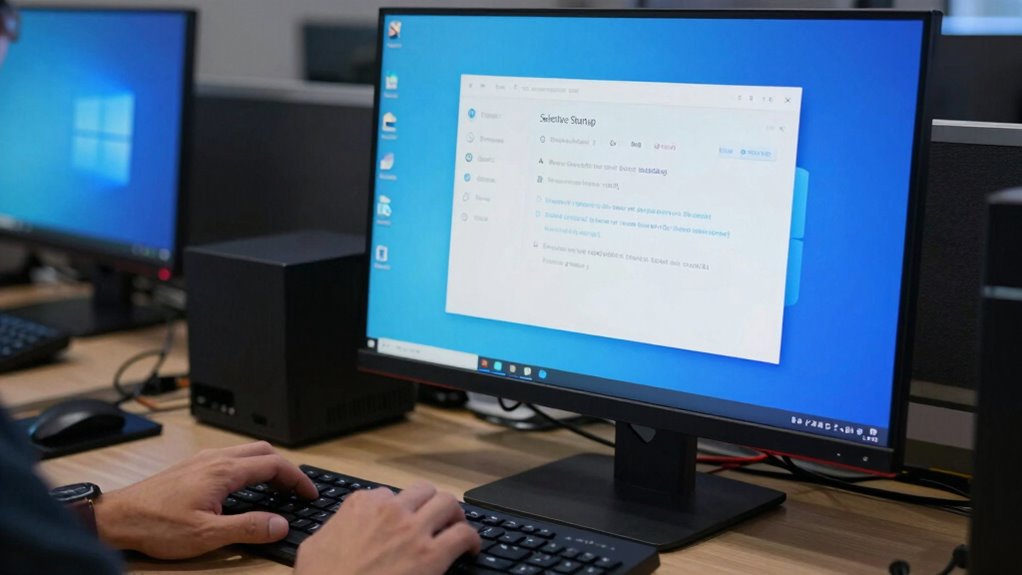
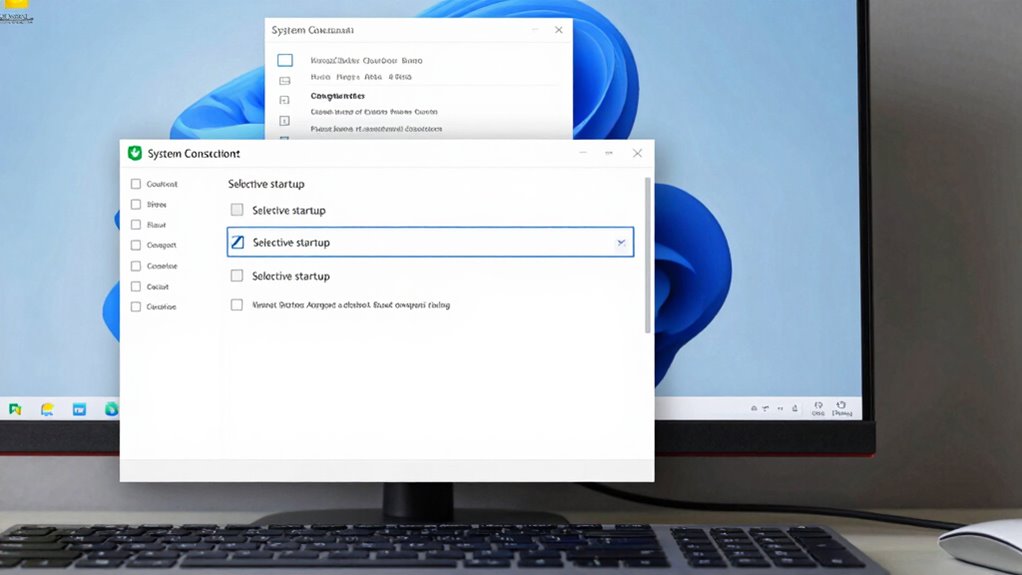
Executing the Clean Boot
After completing the preparation steps, you’re ready to perform the actual clean boot. To do this, open the System Configuration tool by typing “msconfig” into the Run dialog (Win + R). Under the Services tab, check “Hide all Microsoft services,” then click “Disable all.” Next, go to the Startup tab and click “Open Task Manager.” Disable all startup items listed there. Close Task Manager and return to System Configuration, then click OK and restart your computer. This process temporarily disables non-essential services and startup programs, helping you isolate issues. Executing the clean boot is a critical troubleshooting technique that simplifies your system configuration, making it easier to identify software conflicts and resolve problems efficiently. Additionally, understanding regional flavors and pairings can offer insights into how different software environments behave, aiding in comprehensive troubleshooting. Recognizing the costs associated with maintaining various devices can also help prioritize which issues to address first, ensuring a more efficient troubleshooting process. Moreover, considering the impact of cryptid sightings and paranormal phenomena may help in differentiating between genuine issues and superstition-driven misconceptions. Being aware of software interactions can further enhance your troubleshooting effectiveness by highlighting potential sources of conflicts.

The Bookkeeper's AI Tax Prep Companion : AI Enhanced Procedures for Cleanup, Categorization, Reconciliation, Documentation & Tax Ready Support
As an affiliate, we earn on qualifying purchases.
As an affiliate, we earn on qualifying purchases.
How to Find Which Software or Service Is Causing Problems
Wondering which software or service is causing your system issues? To identify the culprit, you’ll need to use troubleshooting techniques that isolate the problematic software conflicts. Start by:
- Disabling non-essential services in your clean boot environment.
- Re-enabling services one by one, restarting after each, to spot when problems reappear.
- Monitoring system behavior closely during each step to catch conflicts early.
- Reviewing error messages or logs to pinpoint software or service conflicts causing instability.
This process helps you systematically narrow down the source of issues without reinstalling or removing programs prematurely. By carefully testing in a clean boot state, you can efficiently find the troublemaker, saving time and avoiding unnecessary troubleshooting efforts.
Testing and Diagnosing Software Conflicts After a Clean Boot
Once you’ve completed a clean boot, the next step is to systematically test and diagnose software conflicts to identify the source of issues. Start by observing how your system behaves in this minimal state, noting any remaining problems. Use diagnostic tools to help pinpoint conflicting software or services. These tools can analyze system logs, monitor resource usage, or identify error messages, providing valuable insights into potential conflict resolution. Run specific applications or perform tasks that previously caused issues, then document any anomalies or errors. This process helps you narrow down the root cause of conflicts. Remember, careful documentation and methodical testing are key to effective diagnosis. By leveraging diagnostic tools, you can efficiently detect software conflicts and prepare for targeted fixes.
What to Do Next to Fix Software Conflicts
With the source of software conflicts identified through testing and diagnostics, your next step is to implement targeted fixes to resolve the issues. Focus on improving software compatibility and conflict resolution. Here are some effective actions:
- Update the conflicting software to the latest version to fix compatibility issues.
- Disable or uninstall recently added programs that may be causing conflicts.
- Reinstall problematic applications to guarantee proper setup.
- Check for driver updates, especially for hardware components involved in the conflict.
Common Mistakes to Avoid When Performing a Clean Boot
Performing a clean boot is a useful troubleshooting step, but it’s easy to make mistakes that can hinder your progress. One common error is disabling essential services or startup programs that are crucial for Windows to function properly. This can lead to unexpected issues or mask the real cause of software conflicts. Another mistake is rushing through the process without thoroughly documenting your changes, making it harder to revert if needed. Additionally, some users forget to re-enable all services and startup items after troubleshooting, which can cause ongoing problems. To optimize your troubleshooting strategies, confirm you follow each step carefully and double-check your modifications. Avoid skipping important steps, and always test your system after each change to accurately identify the source of software conflicts. For effective troubleshooting, understanding how different system components interact during a clean boot can help you avoid unnecessary errors.
Tips to Keep Your Windows System Stable and Conflict-Free

Maintaining a stable and conflict-free Windows system requires ongoing attention to how different components interact. To enhance system optimization and manage software effectively, follow these tips:
- Regularly update Windows and drivers to patch vulnerabilities and improve stability.
- Uninstall unused or problematic software to reduce conflicts and optimize performance.
- Use built-in tools like Disk Cleanup and Defragmenter to keep your system running smoothly.
- Schedule routine scans with antivirus and anti-malware programs to prevent security threats that can destabilize your system.
- Be mindful of software conflicts that can arise from incompatible programs or outdated drivers, and address them promptly.
Frequently Asked Questions
Can a Clean Boot Affect My Personal Files or Data?
A clean boot won’t affect your personal files or data, so your data safety and file integrity stay intact. When you perform a clean boot, it only temporarily disables third-party startup programs and services, not your personal files. You can confidently use a clean boot to troubleshoot issues without risking any loss of important data. Just remember to back up your data regularly to guarantee extra safety.
How Often Should I Perform a Clean Boot for Maintenance?
You should perform a clean boot monthly to maintain ideal system stability and keep boot timing swift. Think of it as giving your computer a regular health check-up—preventing issues before they grow into chaos. Frequent clean boots help identify conflicts early, ensuring your system runs smoothly. If you notice slowdowns or errors, doing a clean boot more often can be a proactive way to keep everything running like clockwork.
Does a Clean Boot Improve Overall System Performance?
Yes, a clean boot can improve your overall system performance by enhancing system stability and boot speed. When you perform a clean boot, you disable unnecessary startup programs and services, reducing background processes that slow down your computer. This streamlined environment allows your system to run more efficiently, making it quicker to start up and more stable during operation. Regular clean boots can help maintain peak performance over time.
Are There Risks Involved in Disabling Services During a Clean Boot?
You’re playing with fire when disabling services during a clean boot, as it can lead to service conflicts or cause essential startup programs to stop working properly. While it’s a powerful troubleshooting tool, you could unintentionally disrupt system stability. Always back up your settings and proceed carefully. If you’re unsure, consult documentation or seek expert help to avoid potential issues that can arise from turning off critical services.
Can a Clean Boot Fix Hardware-Related Issues?
A clean boot mainly helps with software troubleshooting, so it’s unlikely to directly fix hardware-related issues. However, it can assist in hardware troubleshooting by isolating driver conflicts or software that might be causing hardware problems. When you disable non-essential startup items and services, you reduce potential conflicts, making it easier to identify whether hardware or driver conflicts are behind your issue. But for hardware failures, you’ll still need to check physical components.
Conclusion
By performing a clean boot, you simplify your troubleshooting, clarify your issues, and identify conflicts quickly. It’s about reducing complexity, restoring stability, and regaining control. When you isolate problems, you eliminate guesswork, streamline solutions, and strengthen your system’s health. Embrace the process, follow the steps, and learn from each step. Ultimately, a clean boot isn’t just about fixing problems—it’s about empowering your PC to run smoothly, confidently, and reliably every time.