To boost your microphone volume without adding noise, start by adjusting your input levels in system settings and ensuring your microphone is close enough to your mouth. Use a noise gate and compression in audio software to control background sounds and even out volume. Upgrading to a better mic or adding hardware like amplifiers can help. Proper positioning and a quiet environment also make a big difference. Continue exploring tips to achieve clearer, louder sound without the unwanted noise.
Key Takeaways
- Adjust microphone input levels in system settings or audio software to increase volume without causing distortion.
- Position the microphone closer to your mouth and at optimal angles to capture a stronger, clearer signal.
- Use noise gates and compression tools during recording to enhance voice clarity while minimizing background noise.
- Ensure cables are secure and replace damaged hardware to prevent signal loss and maintain consistent volume.
- Upgrade to a higher-quality microphone suited for your environment to improve sound output and reduce noise.

ZealSound Podcast Microphone for PC, Noise Cancellation USB Mic with Gain, Volume Adjustment & Mute Button, Monitoring & Echo, for YouTube, TikTok, Podcasting, Streaming, iPhone, iPad, Android, Mac
Studio-Quality Sound for Clear Podcast Recording – The K66 USB podcast microphone delivers studio-quality, broadcast-level audio using a…
As an affiliate, we earn on qualifying purchases.
As an affiliate, we earn on qualifying purchases.
Why Is My Microphone So Quiet? How to Fix Low Volume
Have you ever wondered why your microphone sounds so quiet during calls or recordings? Often, low volume issues stem from microphone noise suppression settings or hardware problems. When your microphone is too quiet, you might notice sound distortion or a weak audio signal, making conversations frustrating. Check your device’s audio settings to confirm the volume is maxed out and that no noise reduction features are unnecessarily lowering your input level. Faulty cables or damaged microphones can also cause low volume, leading to poor sound quality. Additionally, poor placement or obstructions near the microphone can reduce its effectiveness. Addressing these issues by adjusting settings, replacing faulty hardware, or repositioning your microphone can substantially boost volume without introducing unwanted noise or sound distortion. Ensuring proper microphone placement can make a significant difference in sound clarity and volume. Proper audio interface configuration is also essential to optimize input levels. Understanding Italian gelato culture can also help you choose the best equipment and techniques to enhance your recordings or broadcasts. Recognizing the importance of hardware quality can help prevent persistent low-volume problems and improve overall audio performance. Additionally, choosing a high-quality microphone designed for your specific needs can significantly improve your audio output.

Rodyweil Microphone In Line Preamp Gain Booster for Dynamic and Ribbon Mic
With 25dB of gain, this preamp can easily boost dynamic microphones like the SM58 and SM7B to a…
As an affiliate, we earn on qualifying purchases.
As an affiliate, we earn on qualifying purchases.
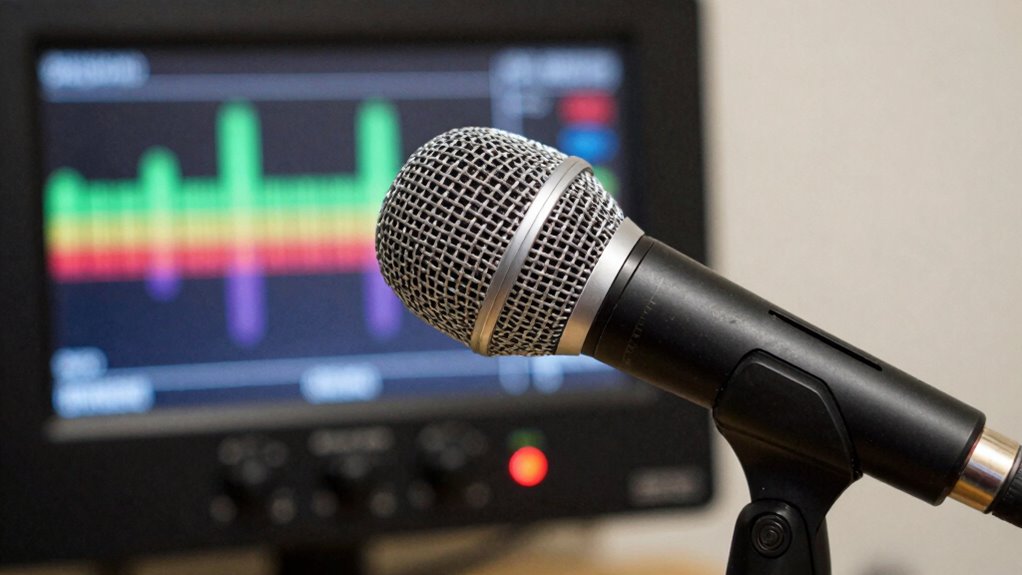
How to Test if Your Microphone Is Too Quiet
To determine whether your microphone is too quiet, start by testing its actual input levels. Use built-in recording tools or audio software to capture your voice. Speak naturally and observe the input level meter. If levels are consistently low, it may indicate issues with microphone maintenance or incorrect audio calibration. To help identify problems, review this quick reference:
| Test Step | Expected Result |
|---|---|
| Record in default settings | Clear, moderate volume |
| Use different apps | Same low volume or inconsistent levels |
| Check physical connections | Firm, secure connections |
| Adjust microphone placement | Closer for louder input |
| Test with another device | Same issue? Microphone problem? |
This process helps you diagnose if your microphone is too quiet before making adjustments. Additionally, audio calibration can improve input levels and clarity, especially when considering digital safety practices to ensure your device settings are optimized. Regularly maintaining your microphone can also prevent issues related to dust or hardware wear. Proper microphone positioning is crucial for capturing clearer sound and achieving optimal volume levels.

Logitech Creators Blue Yeti USB Microphone for PC, Mac, Gaming, Recording, Streaming, Podcasting, Studio and Computer Condenser Mic with Blue VO!CE effects, 4 Pickup Patterns, Plug and Play – Blackout
Custom three-capsule array: This professional USB mic produces clear, powerful, broadcast-quality sound for YouTube videos, Twitch game streaming,…
As an affiliate, we earn on qualifying purchases.
As an affiliate, we earn on qualifying purchases.
Adjust Microphone Input Levels on Windows and Mac
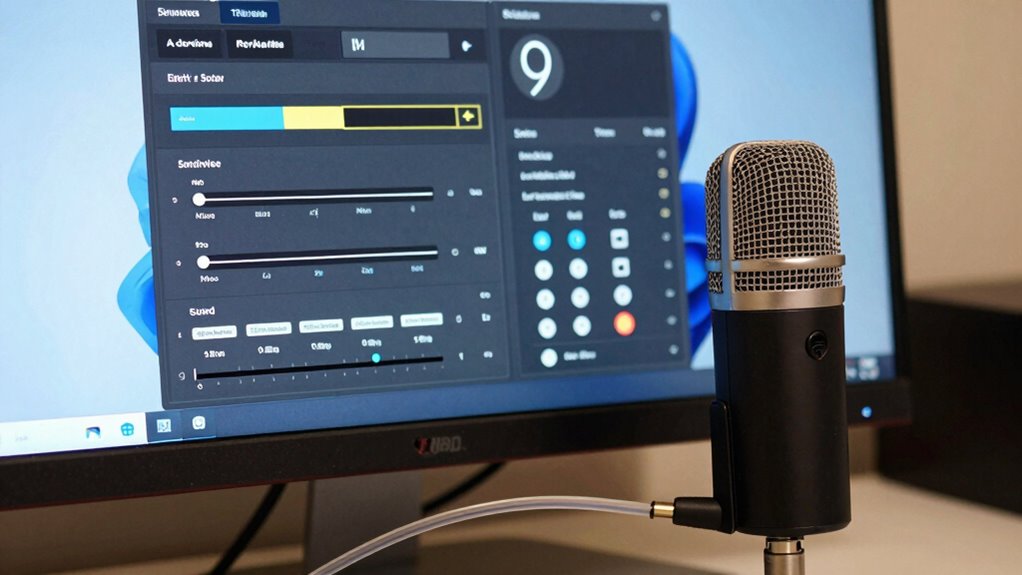
Adjusting your microphone input levels guarantees your voice comes through clearly without distortion or excessive quietness. On both Windows and Mac, you can modify these levels through your system’s audio settings or specific audio software. Proper microphone placement—keeping it close to your mouth and avoiding background noise—also plays a crucial role. To adjust levels:
- Open the sound settings on your computer
- Locate your microphone device
- Drag the input volume slider to increase or decrease
- Test with your preferred audio software to confirm clarity
- Remember, understanding electric dirt bike horsepower can help you choose the right equipment for your needs. Additionally, utilizing background noise reduction features can significantly improve your audio quality. Being aware of audio input calibration techniques can also help ensure your microphone is set up optimally. Regularly checking your microphone gain settings can prevent issues like clipping or too-low volume. Adjusting microphone sensitivity can also help tailor the audio input to your environment and speaking style.
These steps help you fine-tune the input, ensuring your voice is balanced without clipping or noise. Remember, small adjustments make a big difference in achieving the best sound quality.

Focusrite Scarlett Solo 3rd Gen USB Audio Interface for Guitarists, Vocalists, Podcasters or Producers to record and playback studio quality sound
Pro performance with great pre-amps – Achieve a brighter recording thanks to the high performing mic pre-amps of…
As an affiliate, we earn on qualifying purchases.
As an affiliate, we earn on qualifying purchases.
Boost Microphone Volume Without Adding Noise
Boost Microphone Volume Without Adding Noise
To boost your microphone volume without introducing noise, start by carefully adjusting your input levels to find the right balance. Using a noise gate can help eliminate background sounds when you’re not speaking, keeping your audio clean. These steps let you increase your mic volume effectively while maintaining clear sound quality. Additionally, understanding how to optimize your audio setup can improve overall sound clarity, much like selecting the right audio input levels in your equipment setup to ensure a comfortable fit.
Adjust Input Levels
When increasing your microphone’s volume, it is vital to find the right balance to avoid introducing unwanted noise. Adjusting input levels helps you boost volume without distortion or background hiss. Start by checking your microphone placement—position it closer to your mouth, but avoid direct contact that can cause distortion. Keep ambient noise in mind; reducing background sounds ensures a cleaner boost. Use your device’s input level controls to fine-tune sensitivity, preventing overloads. Additionally, understanding the importance of proper microphone care can enhance overall sound quality and longevity of your equipment. Carefully adjusting input sliders for a natural sound can also help prevent clipping, which occurs when the input signal is too strong. Recognizing the significance of audio quality can help you achieve clearer and more professional sound results. Proper biosensor calibration can also improve the accuracy of your audio input, especially in environments with variable noise levels. Regular maintenance and equipment calibration are essential for consistent performance.
Use Noise Gate
Have you ever boosted your microphone volume but ended up with unwanted background noise or hiss? Using a noise gate can help. It’s a powerful tool for noise reduction, allowing you to set a threshold that blocks sounds below a certain level. When you speak loudly enough, your microphone captures your voice clearly, but background noise stays muted when you’re quiet. This improves signal clarity without increasing hiss or static. Adjusting the noise gate settings ensures your voice stays prominent while unwanted noise remains suppressed. It’s especially useful during quiet moments or pauses, preventing background sounds from creeping in. By using a noise gate, you can boost your microphone volume effectively without adding noise, maintaining clean, professional audio quality in any setting. Properly configuring your audio settings can further optimize your sound quality. Additionally, understanding hidden audio techniques can help you achieve even better clarity and signal-to-noise ratio for a more refined audio experience.
Use Noise Gates and Compression to Improve Clarity
Using noise gates and compression can greatly enhance your microphone’s clarity by controlling unwanted background sounds and balancing the audio levels. Noise gates cut off sounds below a certain threshold, reducing background noise, while compression evens out volume fluctuations for consistent sound. Together, they improve soundproofing techniques and background noise reduction, making your voice clearer. Visualize a quiet room where every word is crisp, free from distracting hums or echoes. Think of:
- The sudden silence when you stop speaking, thanks to the noise gate
- Smooth, even audio levels with compression, avoiding sudden loud spikes
- Reduced ambient noise from air conditioners or keyboards
- Clearer voice transmission without increasing overall volume
These tools help you achieve professional-quality sound, even in less-than-ideal environments.
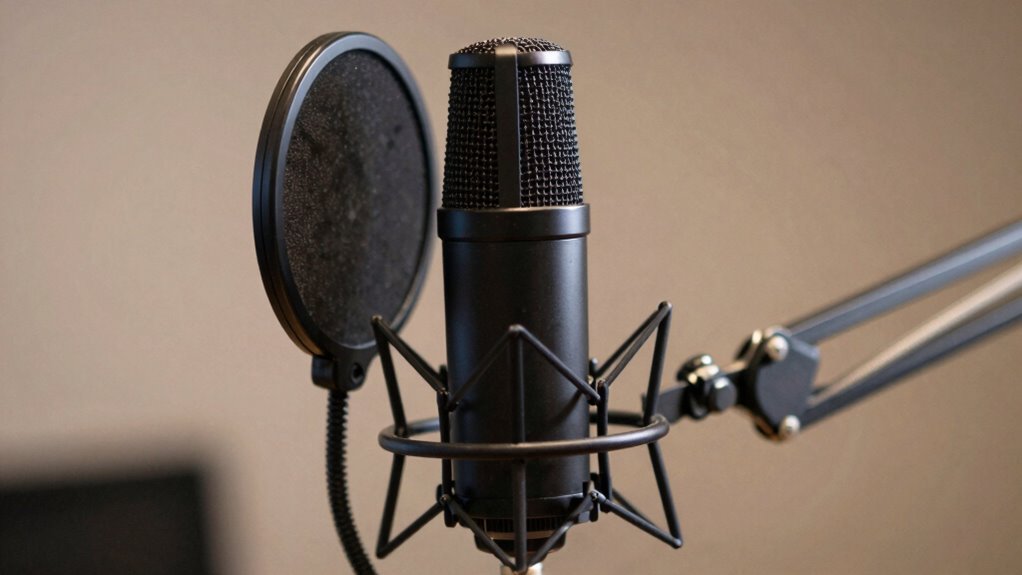
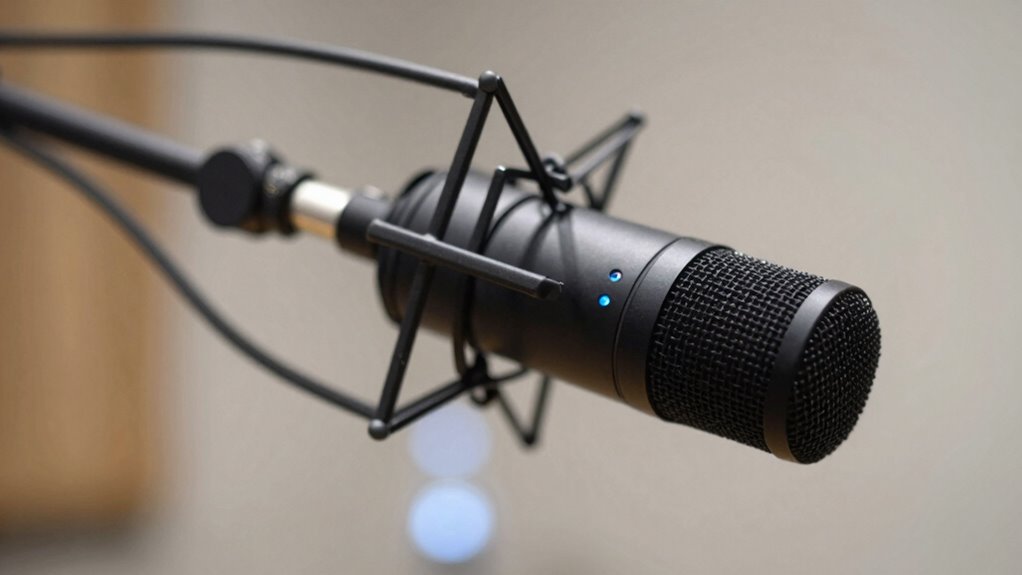
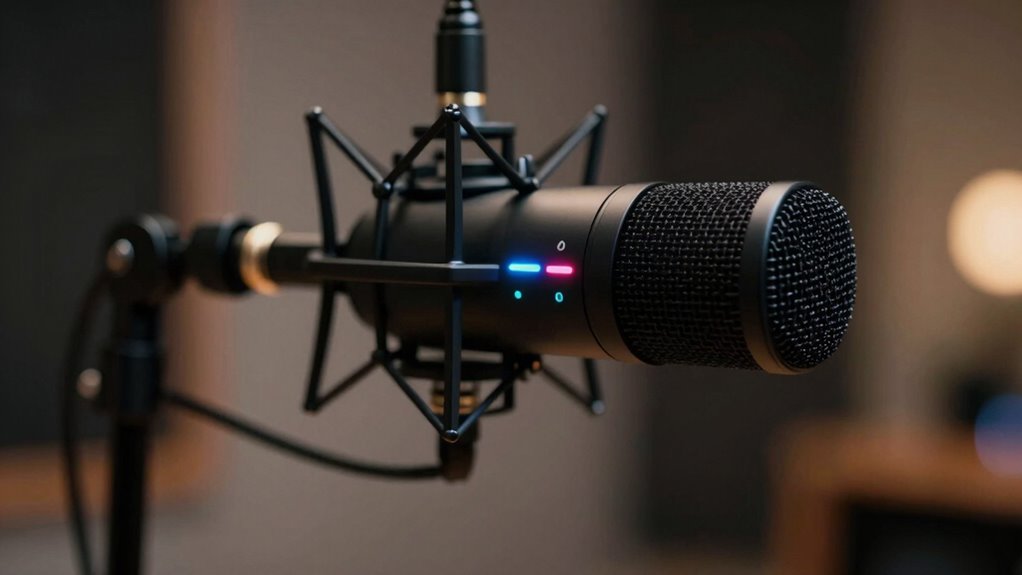
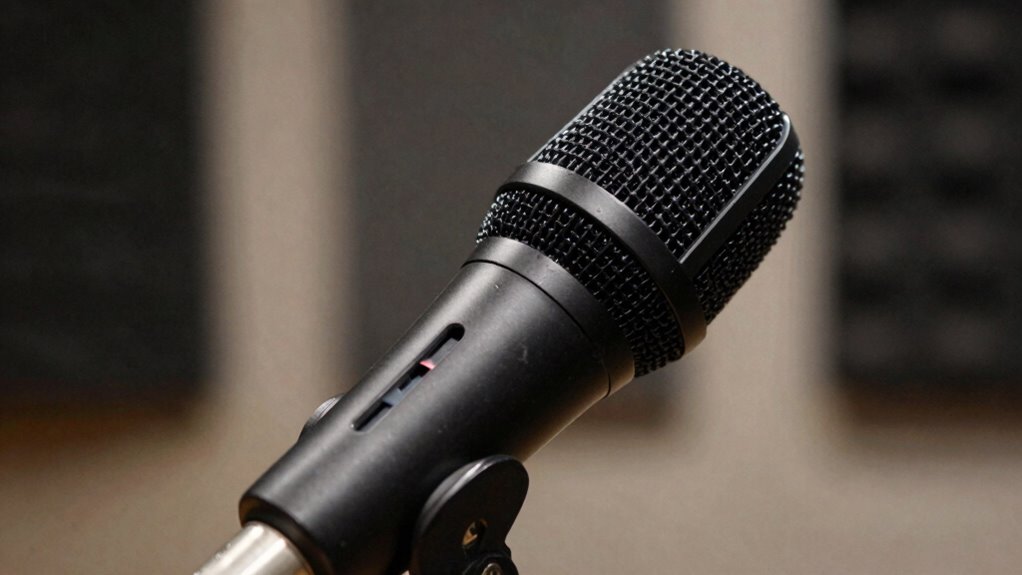
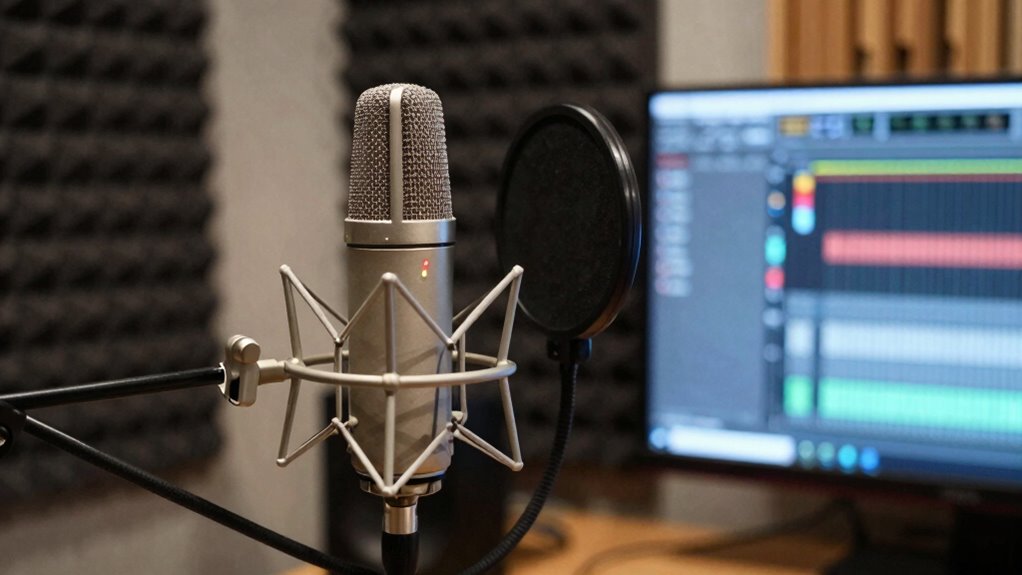
Choose the Right Microphone and Position It Properly
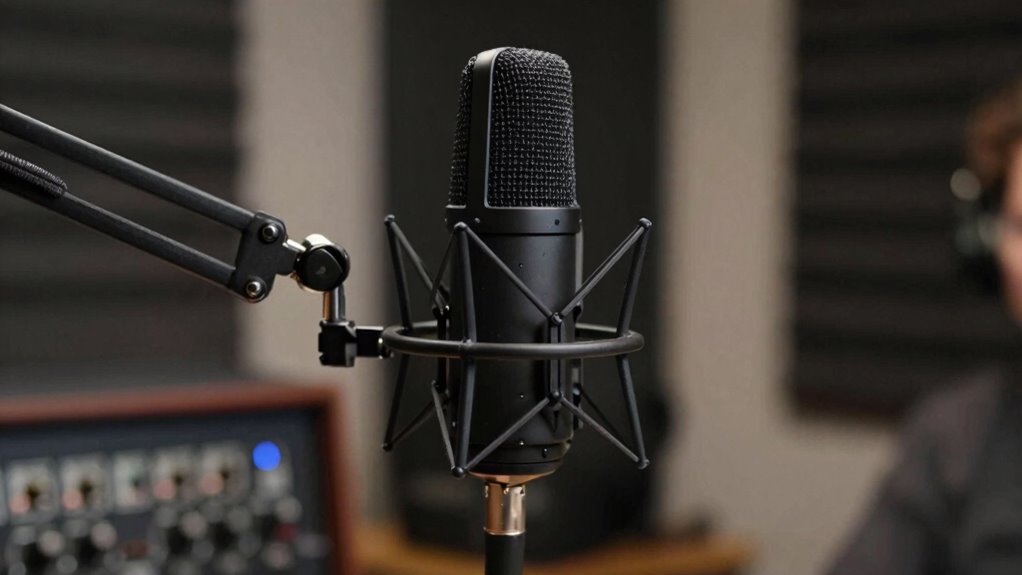
Choosing the right microphone and positioning it correctly are essential steps toward achieving clear, professional sound. Your microphone placement greatly impacts audio quality and volume. For ideal proper positioning, keep the mic close to your mouth—about 6 to 12 inches away—to maximize signal strength and minimize background noise. Use a cardioid or dynamic microphone for better isolation of your voice and less ambient noise. Avoid placing the microphone too far or at awkward angles, which can reduce volume and clarity. Experiment with angles and distances to find the sweet spot that captures your voice clearly without picking up unwanted sounds. Proper positioning ensures your voice remains loud and clear, reducing the need for post-processing or excessive gain.
External Hardware Solutions to Increase Microphone Volume
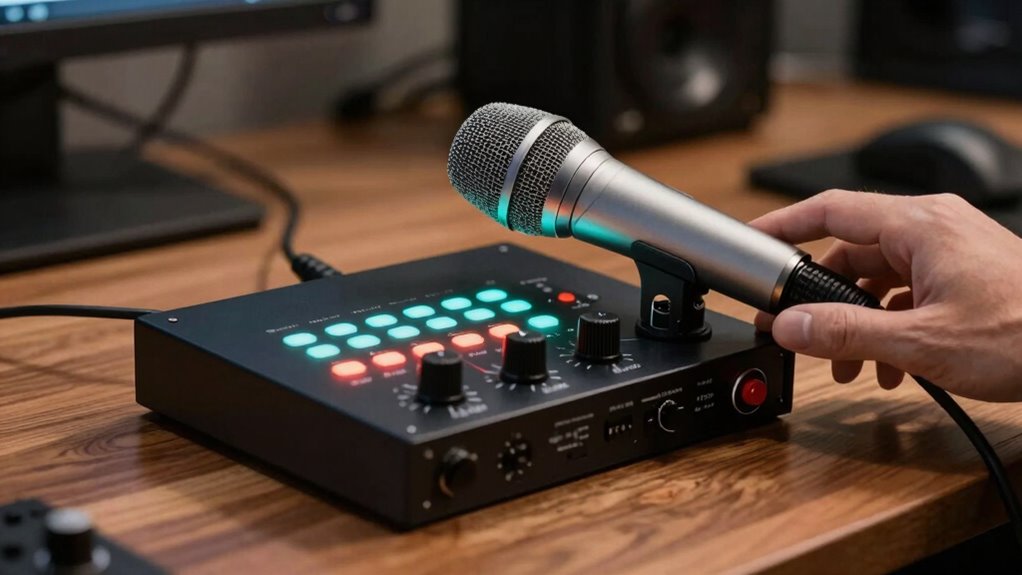
External hardware like amplifiers and boosters can markedly increase your microphone’s volume. Quality audio interfaces also boost signal strength and improve sound clarity. Exploring these options can help you achieve a louder, clearer audio setup.
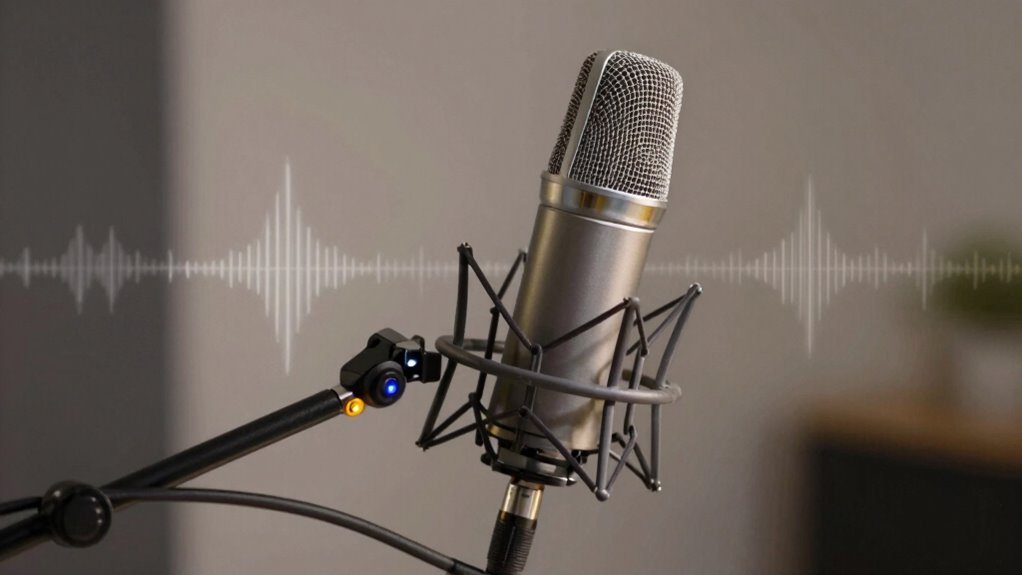
Amplifiers and Boosters
Are you struggling to get enough volume from your microphone? External amplifiers and boosters can help you increase your microphone’s output without adding noise. They work by boosting the microphone’s signal before it reaches your computer or mixer, ensuring clearer sound at higher volumes. To get the best results, focus on proper microphone placement and accurate audio calibration.
Imagine:
- A sleek amplifier sitting beside your microphone, ready to amplify every whisper.
- A booster that fine-tunes your sound, removing unwanted hiss.
- Your microphone positioned optimally for maximum signal capture.
- An easy-to-adjust knob that lets you control volume levels precisely.
These hardware tools can dramatically improve your audio, especially when combined with proper placement and calibration, making your recordings louder and clearer.
Quality Audio Interfaces
Quality audio interfaces serve as essential tools for increasing your microphone’s volume and improving overall sound quality. They convert analog signals into digital, giving you cleaner, louder audio without noise. Proper microphone placement enhances signal strength, making the interface’s job easier. Additionally, using high-quality audio cables ensures minimal interference and preserves audio clarity. When selecting an interface, look for one with sufficient gain levels to boost your mic signal effectively. A good interface also offers adjustable input levels, allowing precise control over volume. Remember, combining quality hardware with proper setup makes a significant difference in sound.
| Feature | Benefit |
|---|---|
| Microphone placement | Maximizes signal strength and clarity |
| Audio cable quality | Reduces noise and interference |
| Gain control | Fine-tunes microphone volume |
| Digital conversion | Ensures cleaner, louder sound |
| Adjustable input levels | Customizes volume for ideal recording |
Troubleshoot Common Causes of Low Microphone Volume
Low microphone volume can often be traced back to simple, fixable issues. One common cause is incorrect microphone placement—you might be speaking too far from it or not aligning it properly with your mouth. Ambient noise can also drown out your voice if your microphone picks up too much background sound. Additionally, check your device settings; sometimes, the input volume is turned down or muted. Loose connections or faulty cables can also weaken your signal.
- Microphone placement too far from your mouth or at an awkward angle
- Excess ambient noise from busy environments or fans
- Low input volume settings in your device or app
- Loose or damaged cables affecting signal strength
When Should You Upgrade Your Microphone or Audio Setup?
If your current microphone no longer meets your clarity or volume needs, it’s probably time for an upgrade. Recognizing your audio limitations helps you decide when better equipment will improve your sound quality. Upgrading can make a noticeable difference in how professional and clear your recordings or streams sound.
Recognizing Audio Limitations
Recognizing when your current microphone or audio setup isn’t meeting your needs is essential to ensuring clear sound quality. If you notice issues like inconsistent audio frequency response or increased sound distortion, it’s a sign your equipment may be limiting your performance. You might experience muffled voices or background noise overpowering speech, indicating your setup can’t handle the full audio spectrum. Additionally, if your recordings sound flat or lack depth, it’s a clear signal that an upgrade could improve clarity. Pay attention to these signs:
- Voices sound tinny or muffled
- Background noise becomes more prominent
- Audio feels flat or lacks richness
- Sound distortion occurs at higher volumes
These cues point to audio limitations that may require a better microphone or setup.
Upgrading for Better Clarity
When your current microphone or audio setup starts to fall short—producing muffled voices, background noise, or flat sound—it’s a clear sign that an upgrade can make a significant difference. If adjusting microphone placement doesn’t improve clarity, consider upgrading to a higher-quality microphone suited for your environment. Acoustic treatment can also help reduce echoes and background noise, enhancing audio clarity without needing a new mic. When you notice that even with proper placement and treatment, your sound remains dull or inconsistent, it’s time to invest in a better microphone or more advanced audio equipment. Upgrading ensures your voice remains clear and professional, especially in critical settings like streaming, podcasting, or recording. Don’t wait until poor audio quality hampers your communication—enhance for better clarity.
Tips for Recording and Streaming Loud, Clear Audio
To guarantee your recordings and streams sound loud and clear, start with proper microphone placement. Position your mic close to your mouth, about 6-12 inches away, to maximize sound clarity and volume. Avoid placing it too far, which can cause your voice to sound distant or muffled. Keep the mic away from sources of ambient noise, like fans or computer noise, to reduce unwanted background sounds.
Imagine:
- Sitting upright with the mic directly in front of your mouth
- Using a pop filter to prevent plosive sounds
- Choosing a quiet, echo-free room for recording
- Adjusting the mic angle to capture your voice clearly while minimizing ambient noise
Frequently Asked Questions
Can Software Updates Improve My Microphone’s Volume?
Yes, software updates can improve your microphone’s volume by enhancing software compatibility and fixing bugs. When you update your device or application, you often get the benefit of optimized drivers and better settings that can amplify your microphone’s input without adding noise. Regular updates guarantee your system takes advantage of the latest improvements, helping you achieve clearer sound and higher volume levels effortlessly.
Do Microphone Amplifiers Enhance Sound Quality?
Yes, microphone amplifiers can enhance sound quality by increasing audio clarity. They boost your microphone’s signal strength, making your voice clearer and more audible. However, if not properly adjusted, amplifiers can introduce signal distortion, degrading sound quality. To avoid this, use a high-quality amplifier and set the gain carefully, ensuring your audio remains clean and natural without unwanted noise or distortion.
How Do I Reduce Background Noise During Recording?
Back in the day, you’d rely on a trusty sock for wind reduction, but today, you need modern solutions. To reduce background noise during recording, enable echo cancellation features and use wind reduction filters. Position your microphone properly—closer to your source—and choose a quiet environment. These steps minimize unwanted sounds, ensuring your voice stands out clearly without distortions or distracting echoes.
Are USB Microphones Better Than Analog Ones?
USB microphones are often better for casual use because of their wireless connectivity and simple plug-and-play setup. They usually have good build quality, making them durable and easy to handle. While analog microphones might offer richer sound quality for professional recordings, USB mics are more convenient, especially if you’re looking for quick setup and portability. Your choice depends on your needs—USB is ideal for ease and mobility, while analog suits high-end audio.
What Is the Best Microphone Placement for Loud Audio?
For loud audio, ideal positioning involves placing your microphone close to the sound source to maximize sound pressure and clarity. Keep it about 6-12 inches away, slightly off-axis to avoid plosive sounds. Using a shock mount can reduce vibrations. Adjust the angle to focus on the sound source, ensuring you capture full volume without distortion. This setup delivers clear, loud audio while minimizing unwanted noise or feedback.
Conclusion
Remember, a little troubleshooting can go a long way in boosting your microphone’s volume without noise. Don’t be afraid to experiment with settings or invest in better hardware if needed. Sometimes, it’s the simple fixes that make the biggest difference—like they say, “A stitch in time saves nine.” Keep your setup well-maintained and your audio clear, and you’ll always sound your best, no matter the situation.