To look better on camera, place your webcam at or just above eye level and angle it slightly downward. This position flatters your face, reduces unflattering shadows, and avoids distortions like looking up your nose. Keep the camera centered and framing your face well, using adjustable mounts or tripods for the best angle. Experiment with lighting and background for a polished look. Want to master your setup? Keep exploring for more expert tips.
Key Takeaways
- Position your webcam at or slightly above eye level for a more flattering, natural look.
- Keep the camera centered and face forward to ensure balanced framing and focus on your face.
- Use adjustable mounts or tripods to achieve the optimal height and tilt for a comfortable, professional angle.
- Avoid extreme angles or tilting, which can distort features or appear unprofessional.
- Experiment with lighting and background to complement your webcam angle and enhance overall appearance.

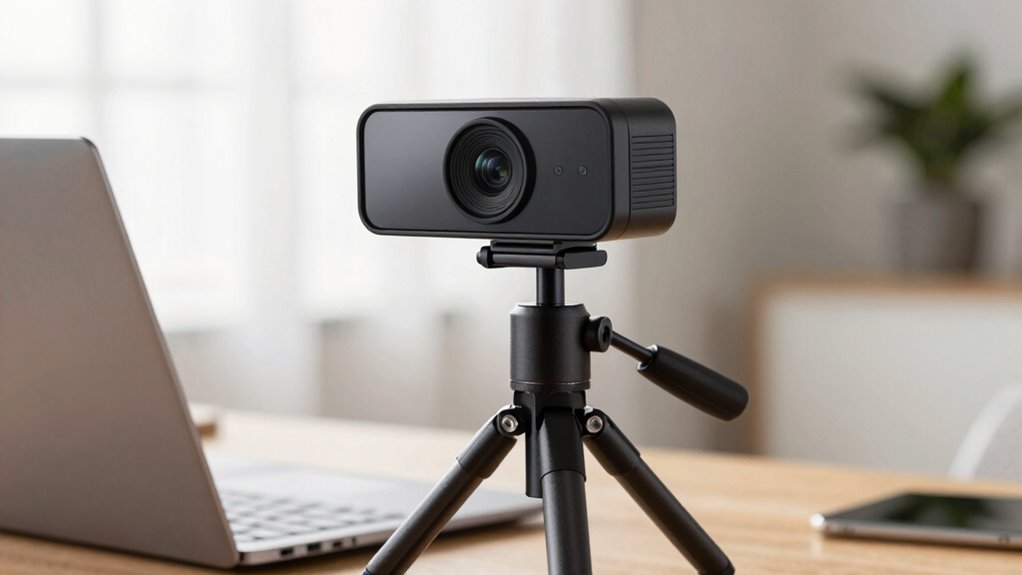
30 Inch Webcam Stand Camera Mount, Upgraded Thick Base Flexible Gooseneck Camera Stand Desk Webcam Mount Clamp for Logitech Webcams C930e C930 C920 C922x C922 Brio 4K C925e C615, Gopro Hero 8 7 6 5 4
【Upgrade Thick Clamping Base】We have upgraded the clamp base. It is thicker and more durable. The clamping base…
As an affiliate, we earn on qualifying purchases.
As an affiliate, we earn on qualifying purchases.
Why Webcam Placement Matters for Your Video Quality
Proper webcam placement can considerably impact your video quality, making your image clearer and more professional-looking. Your choice of camera angle influences how viewers perceive you, highlighting your best features and creating a confident presence. Framing composition is equally important—it guides the viewer’s focus and ensures your face is centered and well-lit. A good camera angle prevents unflattering distortions, like looking up your nose or having your head cut off. It also creates a balanced, engaging shot that looks intentional. When you pay attention to placement, your webcam captures a natural, flattering perspective. This simplifies communication, helps you appear more approachable, and boosts your overall professionalism during virtual meetings or recordings. Additionally, using proper accessories, such as adjustable mounts or lighting, can further enhance your webcam setup for optimal results. Paying attention to camera positioning techniques can help you achieve the best visual outcome and ensure your presentation is both confident and polished. Understanding visual framing principles can also improve the overall effectiveness of your video presence. Incorporating well-chosen lighting options can further eliminate shadows and highlight your features effectively.
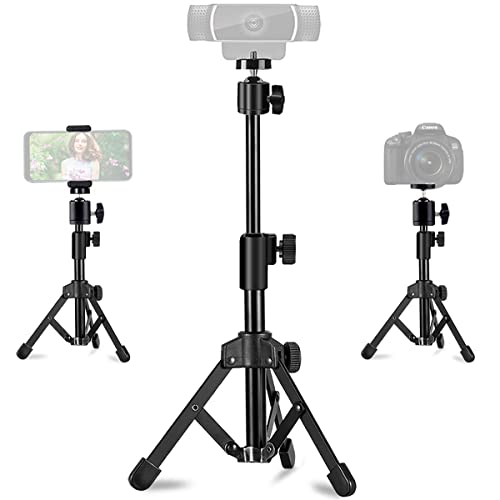
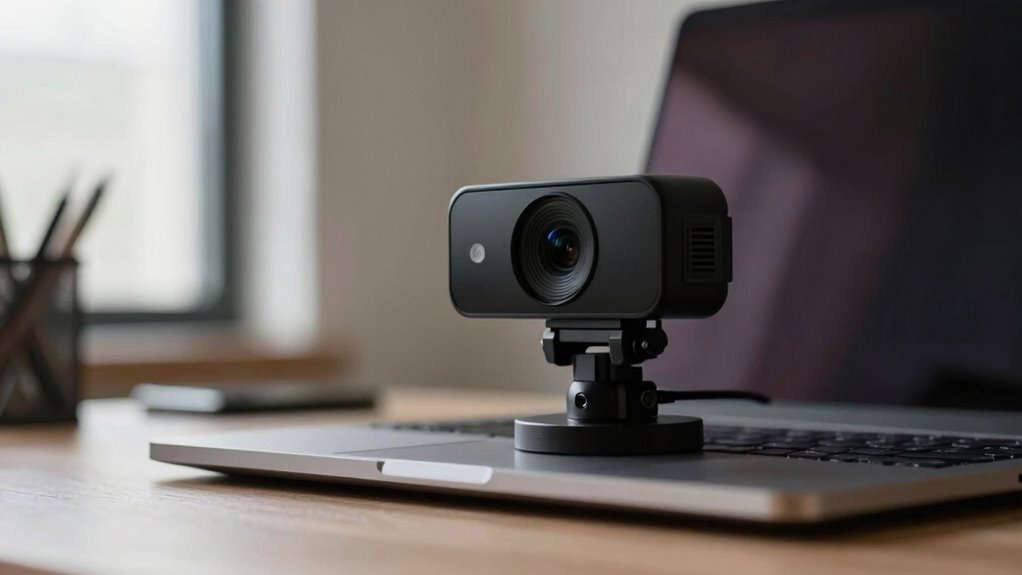
Webcam Tripod Stand Extendable Desktops Tripod for Camera/Phone/Webcam, Desk Tripods Webcam Mount Holder Compatible with Logitech Webcams C925e C922x C922 C930e C930 C920 C615 /iPhone/Ring Light
【Super Sturdy and Durable】Unlike other shaky webcam stands, JCWINY webcam tripod stand is made of strong metal and…
As an affiliate, we earn on qualifying purchases.
As an affiliate, we earn on qualifying purchases.
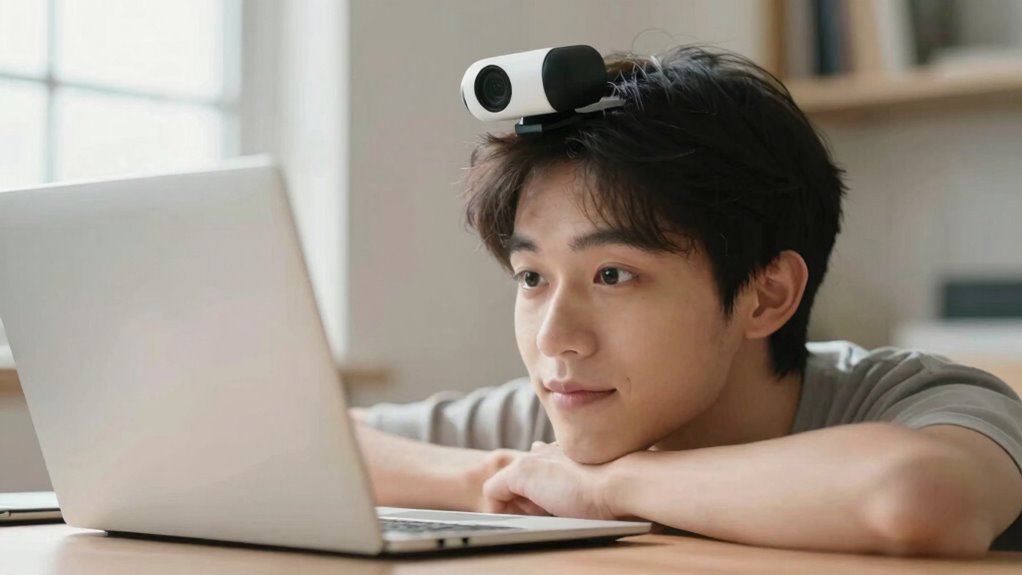
How to Set Your Webcam at the Right Height
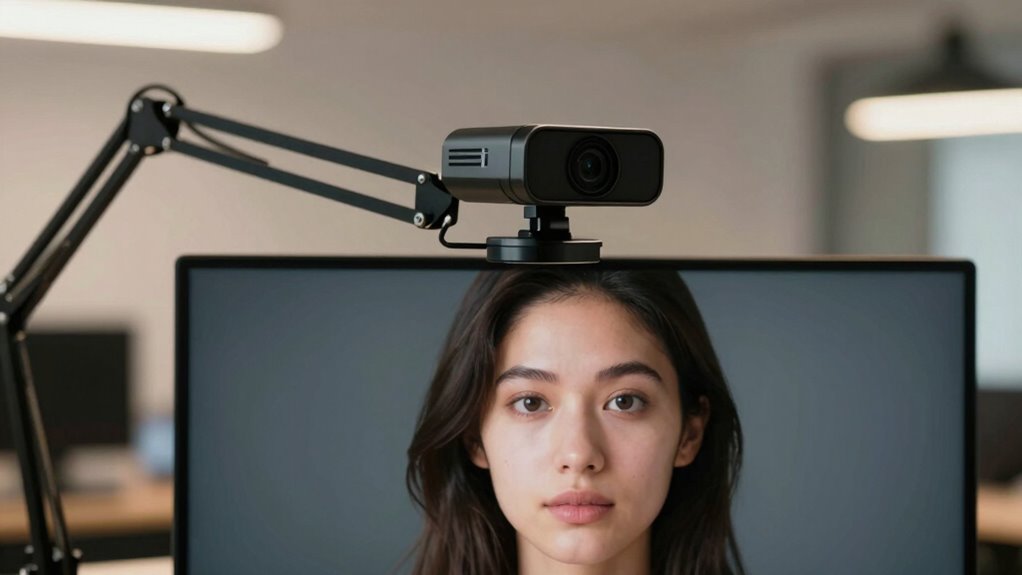
To achieve a professional and natural look on camera, setting your webcam at the right height is essential. Proper camera ergonomics guarantees your face is centered and well-framed, reducing strain on your neck and eyes for better user comfort. Position the webcam so it’s at or just above eye level, which helps avoid awkward angles and minimizes double chin effects. Use adjustable stands or stack books to raise your device if needed. Keep your monitor at a comfortable height to maintain good posture, preventing discomfort during long calls. When your webcam is at the correct height, you’ll appear more confident and approachable, making your video presence more engaging. Prioritizing correct height aligns with good ergonomic habits and enhances your overall video quality. Ensuring your camera setup follows good ergonomic practices can also help reduce fatigue and improve overall comfort during extended use. Additionally, understanding how ergonomic principles apply to your workspace can further optimize your setup for both comfort and visual appeal. Incorporating proper power protection for your devices ensures your setup remains reliable and safe during long video sessions. Moreover, adjusting your setup to reflect existential themes can enhance your awareness of presence and authenticity on camera.
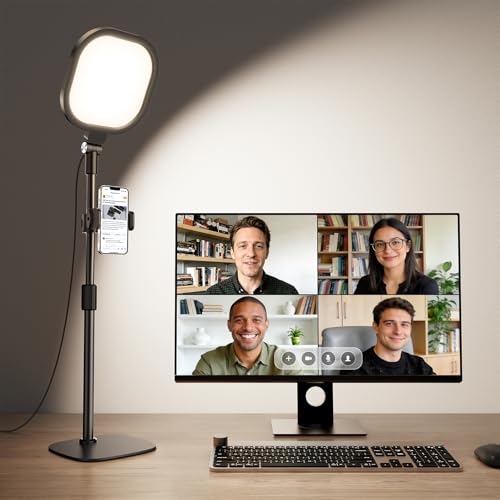
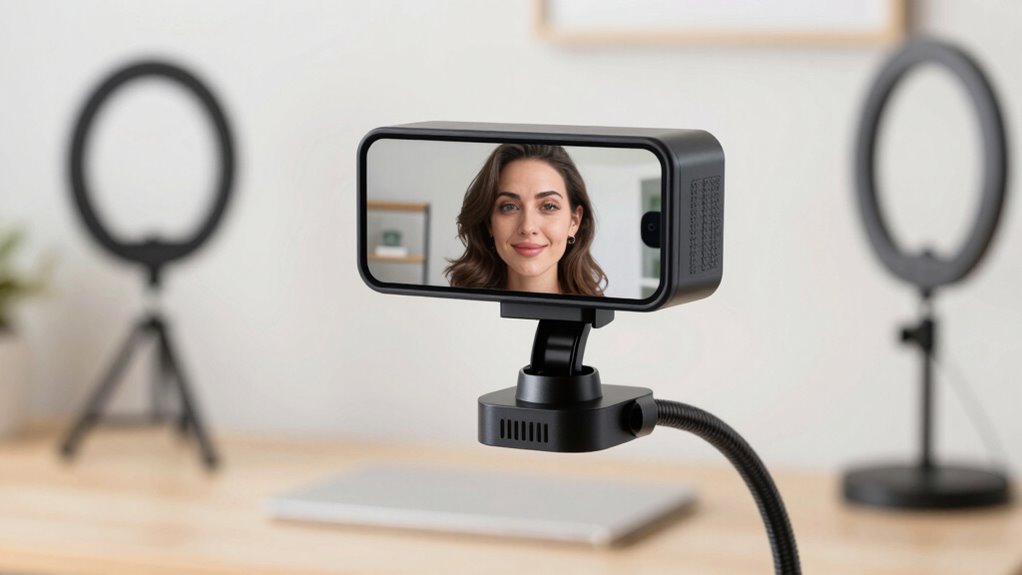
Zoom Lighting for Computer, Adjustable Desk Lighting for Video Calls, 30 Light Modes Video Conference Light, Desk Ring Light with Stand for Webcam, Meetings, Live Stream, Home Office. CRI 97.8
Uniform and Soft Illumination: LitONES desk video conference light utilizes advanced edge-lit technology, delivering even and gentle lighting…
As an affiliate, we earn on qualifying purchases.
As an affiliate, we earn on qualifying purchases.
Choosing Webcam Angles That Flatter Your Face
Position your webcam at eye level to create a natural, flattering view of your face. Avoid angles that cast unflattering shadows or distort your features, and make sure your lighting highlights your best side. When you set up correctly, your face looks more engaging and professional on camera. Additionally, proper webcam placement can enhance your overall home setup, similar to how smart thermostats optimize home comfort and energy efficiency. Just as safety tips are essential when using portable oil radiators to prevent hazards, careful webcam positioning ensures a safe and effective video calling experience. For optimal results, consider reducing background distractions and maintaining a clean space, much like how water damage prevention relies on proper cleaning and drying techniques to protect your belongings. Ensuring your setup is well-organized and free of clutter can also improve your video quality and overall presentation, especially since flywheel and engine upgrades are crucial for enhancing car performance.
Eye Level Positioning
Have you ever noticed how the angle of your webcam can dramatically change how your face appears on screen? Eye level positioning is key to looking natural and confident. When your camera is at eye level, it creates a direct connection with your audience. To achieve this:
- Keep the webcam straight, avoiding excessive camera tilt.
- Adjust your chair or monitor so your eyes align with the lens.
- Use a stand or stack books if needed to reach eye level.
- Maintain a relaxed, slightly open posture for authenticity.
- Remember that body language plays a crucial role in how you communicate confidence and approachability on camera.
- Ensuring proper camera positioning helps minimize distortion and flattering highlights your best features. Proper webcam angle setup can also prevent unflattering distortion, making your overall appearance more polished and professional on video calls. Additionally, paying attention to lighting can further enhance your on-camera presence, ensuring your face is well-lit and free of shadows. It’s simple but effective for professional, approachable video calls.
Avoiding Unflattering Angles
Choosing the right webcam angle can make a significant difference in how your face appears on screen. To avoid unflattering angles, focus on capturing your facial symmetry, which enhances your natural appearance. Position the camera slightly above eye level to prevent distortions that make your nose look larger or your chin appear awkward. Good camera ergonomics ensure your webcam is stable and aligned with your eyes, reducing the risk of awkward tilts or unintended angles. Steer clear of low or extreme angles that can cast unflattering shadows or emphasize features you’d rather minimize. Instead, keep the camera straight or slightly elevated to flatter your face. This approach helps you look more balanced, confident, and natural on camera. Understanding filtration systems can also help you present yourself more authentically during virtual interactions, especially when managing indoor air quality to minimize dust and microplastics that can affect your appearance.
Proper Lighting Techniques
Ever wondered how proper lighting can enhance your webcam image? Creative lighting can dramatically improve your appearance and background aesthetics. To get it right:
- Use natural light or soft diffused lights to avoid harsh shadows that distort your face.
- Position lights at eye level or slightly above to flatter your features.
- Incorporate background lighting to add depth and visual interest.
- Experiment with different angles and brightness levels to find what makes you look your best.
- Adjust your webcam placement to align with your lighting setup for optimal results. Ensuring your lighting setup complements your camera angle can make a significant difference in how professional and approachable you appear on camera.
Good lighting emphasizes your best features while minimizing imperfections. It also creates a balanced background, making your overall presentation more professional. Mastering these techniques guarantees you look confident and approachable on camera, boosting your overall presence during video calls.

BONTEC Dual Monitor Stand Riser, Adjustable Length & Swivel Angle, Ergonomic Wooden Desktop Organizer with Smartphone Holder, Computer Monitor Stand for PC Monitor, Laptop, Printer, Large Storage
DUAL MONITOR STAND WITH ADJUSTABLE LENGTH & ANGLE – Elevate two monitors to an ergonomic height for better…
As an affiliate, we earn on qualifying purchases.
As an affiliate, we earn on qualifying purchases.
Tips to Reduce Glare and Shadows on Camera
Glare and shadows can considerably impair your webcam’s image quality, but you can minimize these issues with some simple adjustments. For glare reduction, position your light sources so they’re diffuse and indirect, avoiding direct reflections on your face or glasses. Use soft lighting, like lamps with shades or diffusers, to evenly illuminate your face and prevent harsh spots. Shadow mitigation involves adjusting your angle to ensure your face isn’t blocking or casting shadows on itself. Place your light source slightly above and in front of you to create a natural, balanced look. Keep your camera at eye level for the best results. Small tweaks in your lighting and positioning can dramatically improve your webcam image, reducing glare and shadows effectively.
Adjust Your Webcam for Different Lighting Conditions

To get the best image quality, you need to adjust your webcam based on the lighting around you. You can optimize natural light sources or use artificial lighting to brighten your face and reduce shadows. Don’t forget to tweak brightness and contrast settings to guarantee your video looks clear and balanced in any lighting condition.
Optimize Natural Light Sources
Have you considered how natural light impacts your webcam’s image quality? Proper lighting placement can dramatically improve your appearance on camera. To optimize natural light sources:
- Position yourself facing a window to use natural light as your main source.
- Avoid direct sunlight that creates harsh shadows; instead, aim for diffused light.
- Adjust your angle to prevent backlighting, which can make you appear dark.
- Use curtains or blinds to control the amount of natural light entering the room.
Use Artificial Lighting Effectively
Are you making the most of artificial lighting to enhance your webcam image? Proper artificial lighting can dramatically improve your appearance on camera. Position lights to avoid harsh shadows and guarantee your face is evenly lit. Use soft, diffused light sources to create a natural look. Adjust your camera angles to complement the lighting setup, preventing glare or overexposure. Keep lights at eye level or slightly above for a flattering effect. Experiment with different placements to see what works best for your space and skin tone. Remember, the goal is balanced illumination that highlights your features without causing discomfort or distracting shadows. Effective artificial lighting combined with thoughtful camera angles makes a noticeable difference in how professional and approachable you appear on video.
Adjust Brightness and Contrast
Ever wonder how adjusting your webcam’s brightness and contrast can make a big difference in your video quality? Brightness adjustment helps you control how light or dark your image appears, ensuring you’re neither washed out nor too shadowed. Contrast enhancement sharpens the difference between light and dark areas, making your features pop. To optimize your webcam:
- Increase brightness if your face looks dull or underexposed.
- Lower brightness if your image is washed out or overly bright.
- Boost contrast for clearer definition, especially in complex backgrounds.
- Reduce contrast if your image appears harsh or overly stark.
Adjusting these settings helps you adapt to different lighting conditions, making sure you look natural and professional on camera. Proper brightness and contrast are essential for a polished, engaging video appearance.
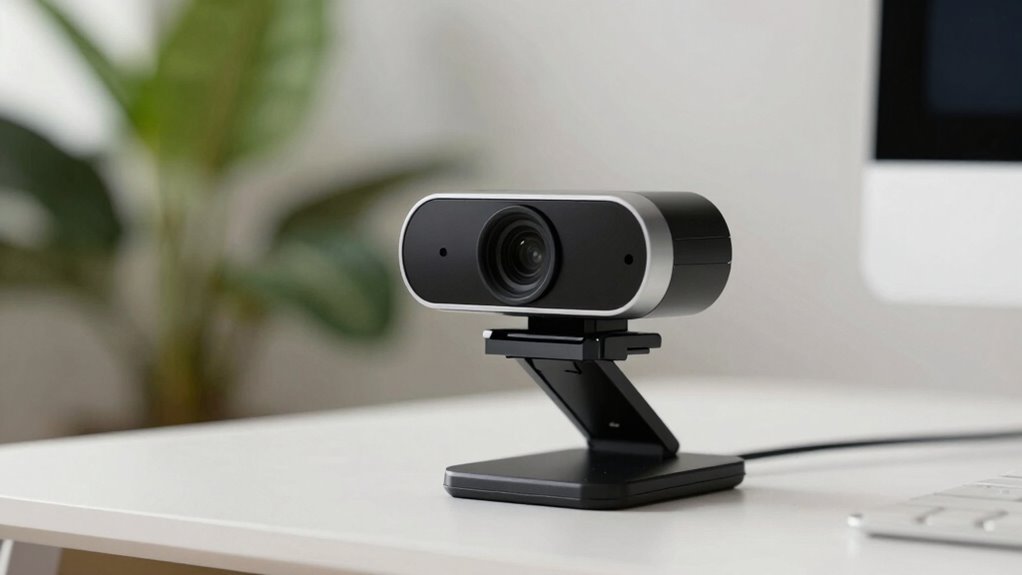
Using External Mounts or Tripods for Better Positioning
Using external mounts or tripods can considerably improve your webcam’s positioning by providing stability and flexibility. External mounts allow you to place your webcam at ideal angles without relying on cluttered desk setups. Tripod positioning gives you control over height, tilt, and angle, ensuring you capture the best view. With a sturdy tripod, you can easily adjust your camera for different scenarios, whether it’s a professional meeting or streaming. These tools help eliminate shaky or awkward angles that can detract from your appearance. By using external mounts or tripods, you gain precision in your webcam placement, making your video feed look more natural and polished. Ultimately, they make it simple to achieve consistent, professional-looking shots every time.
Common Webcam Placement Mistakes to Avoid
One common mistake is placing your webcam too low or high, which can create unflattering angles or make you appear disinterested. You also want to avoid backgrounds that distract viewers or clutter your frame. Ensuring your camera is at eye level and your background is clean helps you look professional and focused.
Eye Level Alignment
Aligning your webcam at eye level might seem simple, but many people make the mistake of positioning it too high or too low, which can create awkward angles and diminish your presence on camera. When your webcam isn’t at eye level, maintaining eye contact becomes difficult, making you appear distracted or unengaged. Additionally, improper height can distort facial symmetry, affecting how natural and approachable you look. To avoid these mistakes:
- Keep the webcam directly in front of your eyes.
- Use a stand or stack books to achieve the right height.
- Avoid tilting your head up or down during calls.
- Test your setup by looking straight into the camera before starting.
Proper eye level alignment enhances your facial balance and helps you connect more effectively.
Avoiding Distracting Backgrounds
Even if your webcam is perfectly positioned at eye level, a distracting background can still undermine your professional appearance and focus during calls. Background clutter and visual distractions draw attention away from what you’re saying and make your setup look unprofessional. To avoid this, choose a clean, simple background free of clutter. Remove unnecessary objects or distractions that could divert viewers’ attention. Consider using a plain wall or a virtual background if your environment isn’t ideal. Keep the focus on you by minimizing visual noise behind you. This way, your audience stays engaged with your message, not with uncontrolled background elements. Remember, a tidy background enhances your credibility and keeps the viewer’s focus where it belongs—on you.
How to Position Your Camera to Improve Your Background

Wondering how to make your background more appealing during video calls? Proper camera positioning can markedly enhance your setting. To improve your background, consider:
- Placing your webcam at eye level to avoid awkward angles that distort your background.
- Using creative backgrounds or adding personal touches, like artwork or plants, to make your space more inviting.
- Incorporating camera accessories such as a tripod or adjustable mount to fine-tune your shot.
- Ensuring your background isn’t cluttered or distracting, keeping focus on you while showcasing a polished environment.
These adjustments help you craft a professional, engaging look. By positioning your camera thoughtfully, you highlight your creative background and make a positive impression during every call.
Tools and Equipment to Enhance Your Webcam Setup
To truly elevate your webcam setup, investing in the right tools and equipment can make a noticeable difference. Camera accessories like adjustable mounts, ring lights, and microphones improve image quality and lighting, ensuring you look professional on camera. A sturdy tripod or flexible arm can help you achieve the perfect angle effortlessly. Additionally, paying attention to background decor enhances your overall appearance and minimizes distractions. Consider adding framed art, plants, or tasteful shelves to create an inviting backdrop. Combining these tools and background decor choices helps you present yourself confidently and polished. Remember, small upgrades can dramatically impact how you appear on camera, making your setup more functional and visually appealing.
Test and Fine-Tune Your Webcam Setup Before Calls

Before joining any important call, it’s crucial to test and fine-tune your webcam setup to guarantee everything looks and functions as intended. Start by adjusting your camera angles to find the most flattering view, avoiding extreme tilts or heights. Use framing techniques to keep your face centered and in focus. Check your background for distractions and ensure proper lighting.
Consider these steps:
- Preview your video feed to assess camera angles and framing.
- Adjust your webcam height and tilt for a natural, eye-level view.
- Experiment with lighting to eliminate shadows and brighten your face.
- Test audio and video quality to confirm everything works smoothly.
Frequently Asked Questions
How Do I Choose the Best Webcam Position for Different Video Call Scenarios?
You should adjust your webcam to eye level by setting your camera height at or slightly above your eye line. Keep your desk positioning in mind, ensuring you’re centered and well-lit for different scenarios. For formal meetings, sit upright with the camera directly facing you. For casual chats, a more relaxed angle works. Always test different positions to find the one that enhances your appearance and suits each video call situation.
What Are the Ergonomic Considerations for Webcam Placement During Long Meetings?
During long meetings, prioritize ergonomic posture by placing your webcam at eye level to prevent neck strain. Adjust your desk arrangement so your monitor and webcam are aligned, reducing awkward angles. Don’t worry about constant adjustments—using a adjustable stand or stack of books can help. This setup promotes comfort, minimizes fatigue, and encourages good ergonomic practices, ensuring you stay focused and healthy throughout extended video calls.
Can Webcam Angle Adjustments Improve Eye Contact With the Camera?
Yes, adjusting your webcam angle can improve eye contact. Position your camera at eye level by raising or lowering it to match your natural gaze. This setup helps you look directly into the lens, creating a more engaging and confident impression. When your camera height aligns with your eyes, you’ll appear more attentive and authentic, fostering better communication during virtual meetings.
How Does Background Distance Affect Webcam Image Quality?
Background distance considerably impacts your webcam image quality by influencing background blur and depth of field. When you’re closer to the camera, the background appears more blurred, helping you stand out sharply. Conversely, if you’re farther away, the background may appear clearer, reducing focus on you. Adjusting your distance helps create a pleasing depth of field, making your video look more professional and visually appealing.
Are There Specific Lighting Setups That Work Best With Certain Webcam Angles?
You’ll get the best results by using lighting techniques tailored to your webcam angle. For instance, if you’re facing a window, natural illumination provides a soft, even glow that enhances your appearance. For side or overhead angles, add diffused lights to eliminate shadows and create balanced lighting. Experiment with positioning your light sources to avoid glare and make certain your face is evenly lit, making you look more polished and professional.
Conclusion
Getting your webcam placement just right is like tuning a fine instrument—you’ll strike the perfect note every time you hop on a call. When you position your camera thoughtfully, it frames your face with confidence and charm, like a spotlight on a star. So, adjust, test, and fine-tune until your setup feels natural. With a little effort, you’ll turn every video call into a polished performance, leaving a lasting impression that truly shines.