
To improve your Mac screenshot and recording experience, customize your shortcuts in System Preferences, choose specific save locations, and set preferred file formats like PNG or MP4 for organization. Enable Do Not Disturb and focus modes to block notifications, ensuring smooth captures. Check privacy settings to grant proper permissions and troubleshoot if needed. Adjust audio input options and manage storage to prevent errors. Keep exploring these settings for a seamless workflow and better control over your captures.
Key Takeaways
- Customize keyboard shortcuts in System Preferences to prevent conflicts and streamline screenshot and recording commands.
- Change default save locations and organize files into folders for easy retrieval and storage management.
- Enable Do Not Disturb and Focus modes to suppress notifications during recordings for a smoother experience.
- Adjust microphone and audio settings for clear sound quality and troubleshoot audio issues effectively.
- Review app permissions and privacy settings to ensure proper access for recording tools and prevent recording errors.

BOLERHUI Mac Shortcuts Cheat Sheet Mouse Pad, Large macOS Keyboard Shortcut Desk Mat, Non-Slip Rubber Base, Sewn Edges, Washable, XL 31.5"x11.8"x0.12"
【Mac Cheat Sheet】Designed for macbook/imac users, this mousepad provides the most useful and comprehensive macOS shortcuts, it's easy…
As an affiliate, we earn on qualifying purchases.
As an affiliate, we earn on qualifying purchases.
How to Access and Customize Mac Screenshot Settings
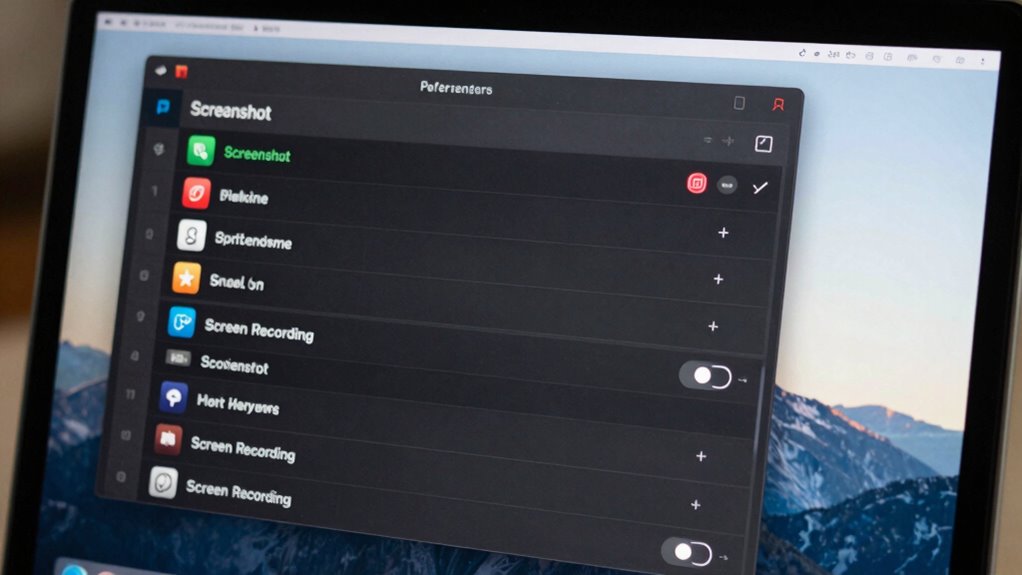
To access and customize your Mac screenshot settings, start by opening the Screenshot toolbar. Press Shift + Command + 5 to bring up the options. Here, you can quickly choose between capturing the entire screen, a selected window, or a custom portion. Use the toolbar’s options to set timers or include mouse clicks for better screenshot tips. You can also customize where your screenshots save by clicking Options. If you want to improve recording tricks, explore the recording buttons for screen or window recordings. Adjusting these settings helps streamline your workflow and guarantees your captures are exactly how you want them. Familiarizing yourself with the toolbar gives you efficient control over your screenshots and recordings, making your Mac usage more effective. Remember, understanding media literacy can help you better evaluate and utilize the visual content you capture. Additionally, exploring screen recording features can enhance your ability to create instructional or presentation videos directly from your Mac. Knowing how to customize these features allows you to optimize your digital content creation process for better results.
![Snagit 2024 - Screen Capture & Image Editor [PC/Mac Online Code]](https://m.media-amazon.com/images/I/3113gpHNdmL._SL500_.jpg)
Snagit 2024 – Screen Capture & Image Editor [PC/Mac Online Code]
Easily record quick videos of your screen and camera that offer the same connection as a meeting without…
As an affiliate, we earn on qualifying purchases.
As an affiliate, we earn on qualifying purchases.
Changing Default Keyboard Shortcuts for Screenshots and Recordings
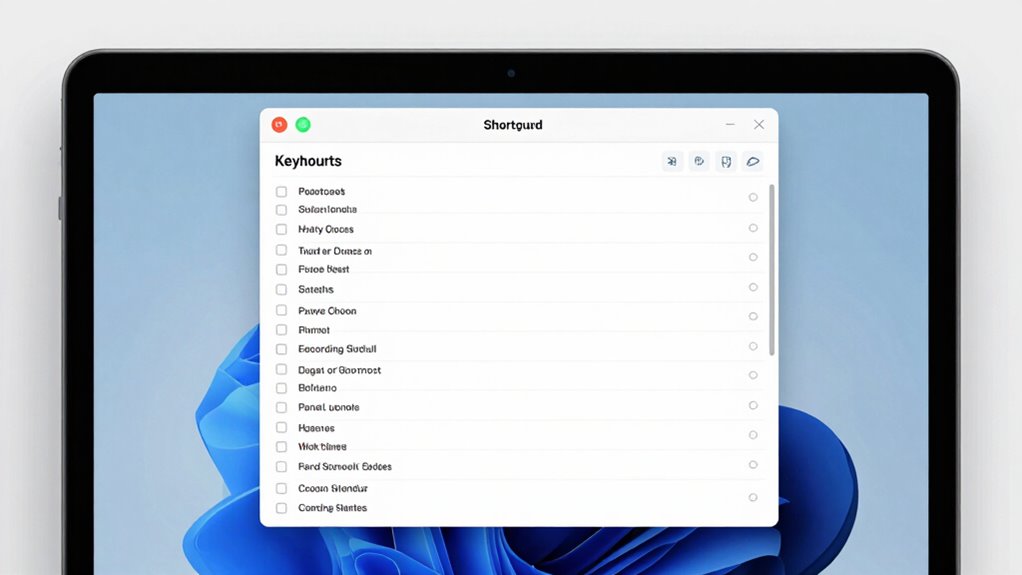
Changing the default keyboard shortcuts for screenshots and recordings on your Mac allows you to customize your workflow and make capturing content more intuitive. To do this, open System Preferences, then go to Keyboard > Shortcuts. Here, you’ll find the options for screenshots and screen recordings. Select the category, and you can click on the current shortcuts to modify them. This customization option helps prevent conflicts with other shortcuts and aligns commands with your habits. By tailoring these keyboard shortcuts, you streamline your process, making it faster and more efficient to capture screens or record videos. Incorporating Serene gardens can enhance your backyard transformation, creating a more inviting space for relaxation and gatherings. Remember, adjusting shortcuts is simple and gives you more control over how you interact with your Mac’s screenshot and screen recording features. Additionally, understanding whole-home water systems can improve your overall efficiency, similar to optimizing your digital workflow. Recognizing how calibration affects display quality can help you achieve more accurate and vibrant visuals during your screen captures.

Step into Xcode: MAC OS X Development
As an affiliate, we earn on qualifying purchases.
As an affiliate, we earn on qualifying purchases.
Setting Save Locations and File Formats for Better Organization
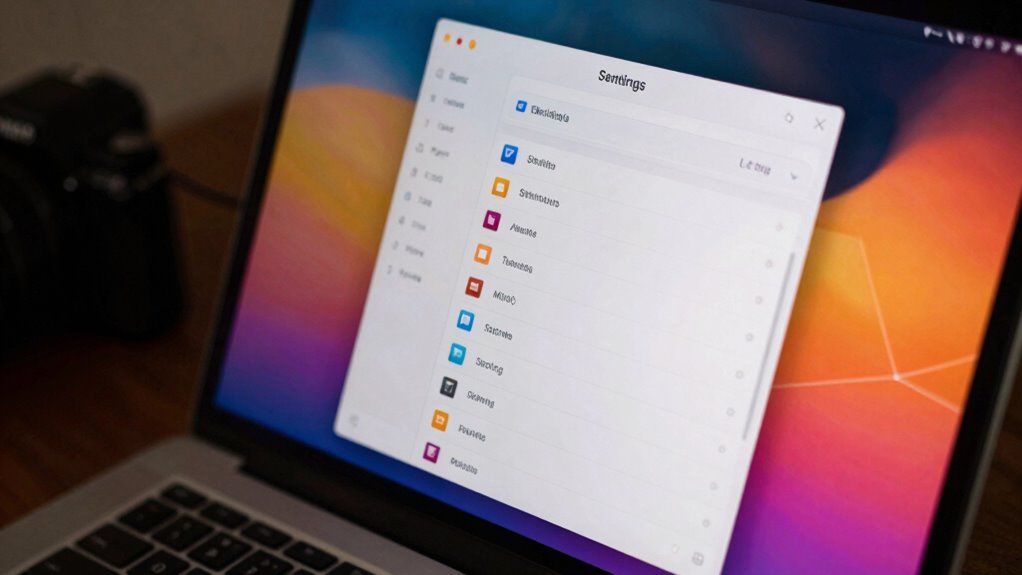
Organizing your screenshots and screen recordings becomes much easier when you set specific save locations and preferred file formats. By customizing your save folders, you create a centralized system that simplifies file organization, making it faster to find what you need later. Choose a dedicated folder for each type of media, such as screenshots or recordings, to keep everything tidy. Additionally, selecting a consistent file format—like PNG for images or MP4 for videos—ensures compatibility and reduces clutter. Folder customization allows you to categorize and label files for quick access. Adjusting these settings helps you maintain a clean workspace and streamlines your workflow, so you spend less time searching and more time focusing on your tasks.

Strong Magnetic Privacy Screen Compatible with MacBook Pro 13 inch 2016-2022 M1,M2 Macbook Air 13 inch 2018-2021 M1 A1706 A1708 Upgraded Removable Screen Protector for Mac 13 Privacy Filter Anti Glare
Fitment Models: This Macbook privacy screen compatible with MacBook Pro 13 inch (Year 2016, 2017, 2018, 2019, 2020,…
As an affiliate, we earn on qualifying purchases.
As an affiliate, we earn on qualifying purchases.
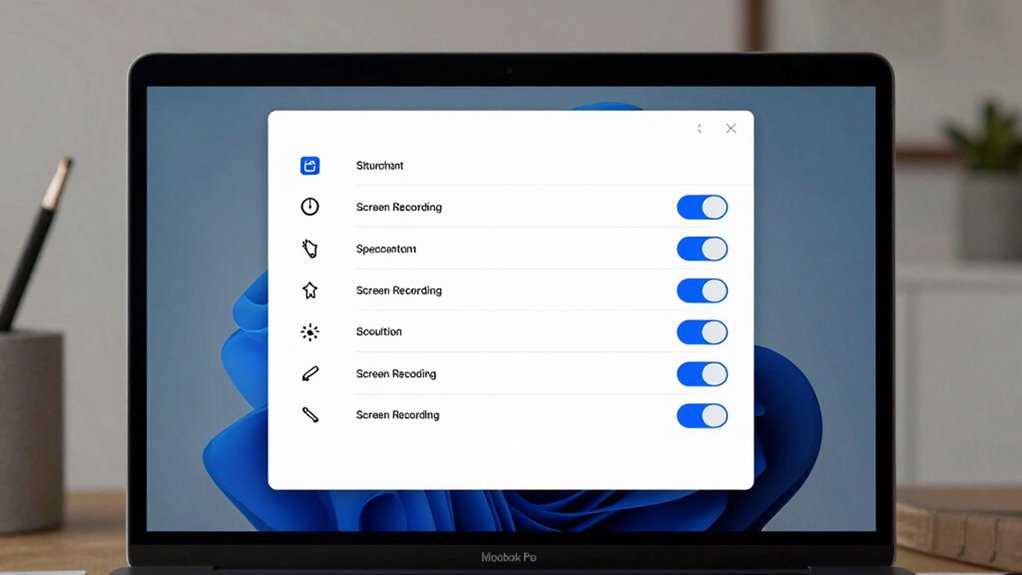
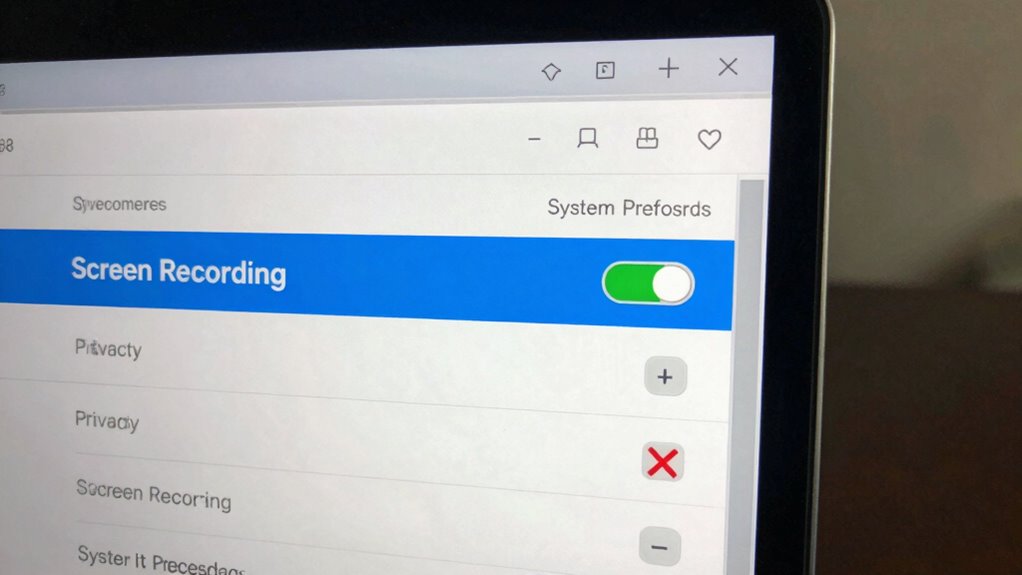
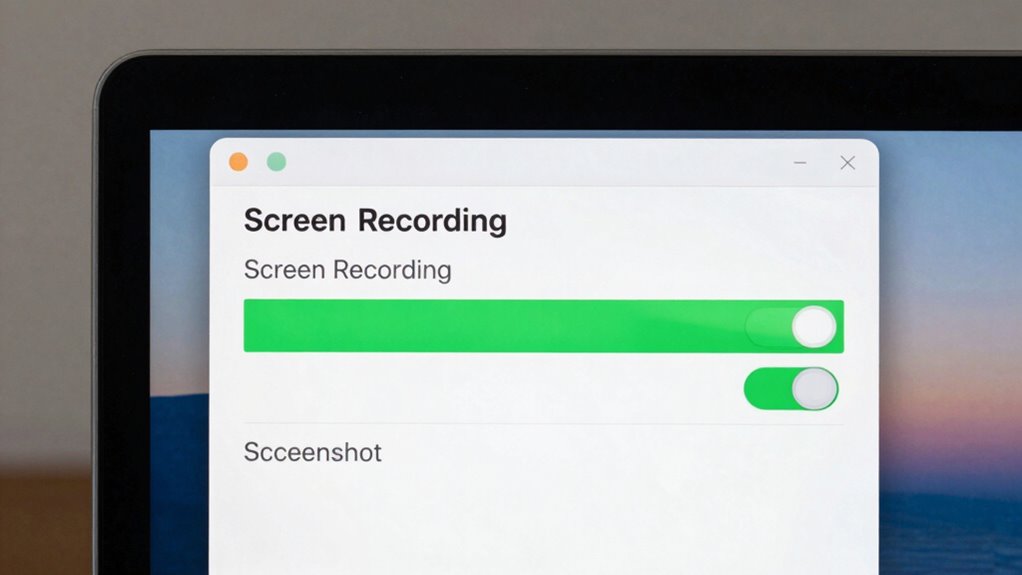
Controlling Privacy and Security Settings for Screen Recording
To protect your privacy, you should manage which apps have permission to record your screen. Enabling privacy notifications helps you stay aware of any recording activity happening in the background. Taking these steps guarantees you stay in control of your security while using screen recording features. Additionally, understanding the role of affiliate disclosure and privacy policies can help you make informed decisions about sharing your data. Being aware of spirituality insights can also provide a broader perspective on how unseen influences may impact your digital safety. Being mindful of cookie categories and how they track your activity ensures you are better equipped to manage your online privacy. Recognizing the importance of digital security practices can further enhance your overall online safety and help prevent unauthorized recordings or data breaches.
Manage App Permissions
Managing app permissions is essential for maintaining your privacy and security when using screen recording features on your Mac. Proper app permission management guarantees only trusted apps access your screen, giving you control over your privacy. To enhance your privacy control, consider these steps:
- Review which apps have access to screen recording and revoke permissions for untrusted or unused apps.
- Regularly update your app permissions to prevent unauthorized access.
- Use the Privacy tab in System Preferences to monitor and restrict app access to screen recording.
- Be aware of water-related activities and how they may impact your device’s security, especially if using apps that record or stream content from water parks or aquatic environments.
- Stay informed about hive health and how app permissions can indirectly affect your device’s overall security by preventing unauthorized data access.
- Understanding digital privacy principles can help you make more informed decisions about app permissions and safeguard your sensitive data. Additionally, reviewing app permissions periodically aligns with best practices in content quality, ensuring your device remains secure against vulnerabilities. For example, some apps with access to screen recording might also be connected to refrigeration monitoring systems, emphasizing the importance of controlling permissions to prevent unauthorized data collection.
Taking these actions protects your sensitive information and prevents potential misuse. Staying vigilant about app permission management keeps your privacy secure while enjoying the benefits of screen recording on your Mac.
Enable Privacy Notifications
Enabling privacy notifications on your Mac helps you stay informed about which apps are requesting access to your screen recording features. You’ll receive privacy alerts whenever an app seeks permission, allowing you to approve or deny access immediately. To manage this, adjust your notification settings so you’re always aware of permission requests related to screen recording. This proactive approach helps protect your privacy by guaranteeing no app accesses your screen without your knowledge. By controlling your notification settings, you can customize how and when you’re alerted about privacy-related activities. Keeping these alerts enabled ensures you maintain control over your privacy and security, preventing unauthorized screen recordings. Regularly review your privacy alerts to stay updated on app requests and safeguard your personal data effectively.
Managing Notifications and Sounds During Screen Capture
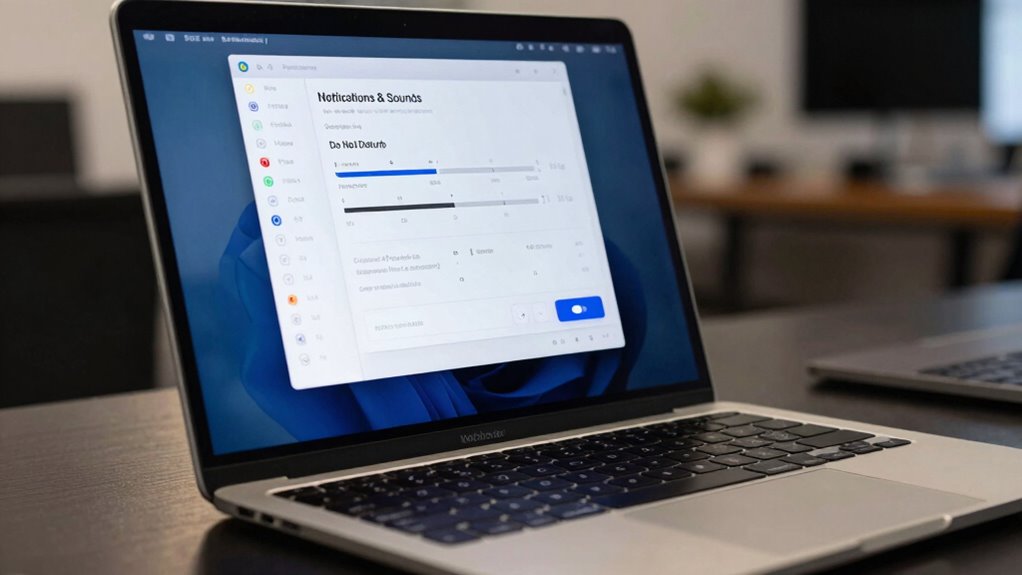
When you’re recording your screen, notifications and sounds can easily interrupt or clutter your video, making it look unprofessional. To guarantee a clean capture, you should focus on notification suppression and sound management. Here are three key steps:
- Enable Do Not Disturb mode—this suppresses notifications so you won’t see pop-ups during recording. This setting is similar to the benefits of easy cleanup with water-based paints, ensuring a smooth and hassle-free process. Additionally, understanding how device performance can be affected by background processes helps in planning your setup for optimal results.
- Mute system sounds—turn off alert sounds and notifications from the sound menu for a silent recording. Additionally, understanding how nanotech fabrication can impact device performance helps in planning your setup for optimal results.
- Use Focus modes—activate a custom Focus profile that blocks notifications and sounds specific to your recording session. Additionally, customizing your home essentials can help streamline your setup for better focus during screen captures. Implementing these strategies is comparable to optimizing smart thermostat setup for improved home comfort, ensuring a more seamless recording experience.
Troubleshooting Common Mac Screen Capture and Recording Issues
If your screen captures or recordings aren’t working properly, you might need to fix shortcut errors or check your settings. Audio recording problems often stem from permissions or system preferences, so review those first. Additionally, if your files aren’t saving correctly, make certain you have enough storage and choose the right save location. Understanding classic arcade games and their evolution can also provide insights into your subconscious, especially when encountering issues with your device. Being aware of trusted resources and reputable services can help ensure you find reliable troubleshooting support if needed.
Fix Capture Shortcut Errors
Sometimes, capture shortcut errors happen because the key combinations conflict with other system functions or apps. To fix this, start by customizing your shortcuts through Shortcut customization in System Preferences. This allows you to assign a unique combination that won’t clash with other functions, reducing frustration. Next, review your Privacy management settings to ensure screen recording permissions are correctly granted, which can sometimes interfere with shortcuts. Finally, test your new shortcuts to see if they work seamlessly. Here are some steps to follow:
- Adjust shortcut keys to avoid conflicts.
- Personalize your shortcuts for easier access.
- Confirm privacy settings to ensure smooth operation.
These steps will resolve errors and give you more control over your screen capture experience.
Resolve Audio Recording Problems
Audio recording issues during screen captures can be frustrating, but they’re often easy to resolve with some troubleshooting. First, check your microphone settings and make sure it’s selected correctly in System Preferences. Adjust audio enhancement features to improve sound quality and reduce background noise. If audio still isn’t recording, calibrate your microphone for peak performance.
Here’s a quick comparison:
| Issue | Solution |
|---|---|
| No audio recorded | Verify microphone is selected and enabled |
| Audio quality poor | Enable audio enhancement features |
| Microphone not detected | Calibrate microphone for clarity |
Address Storage and Save Issues
Running into storage or save issues after troubleshooting audio problems is common, but they’re usually straightforward to fix. First, check your storage space—your Mac might be running low, causing save errors. Consider enabling cloud backup to free local space and guarantee your files are safely stored online. Second, optimize your storage by deleting unnecessary screenshots or recordings, especially large video files that take up a lot of space. Third, set your save location to a designated folder with ample space, avoiding default locations that fill up quickly. These simple steps can prevent future issues and keep your screen captures safe and accessible. Regular storage optimization and cloud backup are key to avoiding frustrating save problems down the line.
Frequently Asked Questions
Can I Schedule Automatic Screenshots or Recordings on Mac?
You can’t schedule automatic screenshots or recordings directly on your Mac, but you can use third-party apps like Automator or shortcuts with specific scripts to do so. Rely on Screenshot shortcuts, like Command + Shift + 3, for quick manual captures, and explore screen recording tips to enhance your workflow. Automating these tasks saves time, so try setting up custom workflows that trigger at scheduled intervals for seamless screenshots or recordings.
How to Record Screen With Internal Audio on Mac?
To record your screen with internal audio on Mac, you’ll need to enable audio customization by installing third-party software like Loopback or Soundflower. These tools let you route internal audio into your recordings. Once set up, start recording using QuickTime or a compatible app, and select your audio source. Keep in mind, choosing the right recording formats guarantees high-quality output, so opt for formats like MOV or MP4 for best results.
Are There Third-Party Apps for Enhanced Screenshot Features?
Think of third-party apps as keys to a hidden garden, opening new worlds of screenshot mastery. Yes, there are tools like Snagit, CleanShot X, and Monosnap that offer advanced features for screenshot enhancement. They let you annotate, highlight, and capture in ways the native macOS options can’t match. These apps empower you to elevate your screenshot game, transforming simple captures into polished, professional visuals effortlessly.
How to Edit or Annotate Screenshots Directly on Mac?
To edit or annotate screenshots directly on your Mac, use the built-in screenshot editing tools that appear after capturing a screenshot. These annotation tools let you add text, draw, crop, or highlight areas easily. Simply click on the screenshot thumbnail that appears in the corner of your screen, and you’ll access the screenshot editing options. This way, you can quickly customize your screenshots with annotation tools without needing third-party apps.
Is It Possible to Record Specific App Windows Only?
You can absolutely focus on app window selection during screen recording on your Mac. Instead of capturing the entire screen, choose the specific window you want, making your recording more precise and professional. Keep in mind, though, there are some screen recording limitations—certain apps or features might not support this. But with a little setup, you can effectively record just the app window, saving you time and streamlining your workflow.
Conclusion
By customizing your Mac’s screenshot and screen recording settings, you take control of your digital environment, turning a simple task into a seamless experience. Imagine the freedom of capturing precisely what you need, exactly how you want it—no more frustration, only effortless clarity. Don’t let default settings hold you back; instead, empower yourself with these tweaks and transform your screen captures into tools of productivity and creativity. Your perfect shot is just a few clicks away.