
If your webcam looks bad, start by improving your lighting with household items. Maximize natural light by opening curtains or positioning yourself near windows. Use white sheets, cardboard, or aluminum foil to diffuse or reflect light, and place household lamps at eye level, angling them slightly above your face. Eliminate harsh shadows and glare by diffusing bright spots and adjusting your setup. Want to see more simple tips? Keep going for easy tricks to make your video look professional.
Key Takeaways
- Maximize natural light by opening curtains and positioning yourself near windows, avoiding direct glare.
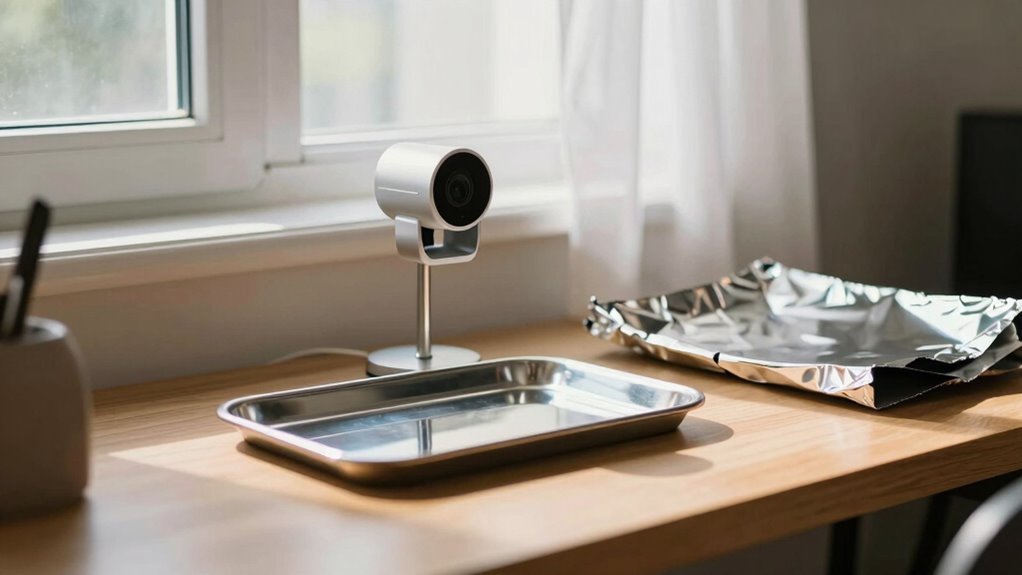
- Use household items like white sheets, cardboard, or aluminum foil to diffuse or reflect light onto your face.
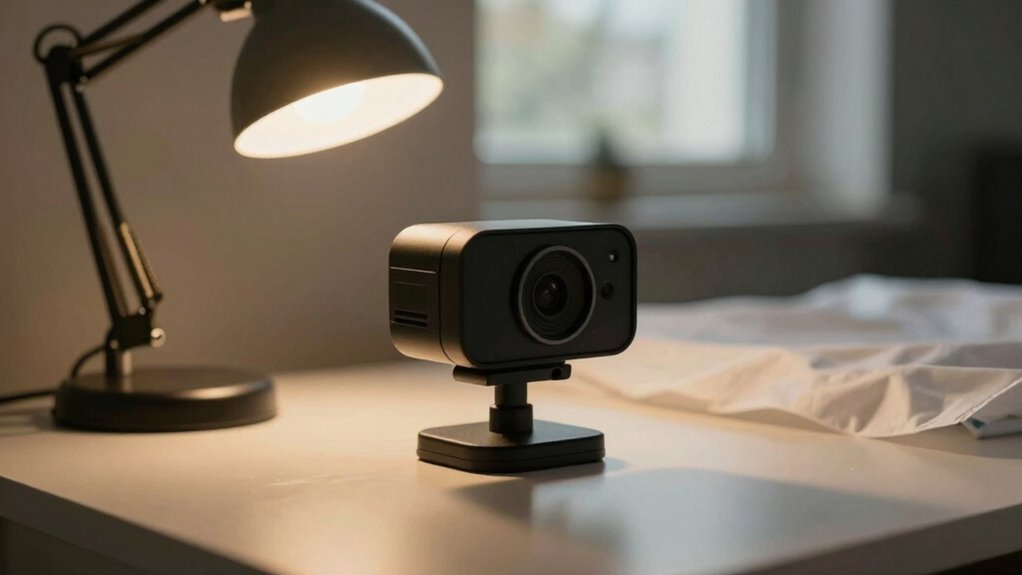
- Place lamps at eye level and slightly above, with adjustable brightness and warm bulbs for soft, even illumination.
- Reflect light using mirrors or white surfaces to fill shadows and create balanced lighting.
- Diffuse harsh light with cloth or paper over lamps, and control angles to minimize shadows and glare.

Zoom Lighting for Computer, Adjustable Desk Lighting for Video Calls, 30 Light Modes Video Conference Light, Desk Ring Light with Stand for Webcam, Meetings, Live Stream, Home Office. CRI 97.8
Uniform and Soft Illumination: LitONES desk video conference light utilizes advanced edge-lit technology, delivering even and gentle lighting…
As an affiliate, we earn on qualifying purchases.
As an affiliate, we earn on qualifying purchases.
Why Poor Lighting Makes Your Webcam Look Bad

Poor lighting can profoundly degrade your webcam’s image quality, making you look dull, shadowed, or unprofessional. Without proper lighting equipment, your camera struggles to capture clear, vibrant images. This often results in a grainy or washed-out appearance, reducing your overall presentation. When your environment lacks sufficient light, your webcam compensates by increasing ISO, which introduces noise and reduces sharpness. A professional setup involves balanced lighting that evenly illuminates your face, eliminating harsh shadows and dark spots. Poor lighting not only affects your appearance but also distracts viewers and diminishes your credibility. To improve your video quality, invest in basic lighting equipment or optimize your current setup, ensuring your face is well-lit and your image appears polished and professional. Understanding lighting techniques can also help you choose the best lighting methods for different types of videos. Additionally, lighting placement plays a crucial role in achieving a natural and flattering look, making it easier to look confident on camera. Proper lighting technology can further enhance your setup without the need for expensive equipment, leveraging what you already own. Incorporating lighting setup tips can help you fine-tune your environment and get the most out of your existing gear.

7"/18cm Light Diffuser, 4 PCS Diffuser Lamp Sock Soft Cover Soft White Diffusers Standard Cloth Diffusers Light Sock Softens The Light-Output, Lampshade Reflector Great for Studio Strobe Reflectors
Adjustable Fit for Reflectors: featuring an elastic edge, this white soft diffuser is designed to fit 7-inch/18cm standard…
As an affiliate, we earn on qualifying purchases.
As an affiliate, we earn on qualifying purchases.
Gather Household Items to Improve Your Webcam Lighting

You can improve your webcam lighting by using household lamps strategically—placing them to soften shadows and brighten your face. Maximizing natural sunlight during the day provides free, flattering illumination, so position yourself near windows when possible. Additionally, repurposing common items like white sheets or cardboard can help diffuse or reflect light, making your setup more effective. To further enhance your lighting, consider adjusting the lighting setup to reduce glare and create a more professional appearance. Using soundproofing techniques around your workspace can also minimize background noise, making your video calls clearer and more professional. Incorporating inclusive casting ideas, such as ensuring diverse representations in your background or lighting choices, can also help you create a more welcoming environment. Leveraging energy-efficient lighting options, as suggested by Vetted – Perfect Fit Living, can also help you optimize your space for better lighting and sound conditions.
Use Household Lamps Effectively
Household lamps can be a practical way to improve your webcam lighting if you know how to use them effectively. Start by choosing lamps with adjustable brightness and warm bulbs to mimic professional setup lighting. Position lamps at eye level and at angles that evenly illuminate your face, avoiding harsh shadows. Use multiple lamps if needed to fill in shadows and create balanced light. Diffuse direct light by placing a cloth or paper over the bulb to soften it. Avoid placing lamps behind you or too close, as this causes backlighting and glare. Proper placement and lighting techniques can significantly enhance the quality of your video calls and recordings, making your image appear clearer and more professional. Additionally, considering air quality in your environment can further improve your overall video experience by reducing dust and microplastics that can affect your equipment and health. Improving lighting setup can make a noticeable difference in how well your webcam captures your image. With a little arrangement, your existing household lamps can deliver a clean, professional look for your webcam, making your video appear sharper, brighter, and more inviting.
Maximize Natural Sunlight
Have you ever considered how much natural sunlight can enhance your webcam image? Opening your curtains or adjusting window treatments allows sunlight to flood your space, creating a bright, even light source. Position yourself near a window with good daylight, but avoid direct sunlight that can cause harsh shadows or glare. Adding indoor plants nearby not only adds visual interest but can also help diffuse the light softly, improving your overall look. If the sunlight is too strong, use sheer curtains or light-colored blinds to soften it without blocking the light entirely. This natural lighting creates a flattering, natural glow on your face, reducing the need for extra lamps. Incorporating proper lighting techniques can further enhance your webcam quality and achieve a more professional appearance. Maximizing natural sunlight is an effective, budget-friendly way to improve your webcam quality effortlessly, especially when combined with rebalancing your setup for optimal results. Additionally, experimenting with lighting angles can help you find the most flattering and even illumination for your face. Understanding lighting principles can also guide you in creating the best setup for any environment. Using natural light sources effectively can significantly elevate your overall video quality.
Repurpose Common Items
If natural sunlight isn’t enough or isn’t available at the right time, repurposing common household items can be a quick and effective way to improve your webcam lighting. Use items like white bedsheets, aluminum foil, or even a plain white poster board to bounce or diffuse light. These simple lighting accessories help soften shadows and distribute light evenly. For a brighter look, place a lamp behind a white curtain or pillowcase to create a makeshift diffuser. While these DIY solutions aren’t professional equipment, they can drastically improve your video quality without spending money. Additionally, requirements traceability ensures you can identify which household items contribute most effectively to your lighting setup, allowing for better adjustments over time. Strategically positioning your household items guarantees your face is well-lit and clear on camera, making your setup look more polished and professional. Using common household items creatively can make a significant difference in your webcam appearance, especially when combined with knowledge of effective lighting techniques. Incorporating awareness of humidity management can also prevent lens fogging and glare, further enhancing your video clarity.

MotiMind Matte Cinefoil 12 Inch x 20 Feet Roll Photography Masking Light Leaks Aluminum Foil for Precise Light Control Reusable Cinefoil for Video Photography Studio
Cuttable Matte Cinefoil: you will get 1 roll of matte cinefoil measuring about 12 inch x 20 ft…
As an affiliate, we earn on qualifying purchases.
As an affiliate, we earn on qualifying purchases.
Position Items to Reflect and Diffuse Light Effectively
To improve your webcam lighting, you should position household items to bounce and scatter light effectively. Use reflective surfaces like mirrors or aluminum foil strategically, and place lights near diffusing objects such as white cloths or paper to soften shadows. Experiment with different household items to find the best setup for even, flattering illumination. Incorporating lighting techniques can further enhance the quality of your setup by optimizing how light interacts with your environment. Adjusting the light placement can also make a significant difference in achieving a more professional look.
Use Reflective Surfaces Strategically
Strategically placing reflective surfaces can considerably enhance your webcam lighting by bouncing and diffusing light evenly across your face. Use household reflectors like a white poster board, aluminum foil, or a mirror to direct light where you need it most. Position these reflective surfaces opposite your light source or near windows to maximize the bounce. Keep in mind that the goal is to soften shadows and create a balanced glow. Avoid overly glossy or dark surfaces, which can create harsh reflections or absorb light. Instead, opt for matte or semi-matte household reflectors that spread light gently. Adjust the angle of these surfaces until you achieve a natural, even illumination. Proper placement of reflective surfaces helps you get professional-looking lighting without extra equipment.
Position Lights for Diffusion
Positioning your lights and reflective items thoughtfully can dramatically improve your webcam image by creating soft, even illumination. To achieve this, use lighting accessories and household objects to diffuse harsh light. Place your light source at an angle that hits a reflective surface, like a white wall or paper, then reflect it onto your face. This technique mimics professional equipment, softening shadows and reducing glare. Experiment with different positions until the light looks natural and balanced. Consider these tips:
- Use a white bedsheet or curtain as a diffuser
- Angle your light toward a reflective surface before reaching your face
- Mount lights slightly above eye level
- Position lights at a 45-degree angle from your face
- Adjust distance for softer, more even lighting
This setup helps create professional-quality lighting without expensive gear.
Experiment With Household Items
Using household items creatively can considerably enhance your webcam lighting setup without spending extra money. Household hacks like using aluminum foil, white sheets, or even a shower curtain can reflect and diffuse light effectively. Position reflective surfaces opposite your light source to bounce light onto your face, creating more even, flattering illumination. For creative lighting, drape a white pillowcase or bedsheet over a lamp or window to soften harsh light. Mirrors or shiny utensils can also bounce light into shadowed areas. Experiment with different angles and distances to achieve the desired brightness and diffusion. These simple household hacks allow you to control light quality naturally, making your webcam feed look more professional without investing in expensive equipment.

10 Pack 15.7 x 19.6 Inches Diffusion Film Filter Sheet, Lighting Gel Diffuser Roll Photography Video, Light Diffuser, White Diffusion Paper Sheet Roll for Photo Studio Product Portrait Photography
Indispensable Props for Photographer: you will receive 10 sheet light diffuser films in white, sufficient quantity to meet…
As an affiliate, we earn on qualifying purchases.
As an affiliate, we earn on qualifying purchases.
Create Soft, Even Lighting Using Lamps, Sheets, and Mirrors

Creating soft, even lighting for your webcam setup is easier than you might think with a few simple household items. Using lamps, sheets, and mirrors, you can control light quality and avoid harsh shadows. Adjust the color temperature of your lamps to match natural light, creating a flattering look. Use a sheet as a diffuser to soften direct light and reduce glare. Mirrors can reflect light onto your face, filling in shadows evenly. If you have a light meter, measure the brightness and color temperature to guarantee consistency. Position your lamps at different angles to create a balanced, diffuse glow. Experiment with placement until you find the most flattering, evenly lit setup. This simple approach enhances your webcam image without expensive equipment.
Avoid Harsh Shadows and Glare for a Flattering Look

To achieve a flattering, professional-looking webcam image, it’s important to minimize harsh shadows and glare that can distract or distort your appearance. Start by paying attention to color temperature; using warm or neutral tones creates a softer, more natural look. Adjust your light source’s direction so it illuminates your face evenly, avoiding direct overhead or side lighting that causes deep shadows. Keep the light in front of you, slightly above eye level, for a gentle, flattering glow. If glare appears on glasses or shiny skin, diffuse the light further by adding a sheet or adjusting the distance. By controlling light direction and color temperature, you’ll reduce harsh shadows and glare, resulting in a more polished, approachable webcam image.
Adjust Brightness and Contrast With Simple Settings
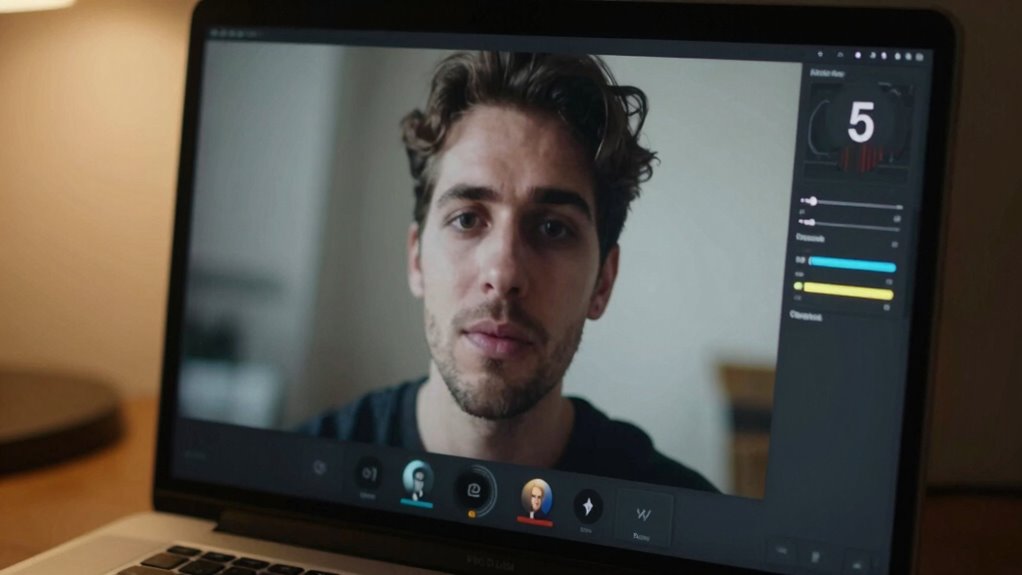
Have you ever noticed how adjusting brightness and contrast can instantly improve your webcam image? Tweaking these settings helps you achieve better color calibration and clearer visuals. Start by exploring your camera settings—most webcams offer simple sliders or options for brightness and contrast.
Here’s what you can do:
- Increase brightness to illuminate dark areas
- Lower contrast to reduce harsh shadows
- Use the preview to find a natural look
- Adjust until skin tones and background look balanced
- Save settings for consistent quality
How to Check If Your Lighting Looks Good?

Once you’ve adjusted your camera settings, the next step is to guarantee your lighting looks natural and flattering on camera. To do this, check how your webcam captures your face and surroundings. Be aware of common lighting myths—like assuming brighter is always better—since uneven or harsh lighting can distort your appearance. Use your camera’s calibration feature, if available, to see how it interprets your environment. Observe whether shadows fall naturally or create unflattering dark spots. A good test is to look at your reflection or record a short clip and review it. Ideally, your face should be evenly lit with soft, balanced light. This ensures your setup looks professional and natural, making your video calls more engaging.
Quick Tips to Fix Lighting on the Spot

When you’re in the middle of a call or recording and notice your lighting isn’t quite right, quick adjustments can make a big difference. You don’t need fancy lighting equipment—just a few simple tricks to improve your professional setup instantly:
- Move closer to a natural light source like a window
- Use a lamp or desk light to brighten shadows
- Bounce light off a white wall or paper for softer illumination
- Adjust your position to avoid backlighting
- Use a white cloth or paper to diffuse harsh light
These quick fixes help you optimize your existing lighting setup without extra gear. Focus on positioning and diffusing light, and you’ll see immediate improvements, making your webcam look much better in seconds.
Frequently Asked Questions
Can Natural Sunlight Improve My Webcam’s Appearance Effectively?
Yes, natural light can considerably improve your webcam’s appearance. It provides a soft, even illumination that enhances your skin tone and reduces shadows. To get the best results, position yourself facing a window during the day, adjusting for the natural light’s color temperature. This helps your webcam capture more accurate colors and a clearer image. Just be mindful of direct sunlight, which can cause glare and overexposure.
What Household Items Should I Avoid Using for Lighting?
Avoid using cheap DIY lamps or household reflectors made from foil or aluminum foil-wrapped cardboard, as they can create harsh, uneven light, like a spotlight on your face. For example, I once used a makeshift reflector that caused glare and washed out my image. Instead, stick to soft, diffused lighting using household items like a white pillowcase or a lampshade, which help distribute light evenly and improve your webcam quality.
How Do I Prevent My Lighting Setup From Causing Eye Strain?
To prevent eye strain, prioritize eye comfort by using soft, diffused lighting that minimizes glare and harsh shadows. Maintain lighting consistency by keeping your light source at a steady brightness level and avoiding flickering bulbs. Position your light at a comfortable angle, ideally slightly above or in front of you, to reduce eye fatigue. Regular breaks and adjusting your screen brightness also help, ensuring a comfortable, strain-free viewing experience.
Are There Specific Colors That Enhance My Webcam Image Quality?
Colors like soft whites, light blues, or warm yellows enhance your webcam image quality, making you look clearer and more vibrant. Aim for a color temperature around 5000K to 6500K, which mimics natural daylight. Use lighting accessories like lamps or diffusers you already own to avoid harsh shadows. Think of it as painting your background with the right hues—small tweaks can turn a blurry shot into a crisp, professional look.
How Often Should I Adjust My Lighting During a Video Call?
You should adjust your lighting as needed, especially if your video quality starts to look off. Keep an eye on the color temperature and modify it if your image appears too warm or cold. Also, regularly check your light positioning—making sure it’s angled correctly can prevent shadows and glare. Reassessing these elements every few minutes ensures consistent, flattering lighting throughout your call.
Conclusion
So, next time your webcam looks worse than a bad selfie, remember—you don’t need fancy gear, just your trusty household items. It’s funny how a little reflection or diffused light can turn your grainy face into a clear, flattering image. Who knew that fixing your lighting could be so simple? So go ahead, embrace the irony—your best webcam setup might just be hiding behind a sheet or a mirror right now!