

Your webcam may look grainy due to poor lighting, low-quality sensors, or hardware issues like dirty lenses and faulty cables. To fix this, make sure your camera is properly positioned, clean the lens, and improve your lighting—preferably with natural light or front-facing artificial lights. Adjust your camera settings for higher resolution and reduce auto-exposure problems. If graininess persists, exploring advanced tips can make a big difference; continue exploring to learn more effective solutions.
Key Takeaways
- Low-quality camera sensors and hardware limitations increase noise and graininess in video footage.
- Poor lighting conditions, especially uneven or insufficient illumination, cause shadows and graininess.
- Dirty lenses or damaged cables can degrade image clarity, leading to grainy video output.
- Using lower resolution or frame rate settings reduces detail and amplifies graininess.
- Enhancing lighting, cleaning the lens, and upgrading hardware can significantly improve webcam clarity.

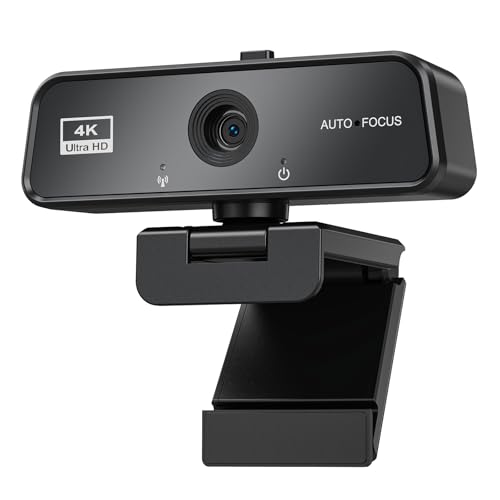
IFWATER USB Camera 16 Megapixes High Resolution 5K USB Webcam with CS Mount 5-50mm Manual Varifocus Lens Close UP OpenCV Camera Free Driver Plug and Play for Windows Linux Laptop Jetson Nano
16MP High Definition Quality: 3496P high resolution usb camera incorporates a 1/2.8-inch IMX298 image sensor, ensuring sharp images…
As an affiliate, we earn on qualifying purchases.
As an affiliate, we earn on qualifying purchases.
Why Is My Webcam Grainy? Common Causes Explained
If your webcam appears grainy, it’s usually due to specific technical issues that can be addressed. One common cause is poor camera positioning—if your webcam isn’t aligned properly or is too close, it struggles to capture clear images, especially in low light. Additionally, background contrast plays a role; a cluttered or overly bright background can affect how your webcam auto-adjusts, leading to graininess. When your background lacks contrast or is too busy, the camera struggles to focus and find the right exposure, resulting in a grainy appearance. To fix this, adjust your camera’s position to face well-lit areas and guarantee your background isn’t distracting or overly bright. Proper positioning and background contrast are key in achieving clearer, sharper video quality.
Cyezcor Video Conference Lighting Kit, Ring Light for Monitor Clip On,for Remote Working, Distance Learning,Zoom Call, Self Broadcasting and Live Streaming, Computer Laptop Video Conferencing
【ADJUSTABLE TEMPERATURE AND BRIGHTNESS】Our video conference lights have 3 color temperatures (white light/warm light/natural light) which are 3200k-6800k,…
As an affiliate, we earn on qualifying purchases.
As an affiliate, we earn on qualifying purchases.
How Lighting Affects Webcam Quality and How to Improve It

Good lighting makes a big difference in your webcam quality; poor or uneven light can cause graininess and shadows. You should position lights properly—facing you or behind your camera—to brighten your face evenly. Using a mix of natural sunlight and well-placed artificial lights helps create clearer, more vibrant video. Ensuring proper gear care and setup can also prevent unnecessary shadows and reflections that affect image quality. Additionally, understanding how contrast ratio influences image clarity can help you choose lighting setups that enhance overall video sharpness. Adjusting lighting balance is essential for maintaining consistent image quality across different environments, and selecting the right lighting equipment can make a significant difference in the final image.
Proper Lighting Placement
Have you ever noticed how poor lighting can make your webcam feed look grainy or dull? Proper lighting placement is key to improving your video quality. You want to position your light source so it illuminates your face evenly, avoiding harsh shadows or bright spots. Ideally, your ambient illumination should come from a light source placed slightly above and in front of you, facing your face directly. This setup reduces shadows and highlights your features clearly. Avoid placing lights behind you or too far to the sides, as this creates uneven lighting and can increase graininess. Good lighting placement guarantees your face is well-lit without overexposure, making your webcam feed sharper and clearer. Additionally, understanding how lighting placement impacts noise and graininess can help you optimize your setup for the clearest image. Properly managing ambient illumination makes a noticeable difference in overall video quality, especially when considering camera sensor quality, which also influences the level of graininess present.
Use Natural and Artificial Light
Lighting plays a significant role in webcam quality, influencing how clear and detailed your video appears. Both indoor lighting and outdoor lighting can impact your webcam’s performance. Natural light from windows or outdoors usually provides soft, even illumination that reduces graininess. If indoors, position yourself near a window during the day for the best results, avoiding harsh backlighting. When outdoor lighting is insufficient, supplement with artificial light sources like ring lights or softboxes to brighten your face evenly. Avoid direct, harsh lights that create shadows or cause overexposure. Properly balancing natural and artificial light guarantees your webcam captures a sharper, clearer image, making your videos look more professional and reducing graininess. Additionally, understanding cabling solutions can help ensure your setup remains stable and free of disruptions that might impact video quality. Using the right lighting techniques can further optimize your webcam’s performance and overall image quality. Ensuring your lighting setup is appropriate for your space can make a noticeable difference in your video clarity, especially when considering how lighting impacts image quality. Incorporating proper lighting placement can also help minimize shadows and enhance overall image sharpness.
Altura Photo Camera Cleaning Kit – Lens Cleaner Spray, Brush, Pen, Blower, Microfiber Cleaning Cloths, Tissue Wipes for Canon Nikon Sony Fuji Olympus Pentax Sigma Tamron DSLR & Mirrorless Cameras
COMPLETE CAMERA CLEANING KIT: Our camera lens cleaning kit includes an alcohol & ammonia-free lens cleaner spray, cleaning…
As an affiliate, we earn on qualifying purchases.
As an affiliate, we earn on qualifying purchases.
Quick Fixes to Clear Up Your Webcam Video Instantly
When your webcam video looks grainy, quick adjustments can often make a noticeable difference instantly. First, check your webcam’s positioning for proper webcam ergonomics—keep it at eye level and avoid angles that cause shadows or glare. Clean your camera lens with a soft cloth to remove dust and smudges that can worsen graininess. Adjust your lighting setup to reduce harsh shadows and increase overall brightness, which helps improve clarity. Be mindful of privacy concerns; avoid overly revealing backgrounds that might tempt you to zoom or crop excessively, which can magnify graininess. If possible, close background apps that consume bandwidth or system resources, as this can affect video quality. Additionally, using airless paint spraying tips to maintain a clean workspace can help reduce dust and debris that might settle on your camera lens, further improving image quality. Regularly checking your environment for indoor air quality issues can also help minimize dust and microplastics that may settle on your equipment, enhancing your video clarity. Ensuring proper camera maintenance and keeping your equipment dust-free can significantly improve your webcam feed immediately. Incorporating regular lens cleaning routines can help maintain optimal image quality over time. Being aware of dust accumulation on your device components is crucial for sustained performance. These small tweaks can considerably enhance your webcam feed instantly.
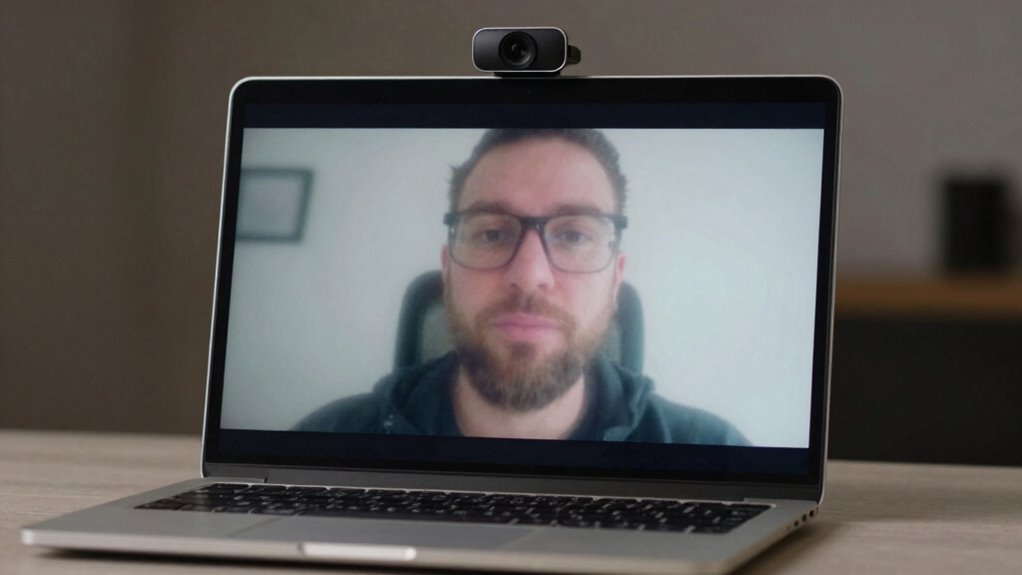
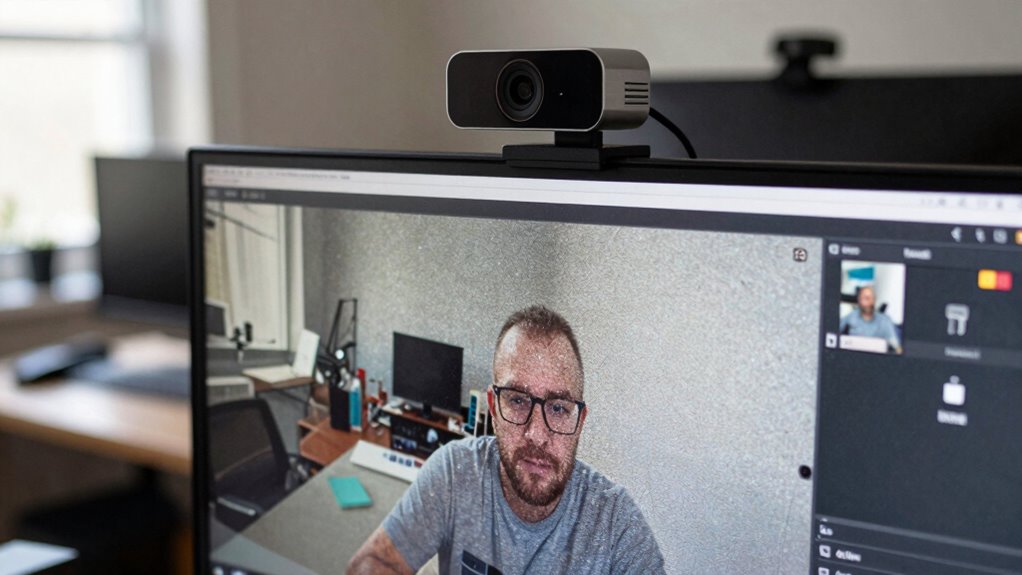
cbeyook Basic 4K Autofocus Webcam, 90° Wide Angle Computer Camera with Adjustable Monitor Clip, Built-in Mic & Plug and Play for Windows Mac, Perfect for Zoom Meetings & Remote Work
Professional 4K Webcam for Crystal-Clear Streaming – Upgrade your video presence with true 4K Ultra HD resolution. This…
As an affiliate, we earn on qualifying purchases.
As an affiliate, we earn on qualifying purchases.
Best Settings to Improve Webcam Clarity and Reduce Blur
Adjusting your webcam settings can greatly boost image clarity and reduce blur. Start by optimizing your camera angle: a straight-on view minimizes distortion and ensures good lighting. Next, set your resolution to the highest available for sharper images. Adjust focus manually if possible, so your face stays crisp. Enable noise reduction features to minimize graininess. Finally, tidy up your background: a clean, uncluttered space reduces distractions and helps your webcam focus better on you. Incorporating essential DIY tools can also help you set up your equipment more precisely and safely.
Optimizing your webcam angle, resolution, focus, and background enhances clarity and creates a professional video appearance.
Here are some key steps:
- Choose a straight, stable camera angle
- Max out resolution and frame rate
- Use manual focus if available
- Minimize background distractions
These adjustments improve clarity and help your video look professional.
How to Choose the Right Webcam for Better Video Quality
Choosing the right webcam can make a significant difference in your video quality, especially if you want crisp, clear images during calls or recordings. Look for one with good webcam ergonomics, ensuring it’s adjustable and comfortable to position for long sessions. Higher resolution options, like 1080p or 4K, provide sharper detail, but also consider low-light performance for clearer images in dim environments. Protect your user privacy by selecting webcams with built-in privacy shutters or indicators so you can easily disable the camera when not in use. Additionally, check for features like autofocus and noise reduction to improve overall video clarity. Incorporating free floating design ideas like adjustable mounts or versatile placement options can also enhance your setup, making it easier to achieve optimal positioning and better video quality. Making informed choices about these aspects helps you achieve better video quality while maintaining comfort and security, and understanding webcam features is essential for selecting the best device for your needs. Moreover, considering image processing capabilities can further enhance video clarity and color accuracy in various lighting conditions. Having a good grasp of protocols used by webcams can also ensure compatibility with your devices and software, leading to a smoother experience. Understanding lighting conditions can help you optimize your setup for even clearer images in different environments.
Troubleshoot Hardware Issues Causing Grainy Video
If your webcam video looks grainy, start by checking if the camera lens is clean and free of smudges. Make sure all connection cables are secure and undamaged, as loose or faulty connections can cause poor image quality. Addressing these hardware issues can often improve your video clarity quickly. Additionally, ensuring proper lighting conditions can significantly enhance video quality and clarity. For a clearer image, consider understanding lighting conditions and how they impact your webcam’s performance. Proper lighting can reveal hidden details and reduce graininess effectively.
Check Camera Lens Cleanliness
A dirty or smudged camera lens is a common culprit behind grainy video quality. To improve your webcam image, start with a simple cleanliness check. First, turn off your webcam to avoid accidental damage. Second, gently wipe the camera lens with a microfiber cloth to remove fingerprints and dust. Third, avoid using harsh chemicals; a little lens cleaner or water works best. Fourth, inspect the lens closely for smudges or debris you might have missed. Ensuring your camera lens is clean can markedly reduce graininess and enhance clarity. Remember, a clear lens is essential for crisp video. Regularly performing this cleanliness check helps maintain ideal webcam performance and improves your video quality.
Inspect Connection Cables
Even with a clean camera lens, hardware issues can still cause grainy video. Start by checking your connection cables. Poor connection stability can lead to inconsistent video quality, so confirm your USB or HDMI cables are securely plugged in. Damaged or low-quality cables can cause signal interference, resulting in graininess. If you notice flickering or interruptions, consider replacing older or cheap cables with higher-quality, shielded ones. Also, avoid bending or twisting cables excessively, as this can damage internal wiring. Using a reliable cable reduces the risk of signal loss and guarantees steady data transfer. Regularly inspecting and upgrading your connection cables can greatly improve webcam video clarity, eliminating graininess caused by hardware issues.
Easy Software Tips to Enhance Your Webcam Image
To improve your webcam image easily, start by adjusting the software settings available on your device or within your video conferencing apps. Focus on tweaking software filters and increasing image resolution for a clearer picture. Here are four quick tips:
- Enable and customize software filters to reduce graininess and smooth out imperfections.
- Increase the image resolution setting to its highest available option.
- Adjust brightness, contrast, and sharpness within the app for better clarity.
- Use any auto-enhance features offered by your software to optimize the image automatically.
These adjustments help sharpen your video, reduce noise, and produce a crisper overall appearance. Small changes can make a big difference in how professional and polished your webcam feed looks.
Using Natural Light and Environment for Sharper Video

Natural light can substantially improve your webcam’s image quality, especially when used correctly. To maximize its benefits, pay attention to sunlight positioning; face a window so the light hits your face evenly, avoiding harsh shadows. Adjust your position throughout the day to take advantage of the best ambient brightness, which helps reduce graininess. Overly bright sunlight can cause glare or wash out your face, so diffuse harsh light with sheer curtains or reflect it off nearby surfaces. On cloudy days, natural light is softer and more even, making your video clearer. By managing sunlight positioning and ambient brightness, you create a well-lit environment that enhances your webcam’s sharpness without additional equipment.
When to Upgrade or Seek Professional Help for Your Webcam

While adjusting lighting and environment can considerably improve your webcam’s image quality, there comes a point when hardware limitations start to hinder performance. If you notice persistent graininess or blurry images despite tweaks, it’s time to contemplate an upgrade.
You should seek professional upgrades or switch to better hardware if:
- Your budget webcams no longer meet your quality needs.
- Video clarity markedly drops during important calls or streams.
- Your current webcam struggles in low-light conditions despite improvements.
- You want higher resolution or better autofocus capabilities for professional use.
Recognizing these signs helps you avoid frustration and ensures your video quality matches your expectations. Knowing when to upgrade prevents wasting time on ineffective fixes and guarantees you get the best possible image.
Frequently Asked Questions
Can Updating My Webcam Driver Improve Video Quality?
Yes, updating your webcam driver can improve video quality. When you update drivers, you guarantee better driver compatibility with your operating system, which can enhance performance. Firmware updates often include bug fixes and improvements that can reduce graininess and improve clarity. Regularly check for driver updates from your webcam manufacturer to keep your device running smoothly and get the best possible video quality.
Does a Higher Megapixel Count Guarantee Better Webcam Clarity?
A higher megapixel count doesn’t guarantee better webcam clarity because of the megapixel myth, which suggests more megapixels always mean sharper images. Clarity misconceptions often lead you to think a webcam with more megapixels will improve video quality, but other factors like lens quality, lighting, and sensor size matter more. Focus on these aspects instead of just megapixels for clearer, professional-looking video.
How Does Internet Bandwidth Affect Webcam Image Quality?
Think of your internet speed as the highway for your webcam’s visual journey. When bandwidth limitations slow down this road, your image struggles to reach smoothly, resulting in grainy, pixelated quality. Faster internet guarantees a wider lane, letting high-quality images flow seamlessly. So, if your webcam looks fuzzy, upgrading your bandwidth can clear the road, giving your video clarity and sharpness that truly reflect your true self.
Are There Specific Software Tools for Enhancing Webcam Video?
Yes, you can use software tools for video enhancement, which include filters and adjustments to improve your webcam quality. Programs like OBS Studio, ManyCam, or XSplit offer software filters that reduce graininess, enhance sharpness, and improve color accuracy. These tools allow you to tweak settings in real-time, making your video clearer and more professional-looking. Using such software helps you get the most out of your webcam, even if the hardware isn’t top-tier.
Can External Lighting Devices Make My Webcam Look Sharper?
Absolutely, external lighting devices can transform your webcam’s image from a blurry mess to crystal-clear brilliance. By boosting ambient lighting, you eliminate shadows and dark spots, making your video look sharp and professional. Plus, with color correction features, you can fine-tune the lighting to match your environment perfectly. So, invest in good external lights, and watch your webcam’s clarity leap to superhero levels!
Conclusion
Getting a clear, sharp webcam image might seem tricky, but with the right lighting, settings, and hardware checks, you’re well on your way. Don’t let your efforts go to waste by ignoring simple fixes—sometimes, it’s just a matter of tweaking a few things. Remember, Rome wasn’t built in a day, so be patient and keep experimenting. Before long, you’ll have video so crisp, viewers will think you’re in the same room!