
To guarantee your sensors detect the right signals, start by evaluating your environment’s temperature, humidity, and interference sources. Choose sensors suited to what you need to measure and calibrate them accurately. Place sensors where they have clear access to relevant data, avoiding obstacles and blind spots. Minimize interference with shielding or adjusting settings. Regularly test and validate sensor performance, and fine-tune positions accordingly. Following these steps helps optimize your setup for reliable detection—learn more by exploring further.
Key Takeaways
- Assess environmental factors and obstacles to determine optimal sensor locations for accurate detection.
- Calibrate sensors properly before placement to ensure they respond correctly to target signals.
- Position sensors to maximize coverage, avoiding obstructions and blind spots.
- Use overlapping zones in critical areas for continuous and reliable monitoring.
- Regularly test and recalibrate sensors to maintain accuracy amid environmental changes.

pH ORP Meter Calibration Buffer Solution Kit, Includes pH 4.00, 7.00 and pH 10.01 Solution,ORP 222mV Calibration Solution
High Precision pH Buffer Calibration Solution Kit with Stable Ingredients:Reports values with an accuracy of +/- 0.01 pH…
As an affiliate, we earn on qualifying purchases.
As an affiliate, we earn on qualifying purchases.
How Do You Assess Your Environment and Signal Needs?
Understanding your environment and signal needs is the vital first step in placing sensors effectively. You need to evaluate environmental factors like temperature, humidity, and potential interference that could affect sensor performance. Accurate sensor calibration is essential; it guarantees your sensors provide reliable data under specific conditions. Consider how signals might be distorted or weakened by walls, machinery, or other obstacles. Think about the type of data you need—does it require high sensitivity or broad coverage? Observing these factors helps you decide where to position sensors for maximum detection. By understanding your environment thoroughly, you can select the right sensor settings and calibration adjustments, minimizing false readings and guaranteeing your system responds accurately to real signals. Incorporating digital content concepts into your assessment can further enhance sensor placement strategies.

Govee WiFi Hygrometer Thermometer 6 Pack H5100, Indoor Wireless Temperature Humidity Sensor Monitor with Remote App Notification Alert, 2 Years Data Storage Export, for Home, Greenhouse
Monitor Temperature and Humidity Anywhere: Keep track of temperature and humidity data in real-time from anywhere with the…
As an affiliate, we earn on qualifying purchases.
As an affiliate, we earn on qualifying purchases.
What Sensor Types Are Best for Your Setup?
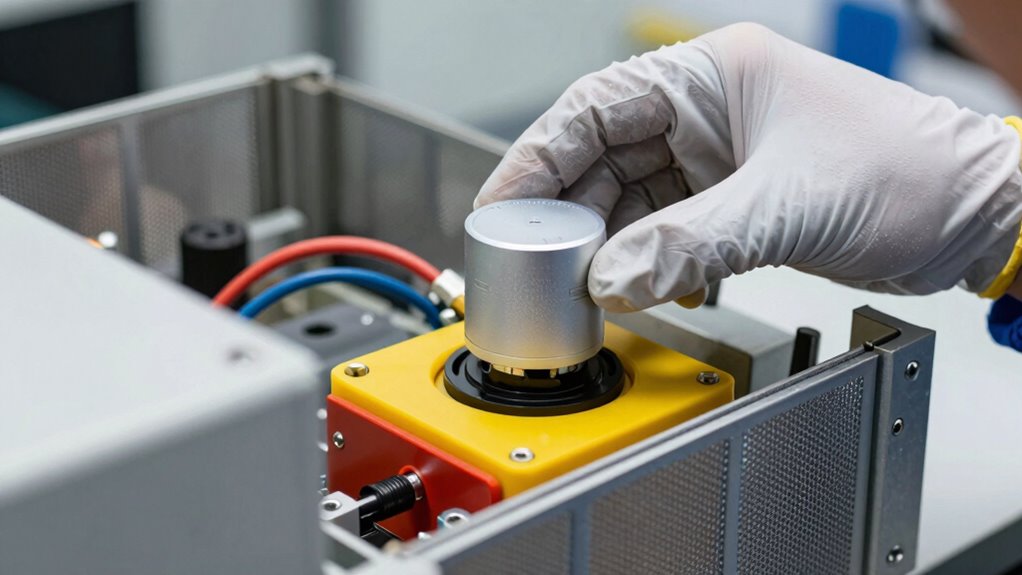
Choosing the right sensor types for your setup depends on the specific signals you need to detect and the environment you’re working in. For accurate results, you’ll want sensors that can be calibrated properly to guarantee precision over time. Sensor calibration is essential for maintaining data accuracy, especially if conditions change. Consider how the sensors will integrate with your data system; seamless data integration simplifies analysis and response. For example, if you’re monitoring temperature, thermocouples or RTDs might be best, while proximity sensors suit object detection. Think about environmental factors like moisture, dust, or electromagnetic interference, which can affect sensor performance. Understanding sensor performance and how factors like environmental conditions influence it can help you choose the most reliable options. Selecting the appropriate sensor type and ensuring proper calibration and data integration help you get reliable signals and meaningful insights. Proper understanding of sensor performance, such as the contrast ratio in projectors, can significantly impact the accuracy and quality of your detections. Additionally, considering environmental resilience can ensure your sensors operate effectively under challenging conditions.
A thorough knowledge of sensor lifespan can also guide you toward choosing sensors that maintain accuracy over time without frequent replacements.
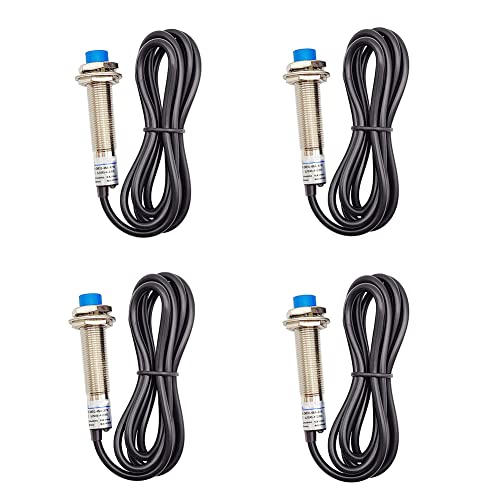
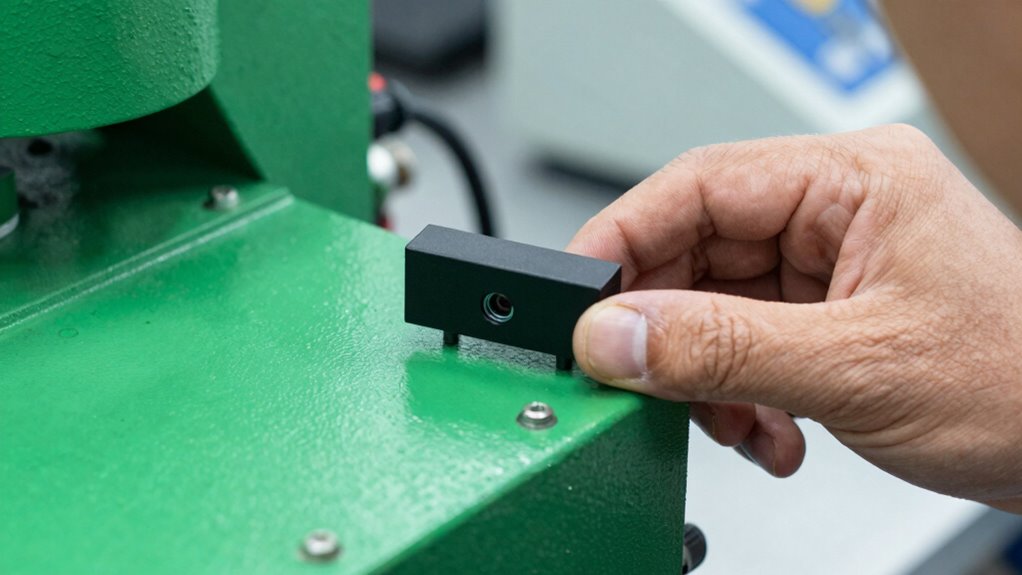
Haldzemo Inductive Proximity Sensor M12 LJ12A3-4-Z/BX Normally Open Detection Approach Switch 4mm NPN NO 3 Wire DC 6V-36V (4 Pack)
Inductive proximity switch type: LJ12A3-4-Z/BX, 3 Wire NPN NO. Detecting Distance: 4mm, Diameter: 12mm.
As an affiliate, we earn on qualifying purchases.
As an affiliate, we earn on qualifying purchases.
How Should You Place Sensors for Maximum Coverage?

To achieve maximum coverage with your sensors, strategic placement is essential. Begin by calibrating each sensor properly to guarantee accurate data collection. Proper sensor calibration minimizes errors and guarantees reliable readings. Position sensors in areas where they can capture the most relevant data, avoiding obstructions and blind spots. Consider the environment’s layout and potential sources of interference. Additionally, integrate data from multiple sensors to create a thorough view, allowing you to identify patterns and gaps in coverage. Use overlapping zones to ensure continuous monitoring, especially in critical areas. Regularly review sensor placement and calibration, adjusting as needed to maintain ideal coverage. Employing sensor placement strategies can further optimize your monitoring system for better accuracy and coverage. Understanding the environmental factors that influence sensor performance can also help in making more informed placement decisions. Testing different locations can reveal unforeseen blind spots, improving overall detection capabilities. Incorporating adaptive placement techniques can also enhance long-term coverage and reliability. Additionally, considering power consumption insights can help ensure your sensors operate efficiently without unnecessary energy use.

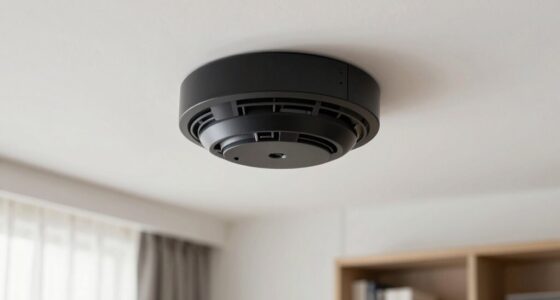
Corner Mount Compatible with Ring 2nd Generation Motion Detector – Adjustable Angle Wall Bracket with M3 Screws – Easy Installation for Optimal Coverage (White)
Optimal Corner Placement for Maximum Coverage: Position your motion sensor in room corners to unlock a wide 90-degree…
As an affiliate, we earn on qualifying purchases.
As an affiliate, we earn on qualifying purchases.
How Can You Prevent Interference and Improve Signal Quality?
Interference can considerably degrade signal quality, making it essential to take proactive steps to prevent it. Start by identifying common interference sources, such as electronic devices, machinery, or wireless networks nearby. Keep sensors away from these sources whenever possible. Use shielding or physical barriers to block interference, especially in environments with multiple electronic systems. Opt for signal optimization techniques like adjusting sensor placement or frequency settings to minimize interference impact. Regularly check for sources of new interference and address them promptly. Make sure your sensors are well-maintained and calibrated, as poor connections can also affect signal clarity. Additionally, understanding sound healing science can offer insights into how vibrations might influence electronic systems. Being aware of potential electromagnetic interference can help you implement more effective shielding and placement strategies. It’s also beneficial to consider the environmental factors that can influence electronic performance, such as temperature and humidity levels. Recognizing the impact of electromagnetic fields can further guide your efforts to shield sensitive components. Incorporating signal testing methods can help you identify and address interference issues more efficiently. By proactively managing interference sources and fine-tuning your setup, you’ll improve overall signal quality and enhance sensor reliability.
How Do You Test and Validate Your Sensor Placement?

Testing and validating your sensor placement is essential to guarantee accurate and reliable data collection. Start by applying calibration techniques to ensure your sensors are correctly tuned. This step helps identify any discrepancies and adjusts readings for precision. Once calibrated, conduct data analysis to evaluate how well your sensors are capturing the right information. Check for consistency across multiple tests and compare data against known benchmarks or expected patterns. If results are off, reposition sensors or recalibrate as needed. Regular validation ensures your sensors remain effective over time, especially in changing environments. Using these methods, you’ll confirm your placement is properly aligned, enabling trustworthy data collection that supports informed decisions. Additionally, understanding sensor regulations can help ensure your setup complies with safety and industry standards. Incorporating proper sensor placement techniques can further enhance the accuracy and reliability of your measurements. Being aware of environmental factors can also help you adapt your setup for optimal performance. Moreover, applying curiosity-driven testing methods can uncover unexpected issues and improve overall sensor effectiveness.
Frequently Asked Questions
What Are Common Mistakes to Avoid When Placing Sensors?
You should avoid poor sensor placement and neglecting signal interference sources. Placing sensors too far from the target or in obstructed areas can lead to inaccurate data. Also, ignore potential sources of signal interference, like electronic devices or metal objects, which can disrupt readings. To guarantee proper detection, position sensors at ideal points, away from interference, and test their placement to confirm they pick up the right signals effectively.
How Often Should Sensor Calibration Be Performed?
You should perform sensor calibration regularly, typically every 6 to 12 months, to guarantee accurate readings and maximize sensor longevity. Calibration intervals depend on sensor type, usage, and environmental conditions, so stay attentive to manufacturer recommendations. Consistent calibration prevents drift, maintains data integrity, and extends sensor life, saving you time and costs in the long run. Keep a schedule and document each calibration for peak performance.
Can Sensors Be Reused After Removal?
Yes, sensors can be reused after removal if they’re made from durable sensor materials and follow proper reuse protocols. You need to clean and calibrate them thoroughly to guarantee accuracy and prevent contamination. Check manufacturer guidelines for specific reuse procedures, especially for sensitive sensors. Proper handling and maintenance extend their lifespan, making reuse feasible and cost-effective, provided you follow the recommended protocols and ensure the sensor’s condition remains ideal for continued use.
What Are the Signs of Sensor Failure?
Sensor failure can feel like losing your senses in a storm. Signs include inconsistent readings, sudden drops in sensitivity, or signal interference that disrupts data accuracy. Different sensor types may also show specific issues, like dead zones or delayed responses. If your sensor’s output becomes unreliable or erratic, it’s a clear sign to check for failures and possible calibration problems, ensuring your system stays precise and dependable.
How Do Environmental Changes Affect Sensor Accuracy Over Time?
Environmental changes cause sensor drift and interference, reducing accuracy over time. When temperature, humidity, or dust fluctuate, sensors may misinterpret signals, leading to false readings. You should regularly calibrate sensors and shield them from environmental interference. Monitoring conditions helps you identify when environmental factors impact performance. By maintaining ideal placement and protective measures, you guarantee sensors stay accurate, even amid changing environmental conditions.
Conclusion
Now that you’ve mastered sensor placement, imagine your setup as a group of overenthusiastic detectives, each enthusiastic to catch the tiniest detail. With perfect positioning, they’ll work tirelessly, avoiding blind spots like bad Wi-Fi signals in a basement. Just remember, a little interference is like a nosy neighbor—annoying but manageable. Keep testing, tweaking, and you’ll have a high-tech surveillance squad that actually detects what matters—no more missing the obvious, like your cat’s secret snack stash.