
To quickly test your microphone’s quality, start by positioning it correctly near your mouth, about chin level, and make sure all cables are secure. Use your device’s built-in sound recorder or microphone test feature to capture a short clip. Listen carefully for clarity, background noise, and distortions. Compare the results to industry standards if possible. If you’d like to discover simple tips for better sound or troubleshooting, keep exploring these essential steps.
Key Takeaways
- Use your device’s built-in sound recorder or microphone test feature to record a short sample and listen for clarity.
- Position the microphone about chin level and a few inches from your mouth for optimal sound capture.
- Adjust input volume settings to ensure your voice is clear without distortion or background noise.
- Test the microphone on different devices to check compatibility and consistent performance.
- Inspect cables and connections for damage, and replace or secure them if sound quality issues arise.

FIFINE USB/XLR Dynamic Microphone for Podcast Recording, PC Computer Gaming Streaming Mic with RGB Light, Mute Button, Headphones Jack, Desktop Stand, Vocal Mic for Singing YouTube-AmpliGame AM8
[Natural Audio Clarity] Operated with frequency response of 50Hz-16KHz, the podcasting XLR mic delivers balanced audio range, likely…
As an affiliate, we earn on qualifying purchases.
As an affiliate, we earn on qualifying purchases.
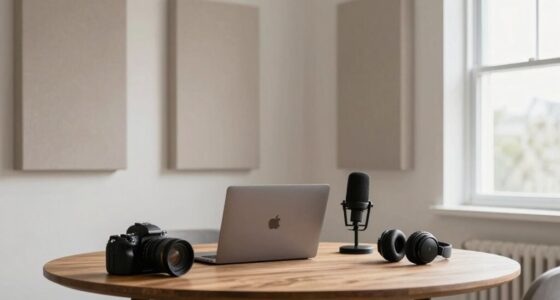
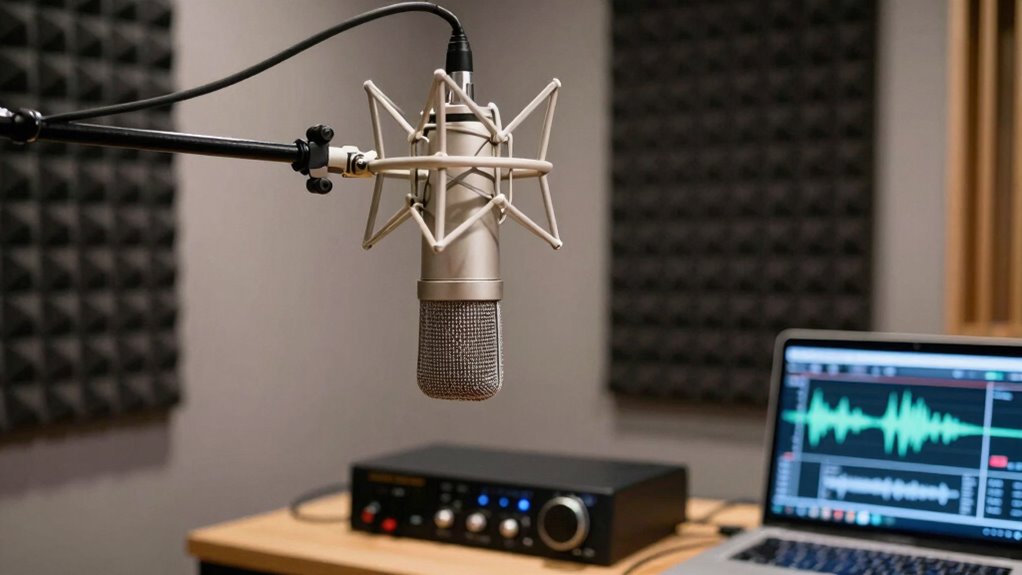
Prepare Your Microphone for Testing

Before testing your microphone, you need to make sure it’s properly set up and ready to capture sound. Start with microphone placement; position it about chin level and a few inches away from your mouth to avoid distortion. Keep it steady, and avoid touching it during testing. To improve sound quality, use soundproofing techniques like closing windows, turning off noisy appliances, or adding soft materials to absorb echo. This reduces background noise and guarantees clearer audio. Check that your microphone is connected securely and configured correctly in your device settings. Proper placement and soundproofing prepare your microphone for accurate testing, helping you identify issues and optimize your setup for the best sound quality.

Sound Amplifier, Wall Microphone High Strength Voice Listen Detector Audio Ear Listening Device for Pipe Water Oil Leakage Through Wall Door Voice Tool
[Clear Sound] Voice listening detector has excellent sound clarity and can be used anywhere, even indoors or in…
As an affiliate, we earn on qualifying purchases.
As an affiliate, we earn on qualifying purchases.
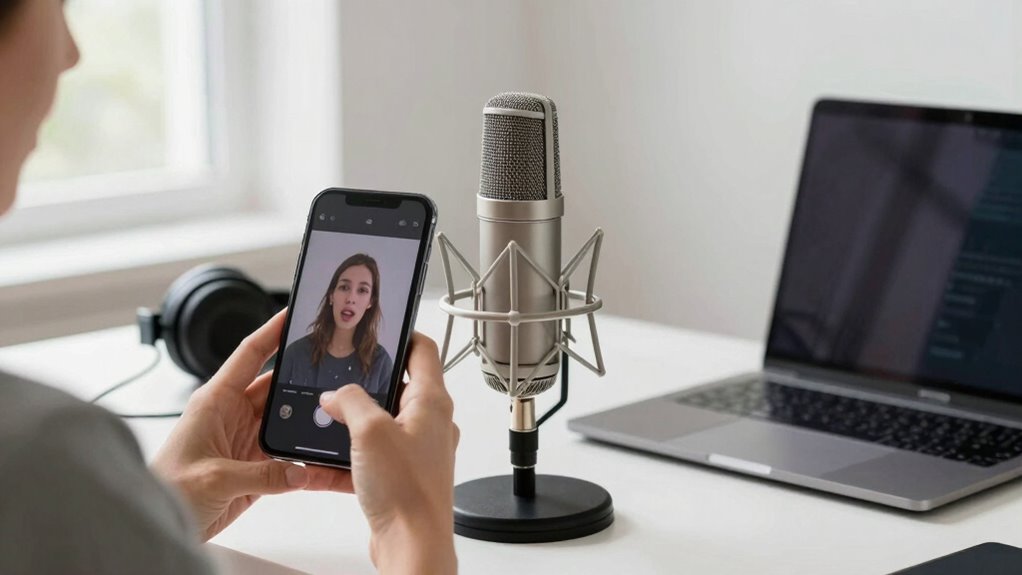
Record a Test Using Your Built-In Tools
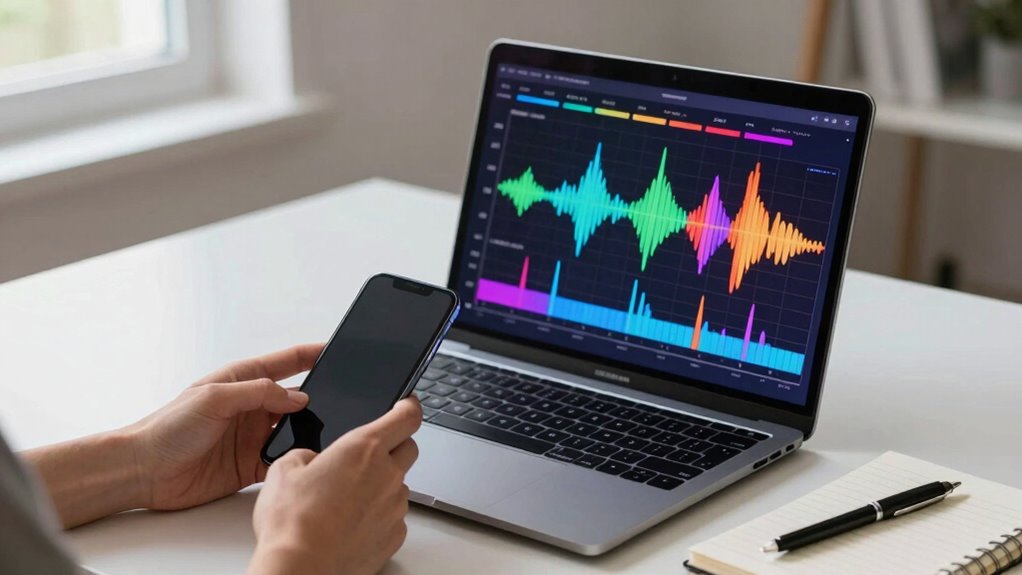
Most devices come with built-in tools to record a quick test of your microphone, making it easy to check your audio quality without extra software. This simple step helps you assess clarity and background noise instantly. When recording, consider your microphone aesthetics, as a sleek design can enhance your workspace’s look and reflect your branding considerations. A clean, professional appearance may impress colleagues or clients during virtual meetings. Use the device’s voice recorder or sound settings to capture a short clip. Additionally, understanding the importance of audio performance can guide you in selecting the right microphone upgrades for optimal sound quality. Paying attention to microphone technology can also help you choose devices that deliver clearer, more natural sound during your recordings. Ensuring your microphone is properly configured can make a significant difference in the quality of your recordings and overall communication. Proper microphone positioning, along with audio settings, can further improve sound capture and reduce unwanted noise.

ZealSound Podcast Microphone for PC, Noise Cancellation USB Mic with Gain, Volume Adjustment & Mute Button, Monitoring & Echo, for YouTube, TikTok, Podcasting, Streaming, iPhone, iPad, Android, Mac
Studio-Quality Sound for Clear Podcast Recording – The K66 USB podcast microphone delivers studio-quality, broadcast-level audio using a…
As an affiliate, we earn on qualifying purchases.
As an affiliate, we earn on qualifying purchases.
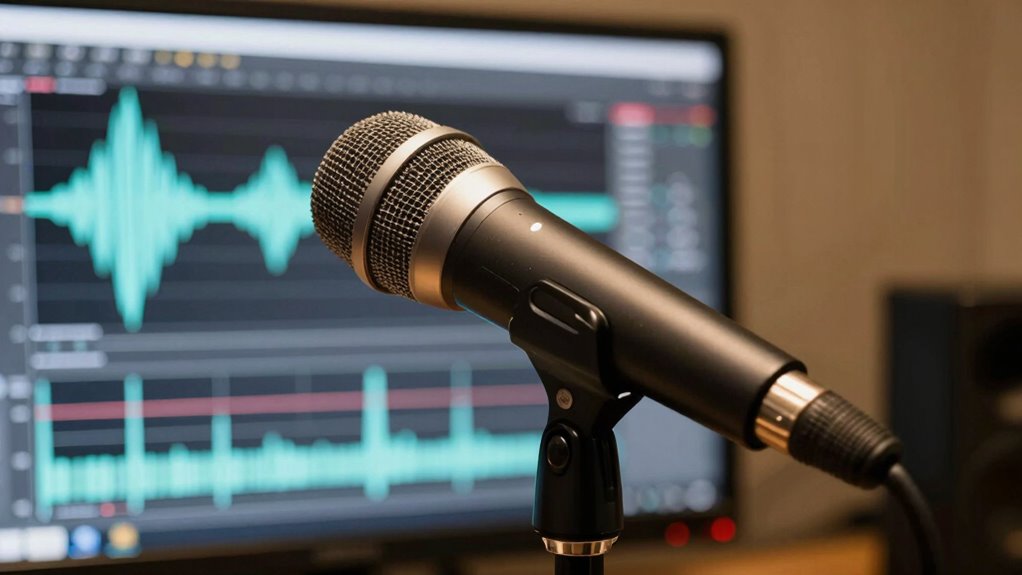
Listen to Your Recording for Clarity and Noise
Listening to your recording helps you spot background noise that might interfere with your sound quality. You also want to check if your voice sounds clear and natural. If issues pop up, you can easily identify what needs fixing to improve your microphone setup. Being aware of signs of twin flame connection can also help you recognize energetic shifts that may affect your recordings. Additionally, paying attention to audio clarity can ensure your message is communicated effectively and professionally. Understanding how microphone placement influences sound quality can further enhance your recording results, especially when considering home soundproofing techniques that reduce unwanted noise. Incorporating knowledge about support breakfast options can even inspire creative ways to optimize your recording environment for better sound absorption and comfort.
Detect Background Noise
To accurately identify background noise, you need to listen carefully to your recording and assess its clarity. Ambient interference often manifests as hissing, hums, or static, which can distort your voice. Pay attention to sounds unrelated to your speech, like fans, traffic, or electronic noises. Use effective placement techniques to minimize these issues—position your microphone away from noise sources and closer to your mouth. If you notice persistent ambient interference in your recordings, consider adjusting your environment or microphone settings. Sometimes, simple changes like moving to a quieter space or using a pop filter can markedly reduce background noise. Listening closely helps you pinpoint areas for improvement, ensuring your microphone captures your voice clearly without distracting ambient interference. Understanding sound healing science can also inspire you to create a more acoustically optimized environment for recording, such as incorporating natural materials that absorb sound reflections and improve overall audio quality. Additionally, implementing soundproofing techniques can further enhance your environment and reduce unwanted background noise. Paying attention to room acoustics and sound absorption methods can make a significant difference in your recording clarity.
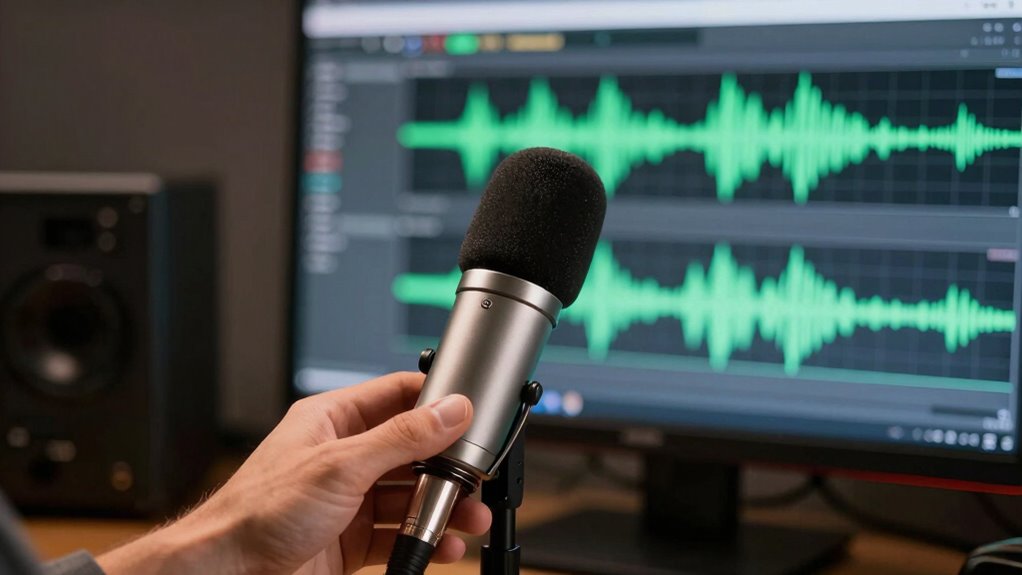
Assess Vocal Clarity
How can you tell if your microphone is capturing your voice clearly? Listen carefully to your recording, focusing on vocal tone and pitch accuracy. If your voice sounds muffled, distant, or distorted, adjustments are needed. To assess clarity effectively, consider these steps:
- Check if your vocal tone remains natural, not muffled or tinny.
- Make certain your pitch accuracy stays consistent without fluctuations.
- Listen for background noise or static that distracts from your voice.
- Confirm that your words are clear, with no parts lost or garbled.
- Ensure your microphone settings align with your environment sound quality.
- Also, verify your microphone’s connection stability to prevent interruptions or signal loss during recording.
- Regularly review your audio quality to identify any issues early and maintain optimal sound performance.
- Remember, consistent testing helps maintain clear recordings and highlights potential problems before they affect your final output.
- Additionally, understanding how microphone performance impacts overall audio clarity can help you make better adjustments and investments.

Tisino Female XLR to 1/4 (6.35mm) TS Mono Jack Unbalanced Microphone Cable Mic Cord for Dynamic Microphone – 6.6 FT/2 Meters
PROFESSIONAL CABLE 𝄢 XLR female to 1/4" TS mono jack microphone cable for connecting dynamic microphones to mixing…
As an affiliate, we earn on qualifying purchases.
As an affiliate, we earn on qualifying purchases.
Compare Your Microphone’s Sound Quality to Industry Standards
Understanding how your microphone compares to industry standards is vital for guaranteeing professional-quality sound. You can do this by examining key aspects like frequency response, clarity, and noise levels. Proper microphone calibration is essential, as it assures your device captures sound accurately and consistently, aligning with professional benchmarks. Sound engineering tools and reference recordings help you evaluate your microphone’s sound quality objectively. Listen for fidelity, naturalness, and absence of distortion or background noise. Comparing your recordings to industry-standard samples allows you to identify discrepancies and areas for improvement. Keep in mind that professional standards vary depending on the application, but maintaining high fidelity and clarity is always a priority. Recognizing regional differences, such as those seen in local cultural festivals, can also influence your understanding of sound expectations in different settings. Additionally, understanding sound quality benchmarks can guide you in achieving the best possible recording results. Being aware of microphone specifications helps you select the right equipment for your needs and ensures your recordings meet industry standards. Incorporating cultural context into your sound evaluation can further enhance the authenticity and appropriateness of your recordings. This process helps you achieve peak performance and sound quality in your recordings.
Troubleshoot Common Microphone Problems
When your microphone isn’t working properly, start by checking all connections to make certain everything’s plugged in securely. Next, adjust your input settings to make sure your device recognizes the microphone correctly. Finally, test the microphone with different devices to identify whether the issue lies with the microphone itself or your setup.
Check Microphone Connections
Sometimes, microphone issues stem from loose or improperly connected cables. Check your connections carefully to make certain everything is secure. Whether you’re using a microphone with great microphone aesthetics or comparing wireless vs wired options, proper connection is key. Here are steps to troubleshoot:
- Verify that the cable is plugged into the correct port and isn’t damaged.
- For wired mics, ensure the connector fits snugly and isn’t loose.
- If you have a wireless microphone, confirm the receiver is paired correctly and the batteries are charged.
- Inspect the cable for visible wear or frays, which can cause poor audio quality.
- Remember that microphone safety tips, such as avoiding overextension or improper handling, can also help maintain optimal performance.
Taking these steps helps eliminate connection issues that may be causing your microphone problems, no matter the type or style.
Adjust Input Settings
After confirming that your microphone is properly connected, the next step is to check and adjust your input settings. Proper microphone placement helps maximize sound quality and reduces background noise. Keep the mic close to your mouth but avoid placing it directly in front of your lips to prevent popping sounds. Adjust your input volume to ensure your voice isn’t too quiet or distorted. If ambient noise is an issue, use noise suppression features or reposition the microphone away from sources of background sound. Check your device’s sound settings or control panel, and make sure the correct microphone is selected. Fine-tuning these input settings guarantees clearer audio, making your recordings or calls sound more professional and free of unwanted ambient noise.
Test With Different Devices
Testing your microphone on different devices can quickly identify whether the issue lies with the microphone itself or the specific setup you’re using. If your microphone works well on one device but not another, it points to compatibility or setup problems. Consider these steps:
- Try connecting your microphone to devices with different operating systems to check wireless compatibility.
- Test on both desktops and laptops to evaluate microphone ergonomics and fit.
- Use smartphones or tablets to see if the microphone functions properly across platforms.
- Swap out cables or adapters to eliminate connection issues that could affect sound quality or stability.
This process helps pinpoint whether your microphone’s problem is hardware-based or related to your device settings. It’s a simple way to troubleshoot common microphone issues efficiently.
Maintain Your Microphone’s Performance Over Time

To keep your microphone performing well over time, regular maintenance is vital. This helps improve microphone durability and prevents damage caused by environmental impacts. Keep the microphone clean by gently removing dust and debris with a soft cloth or brush. Store it in a dry, cool place to avoid humidity or extreme temperatures that can degrade internal components. Check cables and connectors regularly for wear or corrosion, replacing them as needed. Using a protective case during transportation shields it from physical damage. Avoid exposing your microphone to moisture, dirt, or direct sunlight. These steps ensure consistent sound quality and prolong its lifespan. Consistent care helps you get the most out of your microphone, maintaining top performance and reliability over time.
Frequently Asked Questions
How Often Should I Test My Microphone for Optimal Performance?
You should test your microphone weekly to guarantee peak performance. Regular testing helps monitor microphone durability and catches issues early. If you notice sound problems or changes in quality, increase testing frequency. Consistent checks prevent performance dips during important calls or recordings. Ultimately, maintaining a routine of testing your microphone keeps it functioning smoothly, so you can trust its reliability when you need it most.
Can Ambient Noise Affect the Accuracy of My Microphone Test?
Yes, ambient noise can affect your microphone test’s accuracy. Background noise might make it seem like your mic isn’t performing well, even if it’s fine. To get a true reading, use noise cancellation features or test in a quiet environment. This way, you minimize background noise, ensuring your microphone’s quality is accurately assessed and that your voice is clear during recordings or calls.
What Software Is Best for Recording Microphone Tests?
You’ll find that Audacity is a fantastic choice for recording microphone tests, offering precise audio calibration and easy adjustment of microphone sensitivity. Its user-friendly interface helps you capture clear sound, making it simple to evaluate your mic’s performance. Plus, it provides detailed visual feedback so you can identify issues quickly. Whether you’re fine-tuning your setup or just checking your mic, Audacity guarantees you get accurate, high-quality recordings every time.
How Does Microphone Placement Impact Sound Quality During Testing?
Microphone positioning greatly impacts sound clarity during testing. When you place the mic too close, you might get muffled or distorted sounds, while positioning it too far can cause faint audio. Keep the microphone at a consistent distance, about 6-12 inches from your mouth, and aim it directly at you. Proper microphone placement guarantees clear, natural sound quality, helping you accurately assess and improve your microphone’s performance.
Are There Specific Settings to Optimize Microphone Testing on Different Devices?
To optimize microphone testing across different devices, you should adjust settings based on device compatibility and sound calibration needs. For example, use built-in audio settings or dedicated apps that match your device’s specifications. Calibrate sound levels by testing with different volumes and environments. Make certain your microphone is properly configured within your device’s sound settings, and consider using software that offers real-time adjustments to ensure the best quality during testing.
Conclusion
Now that you know how to test your microphone, you’re practically a superhero of sound! With just a few simple steps, you can release crystal-clear audio that’ll blow minds and silence the competition. Say goodbye to muffled whispers and hello to professional-grade recordings. Keep your mic in tip-top shape, and you’ll be unstoppable. Your voice deserves to be heard loud and proud—so go ahead, conquer the audio world with confidence!